Do you remember the first time you created a sewing pattern? Have you sold one yet? Pattern creation in sewing and quilting is a skill that many learn to love and participate in. Whether they’re creating quilts or their closet, pattern creation allows you the freedom to truly form an idea straight from your mind. Once others start noticing our designs and appreciating the final project, we may decide it’s time to start selling these patterns. But how do you publish and sell a pattern book?
While there are many ways to go about being published; agents, publishing houses, and book deals, we now have the option to self-publish our books thanks to the internet. Today we’re going to talk about how you can self-publish your pattern book right from home, using the right tools.
Creating Your Pattern Book
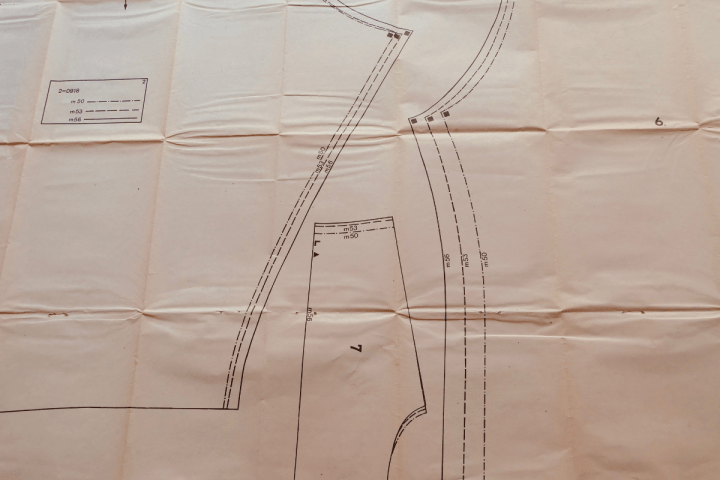
Let’s start with your pattern book. If you’re reading this, you most likely already know how to create a pattern, so let’s break down turning this into a pattern book.
- Create a Theme and Outline
Before starting this journey, sit down and decide what type of patterns you’ll be focusing on (quilts, child apparel, workout apparel, etc.) From there begin drafting an outline of how you would like your book to flow.
- Assign Yourself Writing Time
When it comes to creating a book, whether it’s fiction or patterns, it can be time-consuming! Make sure to set aside time in your days so that you can focus on writing your patterns. Our best tip? Set yourself an end goal date for the best results.
- Ask For Help
When writing your first pattern book, it’s best to have outside assistance proofreading your work, testing your patterns, and confirming the flow of the book is understandable to the skill level you’re marketing to. For example, if your pattern book is geared towards beginners, we recommend being detailed in the little things.
Finding Your Front Cover and Book Design

Most people will judge a book by its cover, so make sure that your cover is eye-catching and true to your pattern designs. Self-publishing books still compete with other booksellers, and you want your book to garner attention.
Some will be able to create their front covers, but for those who want a more professional design, there are websites that allow you to hire creative designers for affordable prices. If you choose to design your front cover, here are some tips to keep in mind:
1. Research other pattern books and review the designs that grab your attention. Decide what works best, and what you find eye-catching, and think about how you can create a cover that will draw attention to your work.
2. Remember, your work will be sold online as a self-publisher, so the graphics used to sell your book will be minuscule. Keep this in mind when designing your cover so that you stay away from designs too busy, as that would make the image difficult to see, or using small details that would be overlooked as a thumbnail image.
3. Choose a title font that is legible for viewing and easy reading and a title that is eye-catching and captures your work well.
4. Don’t forget the spine and back cover! While not seen during online shopping, customers will see this after purchasing and we want to make sure the whole design is complete and follows your front cover.
If you choose to design your book, below are a few design programs you can consider using:
– Adobe InDesign
– Canva
– Affinity Publisher
– Shutterstock Editor
If you choose to hire a designer for your book, below are a few sites we recommend checking out that offer designers for hire.
– Fiverr
– Guru
– Reedsy
– Upwork
How and Where To Publish
The next step is thinking about how you want to sell your books. Depending on how you choose to publish, this will affect your channels of distribution and the format you sell in.
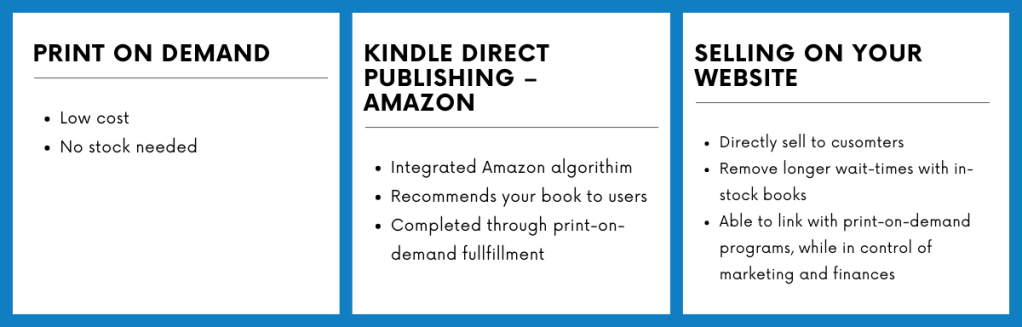
Print on Demand
A concept used by self-publishers due to its low cost, this publishing idea allows you to print books when purchased and removes the aspect of creating copies and stocking them. For example, ‘Lulu Direct’ is a self-publishing platform for printing and distributing books with a large style selection you can choose from to personalize. For other platforms, you can check out Acutrack and Blurb.
Kindle Direct Publishing – Amazon
Amazon’s self-publishing platform has seen a rise in popularity due to the ease readers enjoy while using its platform. With over 50% of the printed book market being sold by Amazon, your book has a high chance of being viewed thanks to the Amazon algorithm. Using reader’s recommendations, your book will be placed in front of new customers without your assistance.
The way amazons self-publishing works is through print-on-demand fulfillment and the option for e-book sales. E-book sales must be exclusive to Amazon if sold on their platform, but physical books are free to be sold on their site and anywhere else. Amazon will handle printing and shipping, with a percentage of royalty credited to the creator.
Selling on Your Website
If you have a website for your business, you can link your account with a program like ‘Lulu’ to begin directly selling books to customers. By integrating Lulu and a website platform like Shopify, you can sell print-on-demand books and control your shop sales and marketing with Shopify.
Another option is buying your pattern book in bulk from a print-on-demand publication and selling it from inventory on your site. This option is best for offering faster delivery instead of having a multiple-day wait time for printing.
Formatting Your Book
Once you’ve decided how and where you’re going to sell your new pattern book, let’s cover the formatting aspect. Depending on the platform you use for publishing, this will affect how you will format your book.
For example, if you choose to use Amazon’s platform they require you to create two different format downloads for sales. One is the manuscript, the manuscript must include all the pages inside your book. Next is the cover, this file will include the design covers you’ve completed for the front, back and spine of the book.
Make sure when creating your format for the pattern book you mind the margins and trim of your work. Depending on what book size you choose to publish in, make sure your book measurements transfer correctly before printing.
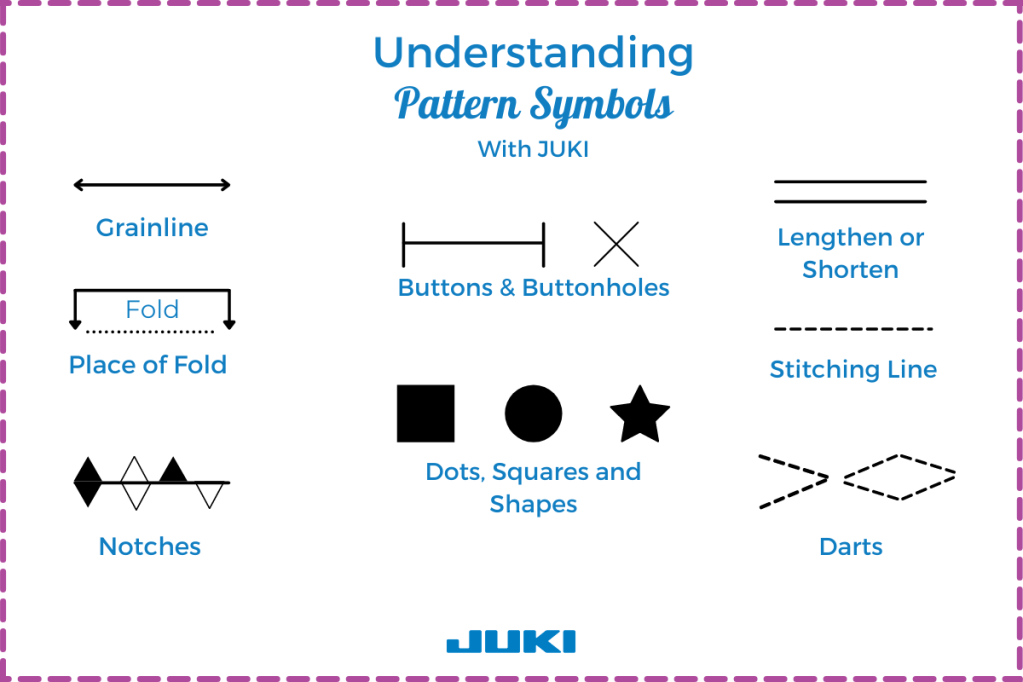
To start, place an introduction, cover the chapter/section breakdowns, go over the symbols you’ll use in your pattern book, and cover key details the reader should mind.
If you choose to section off your books, for example by designs, seasons, or projects, make sure to create distinct chapter marks for sewists to follow along and easily find the pattern they’re looking for. Creating a pattern book that is easy to read through will allow sewist to enjoy your work best.
Launching Your Pattern Book
Like any other product you’d sell, it’s time to start marketing and planning your selling space! Below are the steps you should take before launching your book.
- Make sure your channels of sale work
Confirm that your program is in working order and receiving payments. Run a ‘test purchase’ and go through the site like a buyer, even purchasing a book if you’re working through print on demand. This is a great way to confirm your sale process is in order and will work for future sales.
- Setup your website
If you don’t already have a website for yourself, make sure to get a basic one up and running! Think of your website as a ‘home’ for all your sales, products, and yourself. Here is where you will lead your social media channels and sales, to create a customer base and audience. This will make it easier for customers to get to know you.
- Create an email marketing list
Building an audience isn’t easy, but one of the best ways to do this is through email marketing. Through this platform, customers can keep an eye out for future book projects, updates, and patterns. We recommend setting up a sign-up that allows visitors and customers to place their emails for your records.
- Use an analytics tool
Last, but not least, keep an eye on your analytics! Website and storefront analytics is the best way to understand your audience, customers, sales, marketing goals, and more. Programs like Shopify come with a built-in analytics program, but Google Analytics is free to use and available for all.
Market and Sell Your Book!
Once you’ve created your pattern book, set up and tested your shop, and planned your marketing and website, you can begin getting your book out there! To help you find your customers, we’ve created a list of marketing ideas you can use for your new pattern book.
- Share excerpts from your pattern book. Whether it’s one free pattern to bring in interest, or a section where you dive into a technique, showcasing what people can have and learn is an amazing use of attention-grabbing.
- Encourage reviews! Reviews will bring attention to your books, and assist in sales since this will assist the algorithm in recommending your product to other customers.
- Social media ad campaigns are exciting! Whether you decide to use Facebook, Instagram, or Pinterest, these campaigns can help you get in front of the right audience. Keep in mind that social media campaigns come at a cost, so we recommend setting aside some money for social media ad work if you choose this route.
- Network and get your name out there! Whether you co-host podcasts, jump in on blog and forum spaces, or work with another sewist, bringing attention to yourself and your brand through word of mouth and others is a great way to build your credibility and expand your audience.
Need help creating a marketing plan? Visit us here to learn how to write a marketing plan today.
Keep It Going
You’ve now published your first book! The best plan is to keep promoting yourself and working on your patterns. As you enjoy the journey of creating and publishing pattern books, continue focusing on your marketing strategies, sales analytics, and building your profile and website.
Don’t be discouraged if you don’t see rocket sales when you first launch, as these types of things take time! As you continue to work on your patterns and skills, you’ll find yourself gaining a deeper understanding of the business aspect of it all. We hope this inspires you to publish your pattern book! If you created a pattern book, what type of patterns would you focus on? Let us know in the comments below!