Summer is the perfect season to get creative and bring fresh, personalized projects to life! Whether you’re sewing accessories or adding custom embroidery to your favorite items, JUKI’s advanced machines and user-friendly tutorials make it easy to craft beautiful pieces with professional results. No matter your skill level, these five projects from our website, each accompanied by a YouTube video, are designed to inspire your creativity and keep you busy all season long.
From sewing stylish hats and versatile tote bags to embroidering personalized jerseys, sneakers, and matching pet accessories, these projects are perfect to get your summer going! Each one includes recommended machines and presser feet, so you can get started with confidence.
Let’s dive in!
Projects You Can Sew!
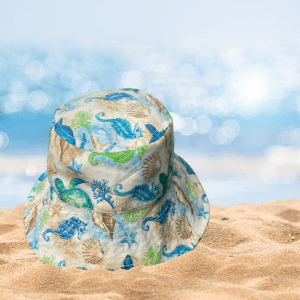
Bucket Hat
Nothing says summer like a classic bucket hat! Follow along as JUKI Trainer Alba walks you through sewing your own using the DX-2000QVP. Its adjustable settings and precise stitching make handling curves and layered seams a breeze. While the tutorial features the DX-2000QVP, you can create this project with any JUKI computerized sewing machine; just choose the one that fits your setup. Pick a bold print or lightweight cotton to match your personal style and stay cool under the sun. It’s a simple and satisfying project, great for gifting or keeping for yourself.
- Recommended Presser Feet: Standard Zigzag Foot, Walking Foot (for layered seams)
- Perfect For: Sun protection, outdoor events, fashion styling
- Watch the video here!
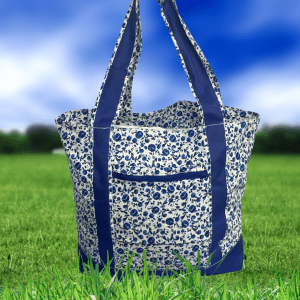
Tote Bag
Need a sturdy bag to carry all your summer essentials? This DIY tote is quick, functional, and endlessly customizable. Alba will show you how to build a functional tote from start to finish. Perfect for the beach, farmers’ markets, or daily errands. You can add your own flair with contrast linings, color blocking, or pockets.
- Recommended Presser Feet: Walking Foot, Adjustable Zipper Foot (if adding zippers or pockets)
- Perfect For: Beach, travel, everyday use
- Watch the video here!
Projects You Can Embroider!
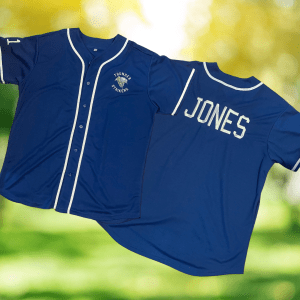
Team Jersey Embroidery
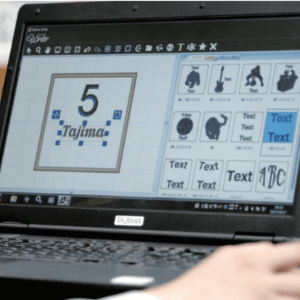
Take your team gear to the next level with this custom jersey embroidery project! Using the TAJIMA SAI 8-needle embroidery machine and Sai Writer Plus Software, you’ll learn how to personalize a jersey with a player’s name, number, and logo. With large and small frame options, you can work on back panels, sleeves, or chest placements easily. It’s a great project for creating professional-looking apparel for sports teams, clubs, or special events.
- Frames Used: Large Tubular (7.8″ x 11.8″), Small Tubular (3.9″ x 3.9″, optional), Medium Magnetic (40mm x 60mm)
- Perfect For: Team uniforms, custom sportswear, school events
- Watch the video here!
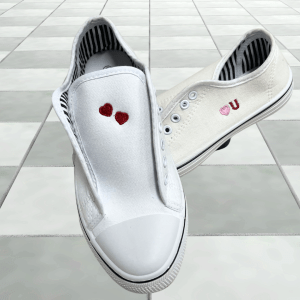
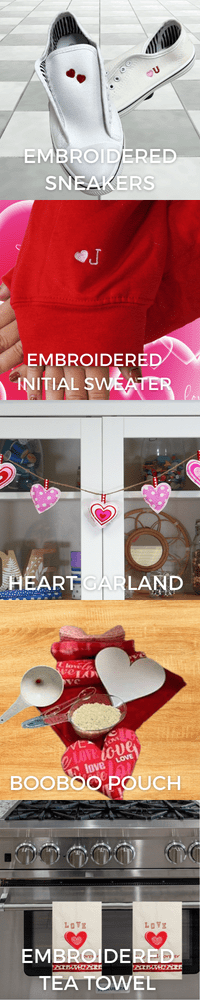
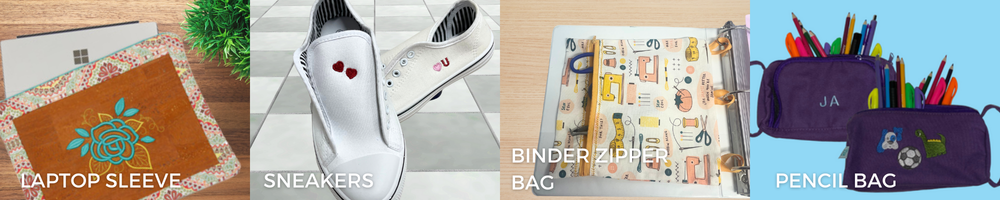
Embroidered Sneakers
Bring your shoes to life with this creative project using the Tajima SAI and the specialized Shoe Frame. Add initials, artwork, or bold designs to sneaker sides and tongues for a unique, personal look. It’s a bold and stylish way to stand out with every step.
- Accessories: Shoe Frame
- Perfect For: Personalized gifts, statement fashion, one-of-a-kind footwear
- Watch the video here!
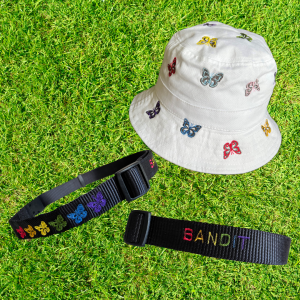
Butterfly Bucket Hat and Dog Collar Set
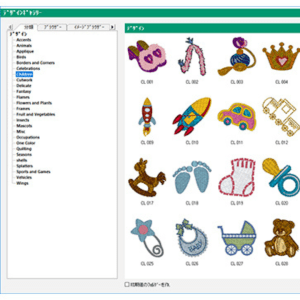
Twin with your furry best friend this summer by stitching a butterfly-themed bucket hat and matching dog collar! In this project, you’ll use the Tajima Writer Plus Software to create a coordinating design and the JUKI Tajima SAI to bring it to life with clean, vibrant embroidery. It’s a charming and fun project perfect for pet lovers!
- Perfect For: Matching accessories, pet gifts, fun seasonal sets
- Watch the video here!
Get Creative with JUKI This Summer
No matter which project you choose, JUKI’s machines and projects are here to bring your creative side to life! From functional pieces to fashionable statements and personalized gifts, these projects are sure to inspire and excite. Be sure to check out the full video tutorials here, grab your favorite fabrics, and start stitching your way into summer fun!