There are few sewing frustrations as common as fabric layers that refuse to stay aligned. You’ve carefully cut your pieces, pinned your seams, and started stitching, only to discover that one layer has shifted by the time you reach the end. Maybe your quilt backing no longer lines up with the quilt top. Maybe your bag panels don’t match perfectly. Or maybe a stretchy knit seam looks wavy instead of smooth.
While these issues are common, they often share the same root cause: uneven fabric feeding. In this blog, we’ll explore why fabric shifting happens, how dual feed systems help improve control, and how JUKI’s SmartFeed technology can support more accurate sewing and quilting results.
Why Fabric Layers Shift
A sewing machine’s feed dogs are responsible for moving fabric through the machine during stitching. Traditional feed systems move the bottom layer while the presser foot holds the fabric in place from above. For many projects, this works perfectly well. However, when multiple layers are involved, the top layer and bottom layer don’t always move at the same rate.
This can result in:
- Misaligned seams
- Fabric stretching
- Puckering
- Uneven quilt layers
- Distorted project shapes
The thicker or more complex the project becomes, the more noticeable these issues can be.
The Challenge of Quilting
Quilting introduces an additional layer of complexity because you’re often sewing through three layers at once: Quilt top, batting, and backing. Each material behaves differently as it moves under the needle. Over long seams, even small shifts can affect block alignment and overall accuracy. You’ll usually notice this when quilting large projects where maintaining consistency from one edge to the other is essential.
Many quilters rely on walking feet or specialized accessories to help manage these layers. While those tools can be effective, integrated feeding systems offer another solution.
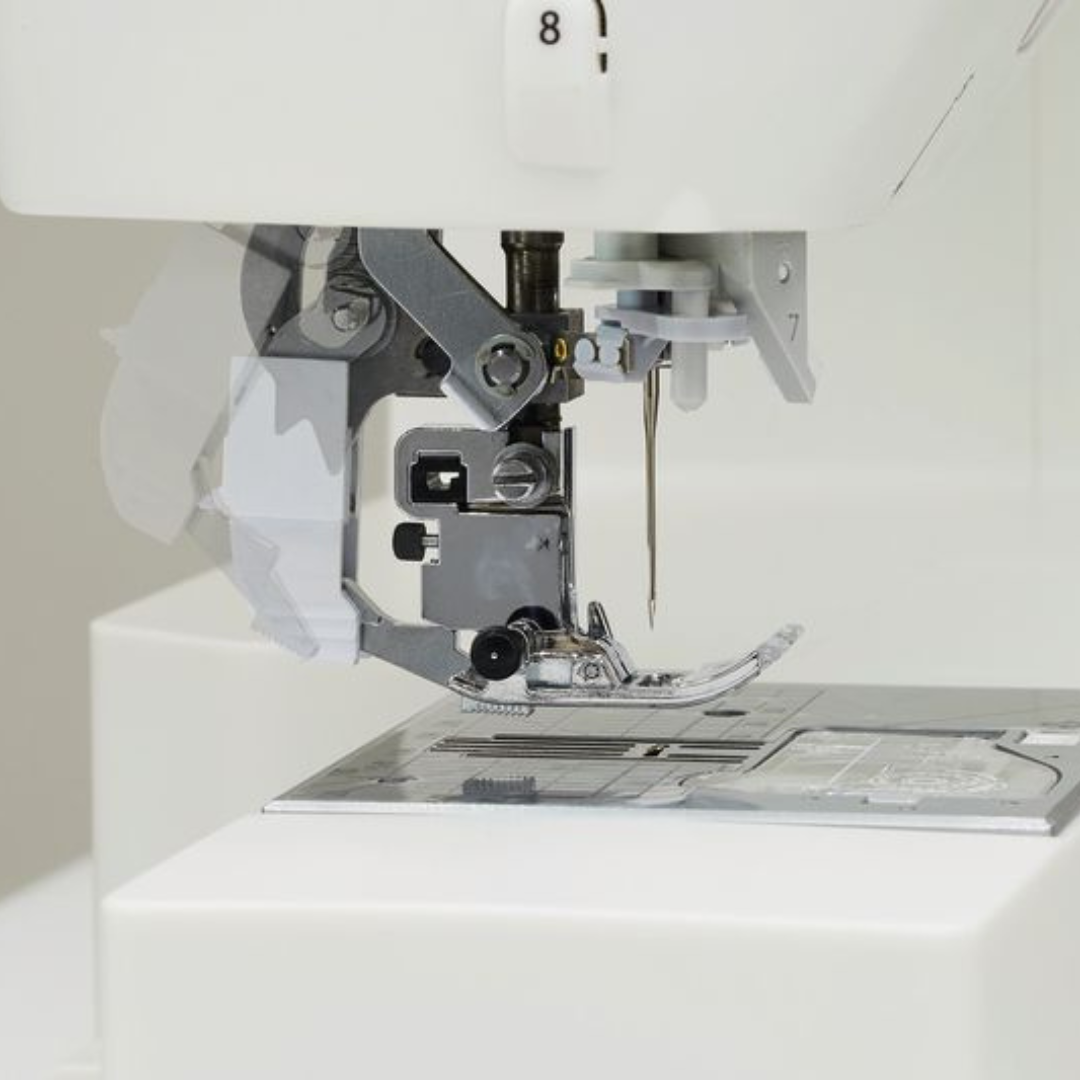
Understanding JUKI’s Dual Feed System
JUKI’s Dual Feed System is designed to move both the upper and lower fabric layers together. Instead of relying solely on the lower feed dogs, the machine helps control movement from both directions, reducing the chance that one layer will move faster than the other.
The result is often improved fabric alignment and greater control through bulky sections. This becomes particularly useful when sewing projects with multiple layers or fabrics that tend to slide against one another.
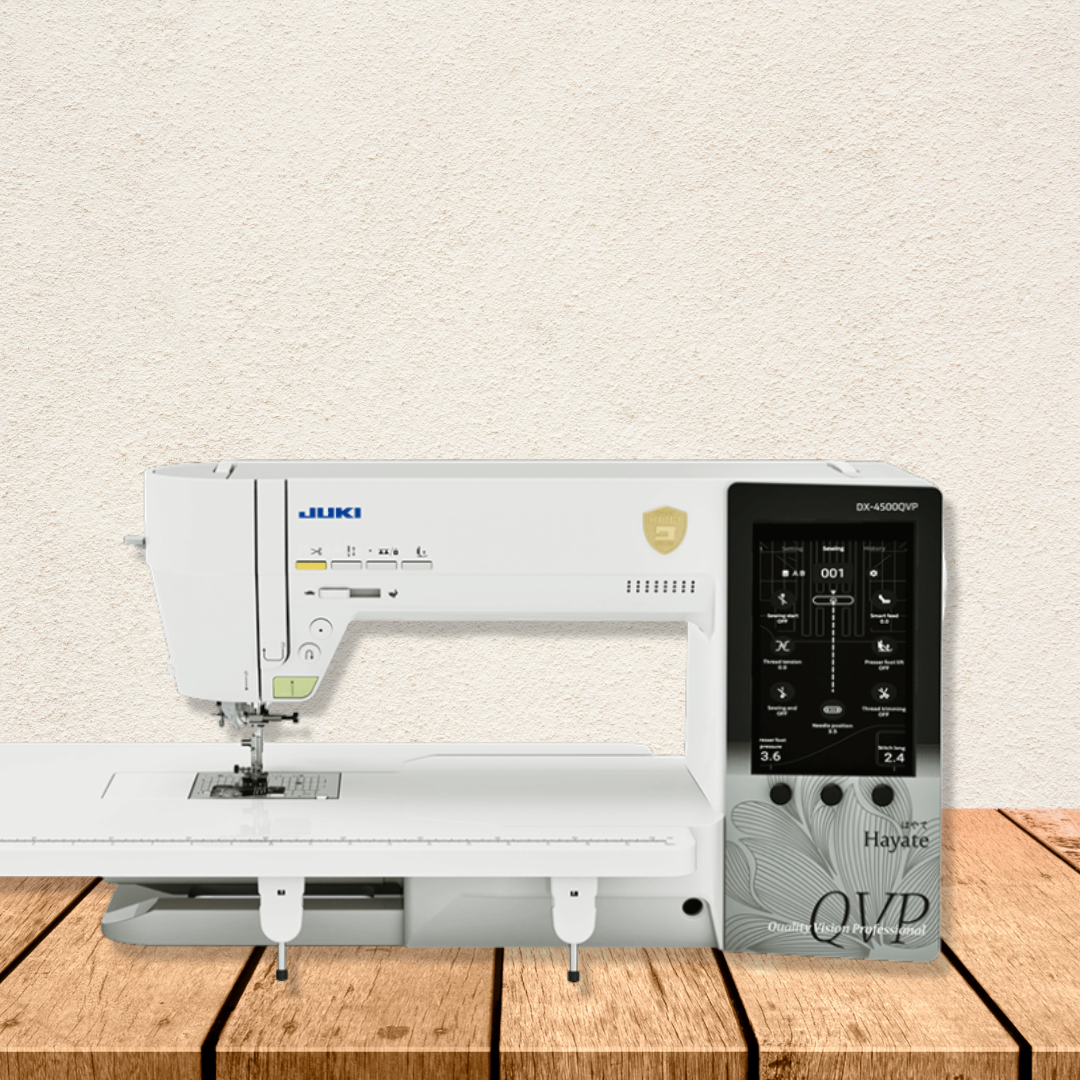
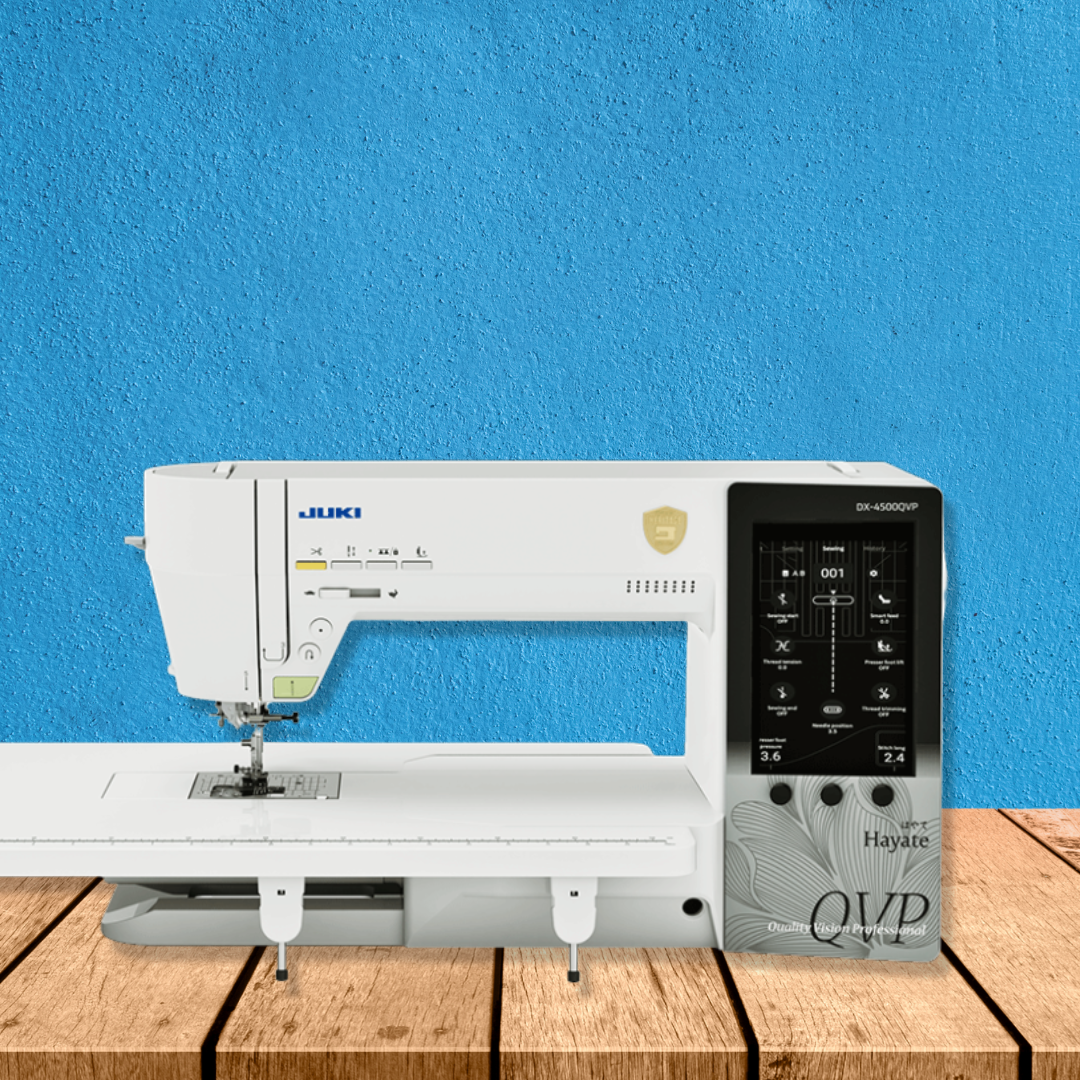
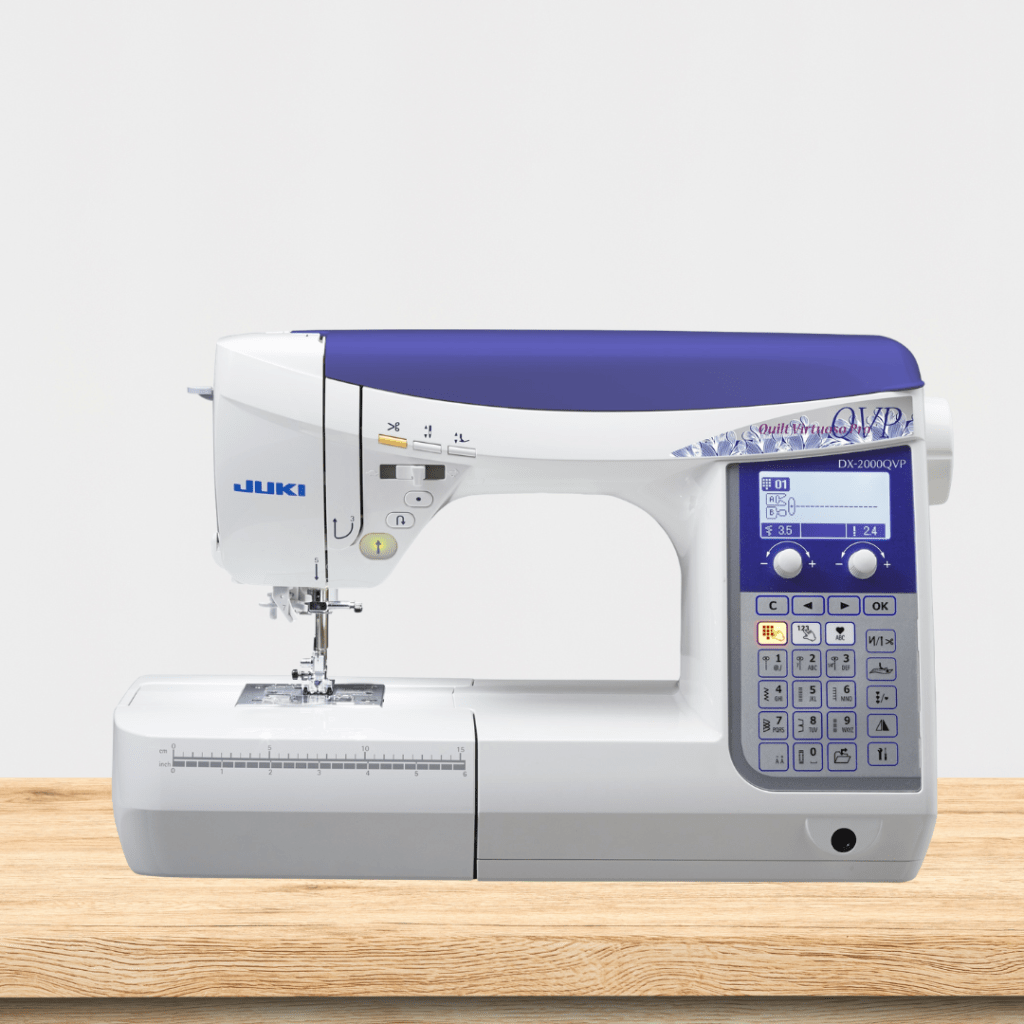
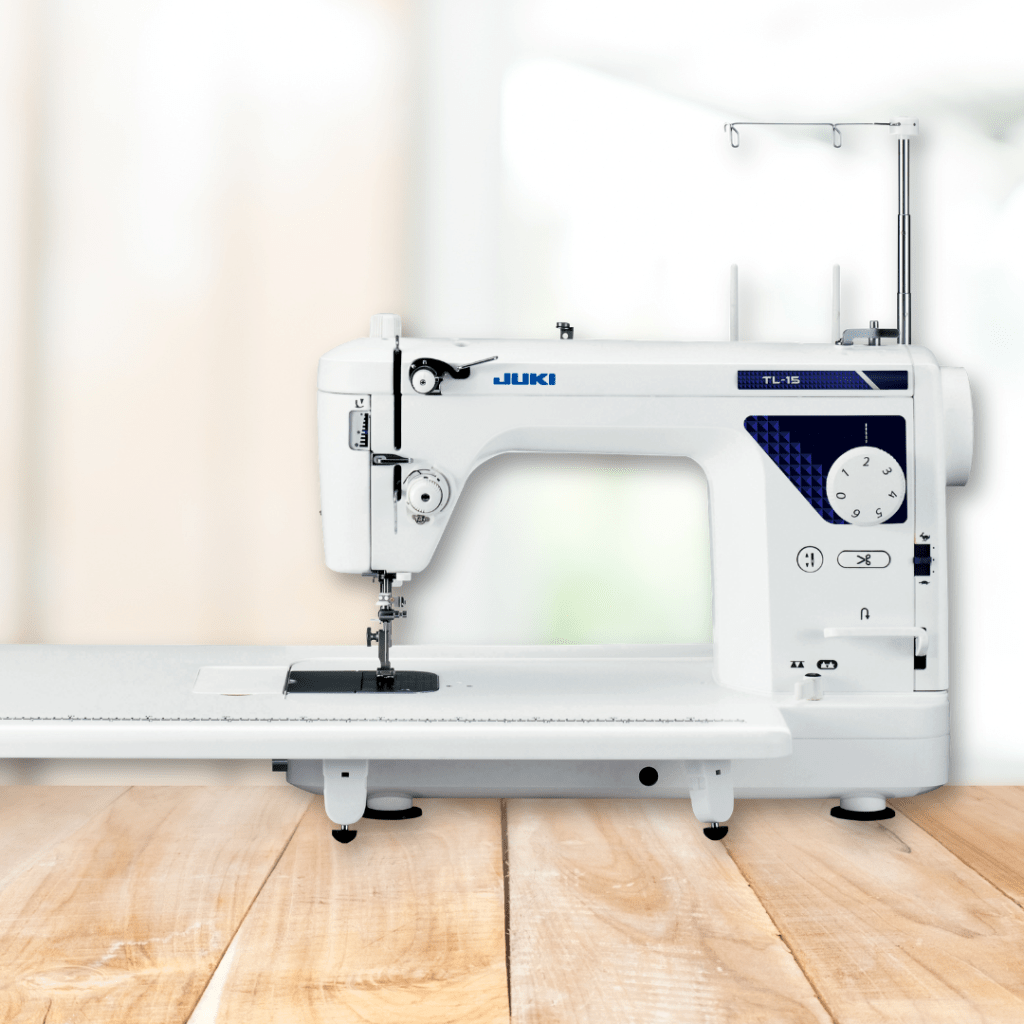
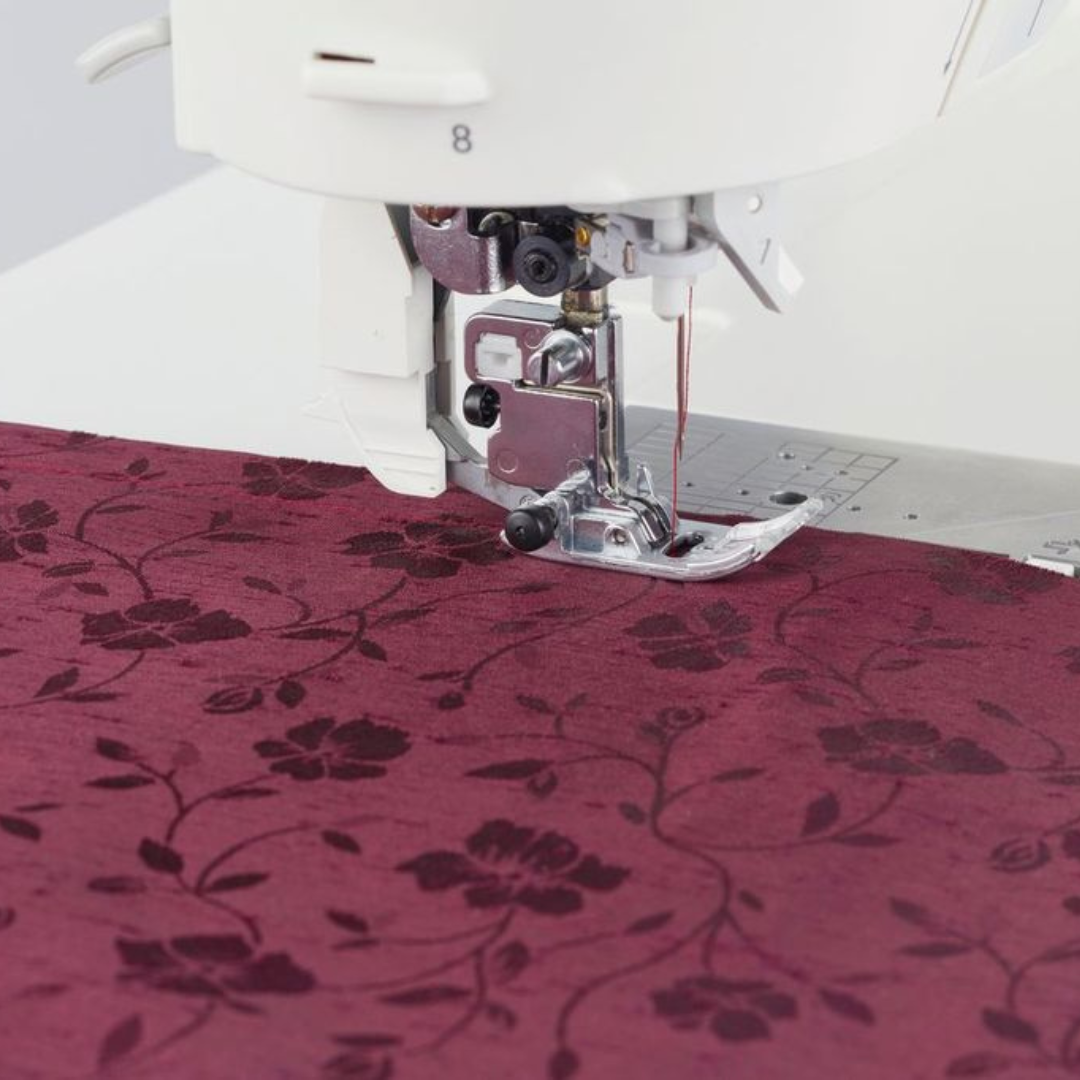
Introducing JUKI SmartFeed
JUKI’s SmartFeed system is a built-in dual feed system designed to improve fabric control across a wide range of sewing applications. By helping both fabric layers feed together, SmartFeed assists with maintaining alignment throughout the sewing process.
This is perfect if you plan to work on any projects with Multiple layers like quilts or bag projects. Because the system is integrated into the machine, you can engage it when additional feeding support is needed and focus on the project rather than constantly correcting fabric position.
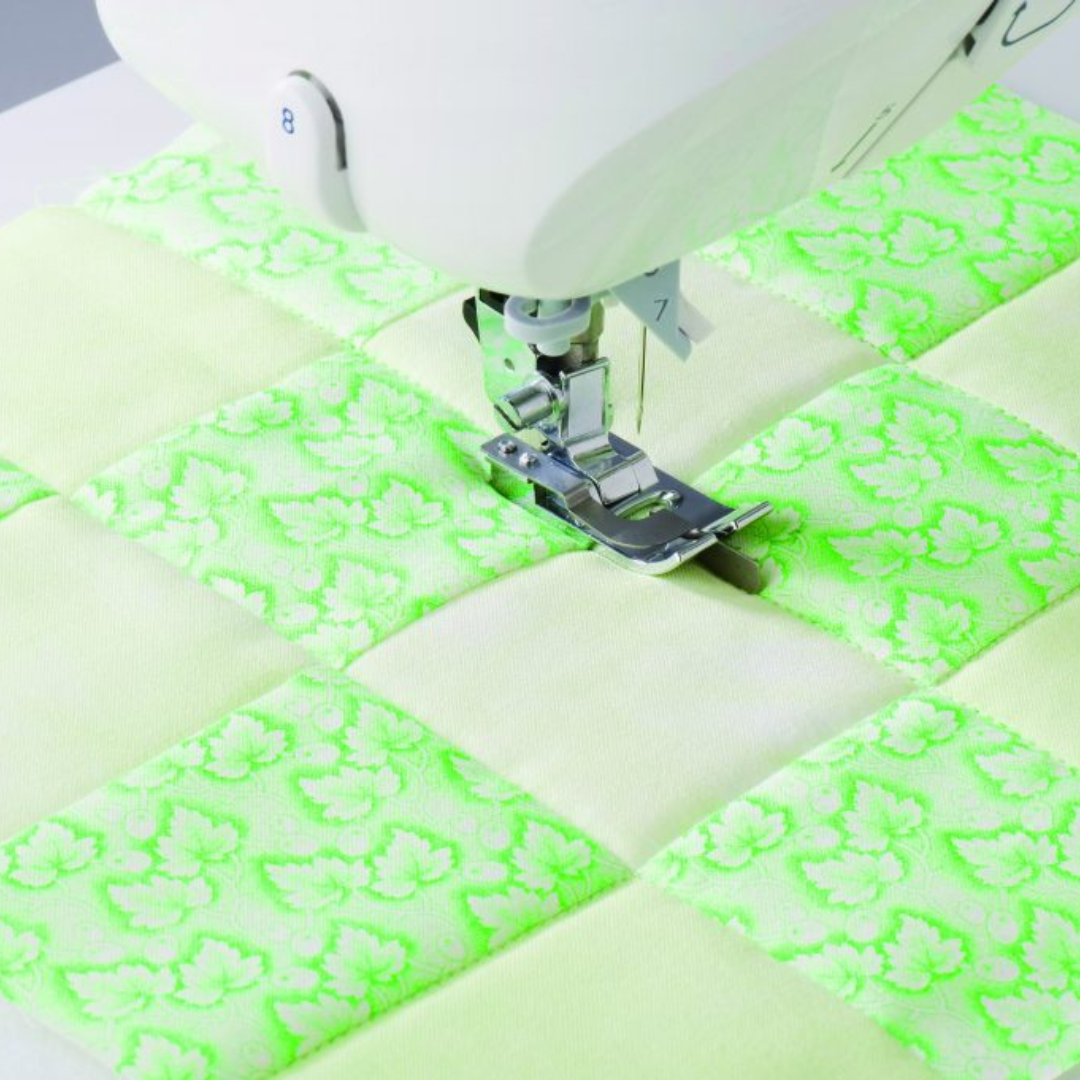
SmartFeed for Quilting
Quilters invest a great deal of time in preparation before a single quilting stitch is sewn. Careful cutting, precise piecing, and thoughtful pressing all help create a quilt that comes together accurately. Once quilting begins, maintaining that precision becomes just as important.
Because quilts are made up of multiple layers, fabric shifting can occur as the quilt sandwich moves under the needle. Even slight movement between the quilt top, batting, and backing can affect alignment, particularly when quilting long lines or working across larger sections of a project.
SmartFeed helps minimize this challenge by promoting more consistent fabric movement throughout the quilting process. By helping the layers feed together more evenly, it can reduce shifting, improve accuracy, and create a smoother sewing experience.
This becomes especially noticeable when sewing through batting, which can sometimes add resistance as the quilt moves under the presser foot. Consistent feeding helps maintain smooth movement across the quilt surface while supporting straighter stitching and more accurate results from beginning to end.
SmartFeed Beyond Quilting
While SmartFeed offers clear advantages for quilting, the benefits extend beyond that to different types of sewing projects as well.
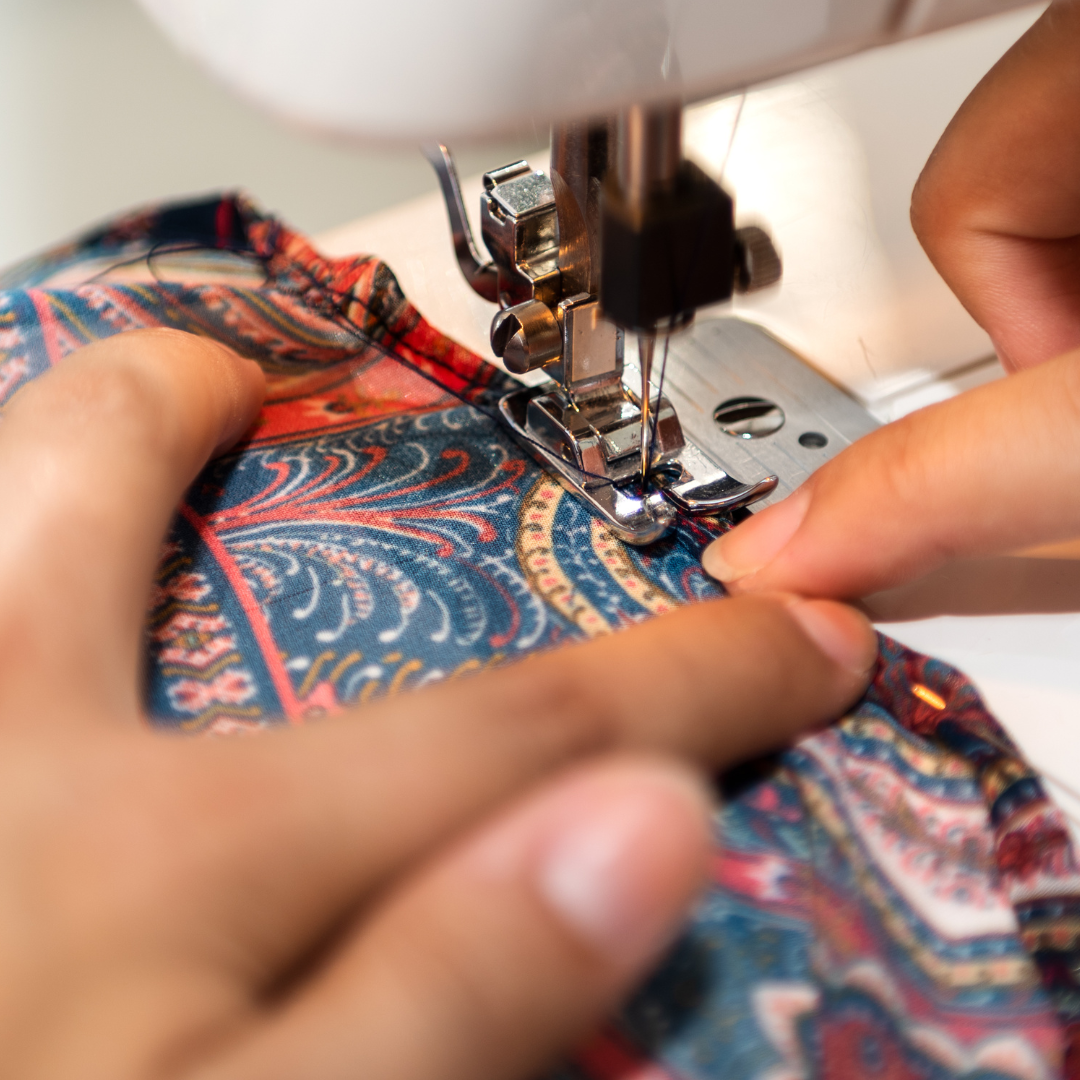
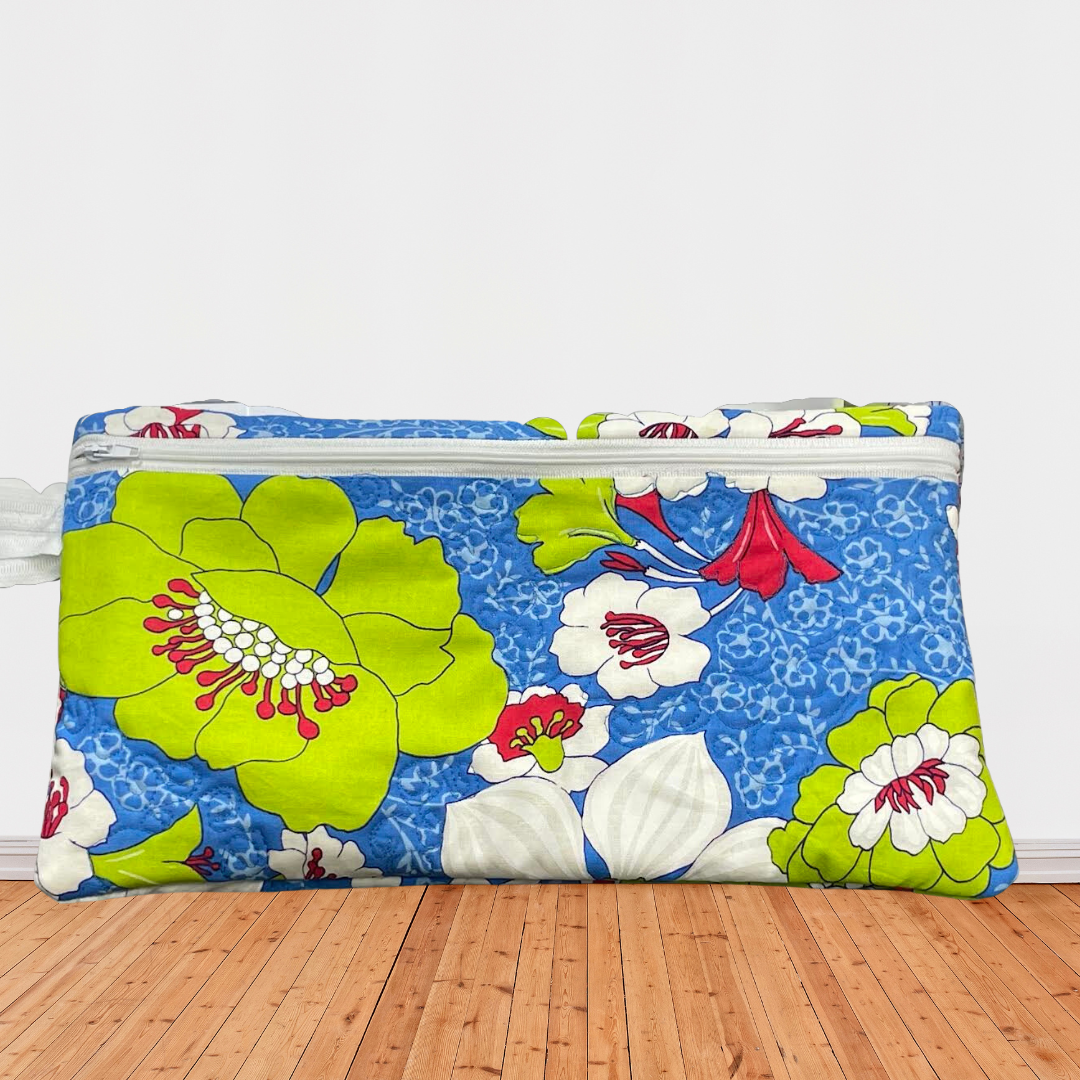
Bag makers often work with multiple layers of fabric, interfacing, foam, and webbing, all of which can shift as they’re sewn together. Consistent fabric feeding helps keep these layers aligned, making it easier to achieve accurate seams and cleaner construction. The same principle applies to garment sewing, where certain fabrics, particularly knits and layered materials, can stretch or move during stitching. By helping fabrics feed more evenly, SmartFeed can support better seam quality and help maintain the intended shape of the project.
Home décor projects can benefit from improved fabric control as well. Whether sewing table runners, placemats, pillow covers, or other layered projects, consistent feeding helps fabrics move smoothly through the machine and can contribute to more accurate results.
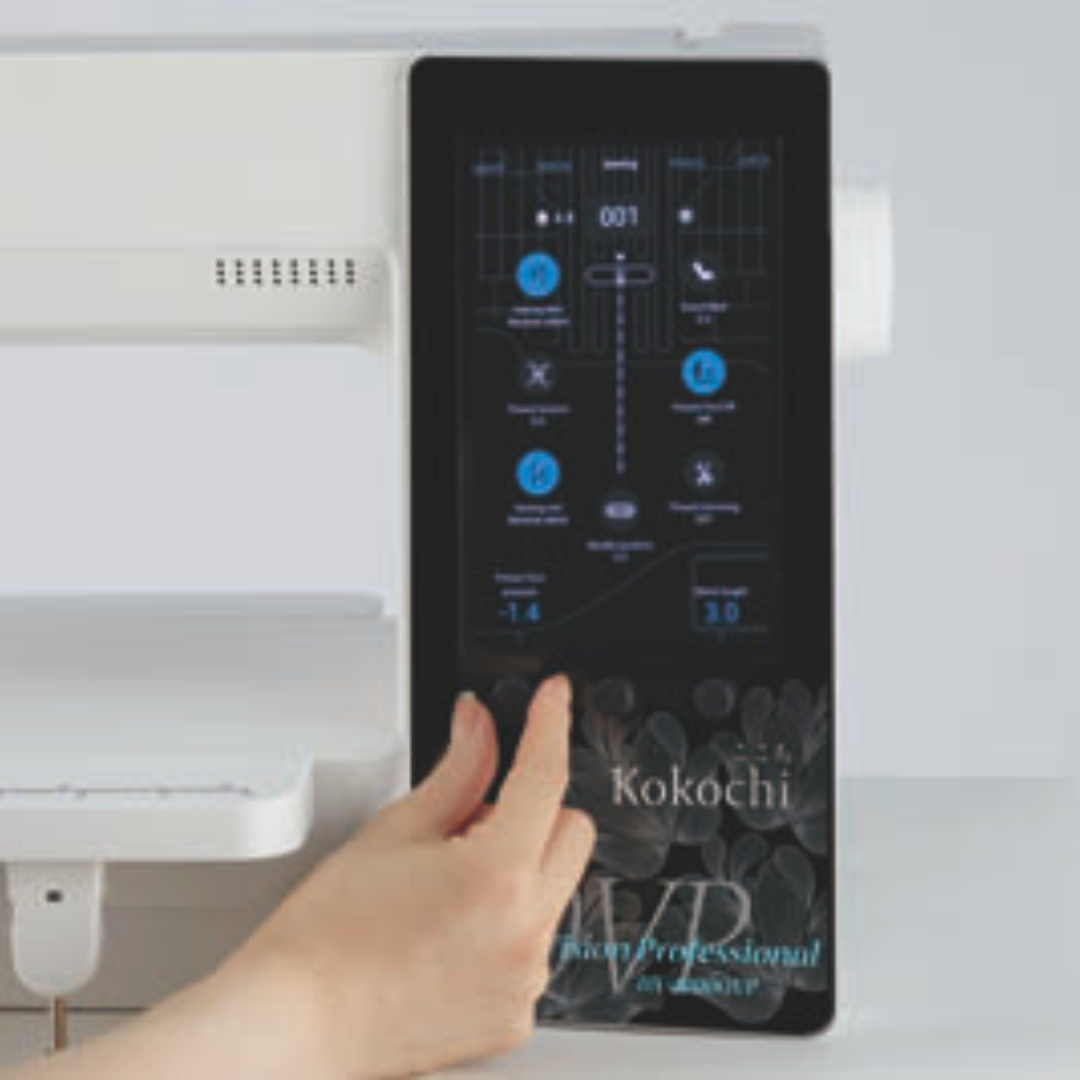
Like any sewing feature, SmartFeed works best when combined with proper machine setup. Adjustments such as presser foot pressure, needle selection, thread choice, tension settings, and stitch selection all play an important role in achieving the best possible outcome. When these elements work together, sewists can better tailor machine performance to the unique requirements of each project.
Greater Control, Better Results
Fabric control plays a major role in sewing success. When layers remain aligned and materials feed consistently, it’s easier to focus on creativity rather than correction.
SmartFeed was designed to address one of sewing’s most common challenges by helping fabrics move together throughout the stitching process. Whether you’re quilting, making bags, sewing garments, or creating home décor projects, improved feeding can make any project cleaner to construct, finish with greater accuracy, and a more enjoyable sewing experience.