Level Up with JUKI Accessories

September is the perfect time to enhance your sewing experience with the right tools and accessories! This month, we’re featuring four JUKI accessories designed to help you achieve professional results while making your projects more enjoyable on your JUKI.

Whether you’re quilting, creating home décor, crafting handbags, or focusing on precise stitching, these accessories are tailored to meet your needs. By adding the right accessories to your sewing space, you can unlock new techniques and take your projects to the next level!

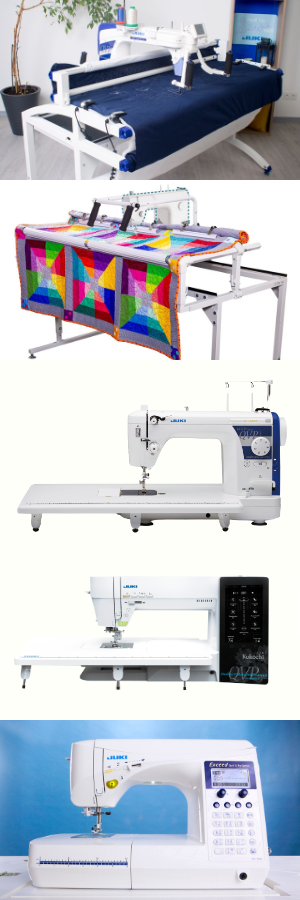
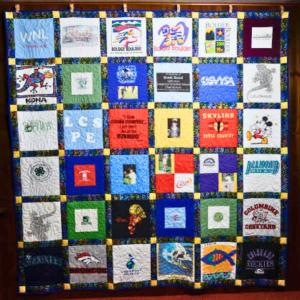
What is a JUKI Free Motion Table?

Let’s start with an accessory any sewist can appreciate, the JUKI Free Motion Table. This flat extension created for the TL series expands your workspace and provides better control over your fabric. It’s especially helpful for creators who need stability and support when working on large quilts or bulky projects. Keeping your fabric level with the machine bed reduces drag and helps maintain even stitching. This table is designed to fit perfectly with your JUKI machine, making free-motion quilting smoother and more enjoyable.

Benefits & Tips

  • Expands your workspace for easier free-motion quilting
  • Reduces fabric drag and shifting for smoother stitches
  • Ideal for large quilts, table runners, and bulky projects
  • Level your table with your sewing surface for the best results

Project to Try: Quilted Table Runner
Create a beautiful quilted table runner to celebrate the season! Using the Free Motion Table, you’ll have the stability to quilt continuous designs without fighting heavy fabric. Choose coordinating fabrics, layer your quilt sandwich, and practice smooth, even movements across the surface. The large workspace helps keep your stitches consistent, resulting in a polished and professional finish. Learn how to create this project here!

What Is a Tractor Foot?

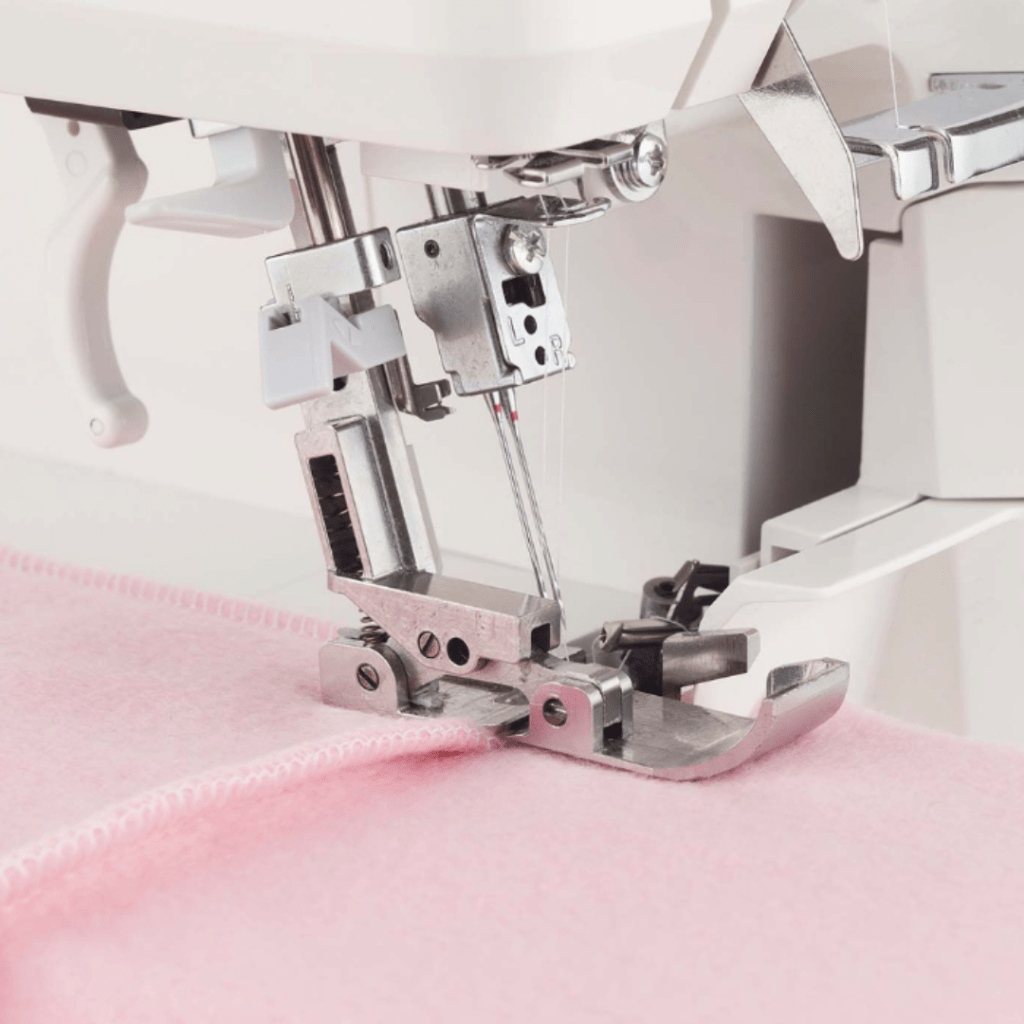
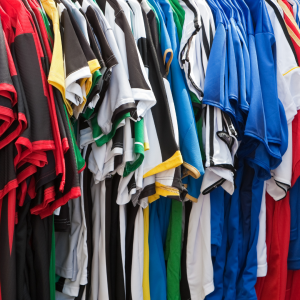
Now, if you’re someone who works on home décor, the Tractor Foot is for you! This foot is designed to help your machine glide over thick seams and uneven layers with ease. It’s perfect for home décor projects like cushions, drapes, or upholstery, where fabrics often overlap or create bulky areas. This foot “climbs” over raised sections smoothly, reducing skipped stitches and needle strain.

If you love making home projects with canvas, denim, or layered fabrics, the Tractor Foot is a must-have!

Benefits & Tips

  • Smoothly stitch over thick seams and uneven layers
  • Prevents skipped stitches on bulky home décor fabrics
  • Ideal for upholstery, drapery, and multi-layered sewing projects
  • Use a heavier needle (90/14 or 100/16) for the best results

Project to Try: Custom Throw Pillow with Piping
Upgrade your living room with a custom pillow that includes a decorative piped edge. The Tractor Foot makes it easy to stitch around corners and over layered seams without breaking needles or losing stitch quality. Cut your pillow pieces, insert piping between the front and back panels, and watch the foot handle the thickness with ease. The result is a stylish, durable pillow that looks professionally made.

What Is a Professional Set?

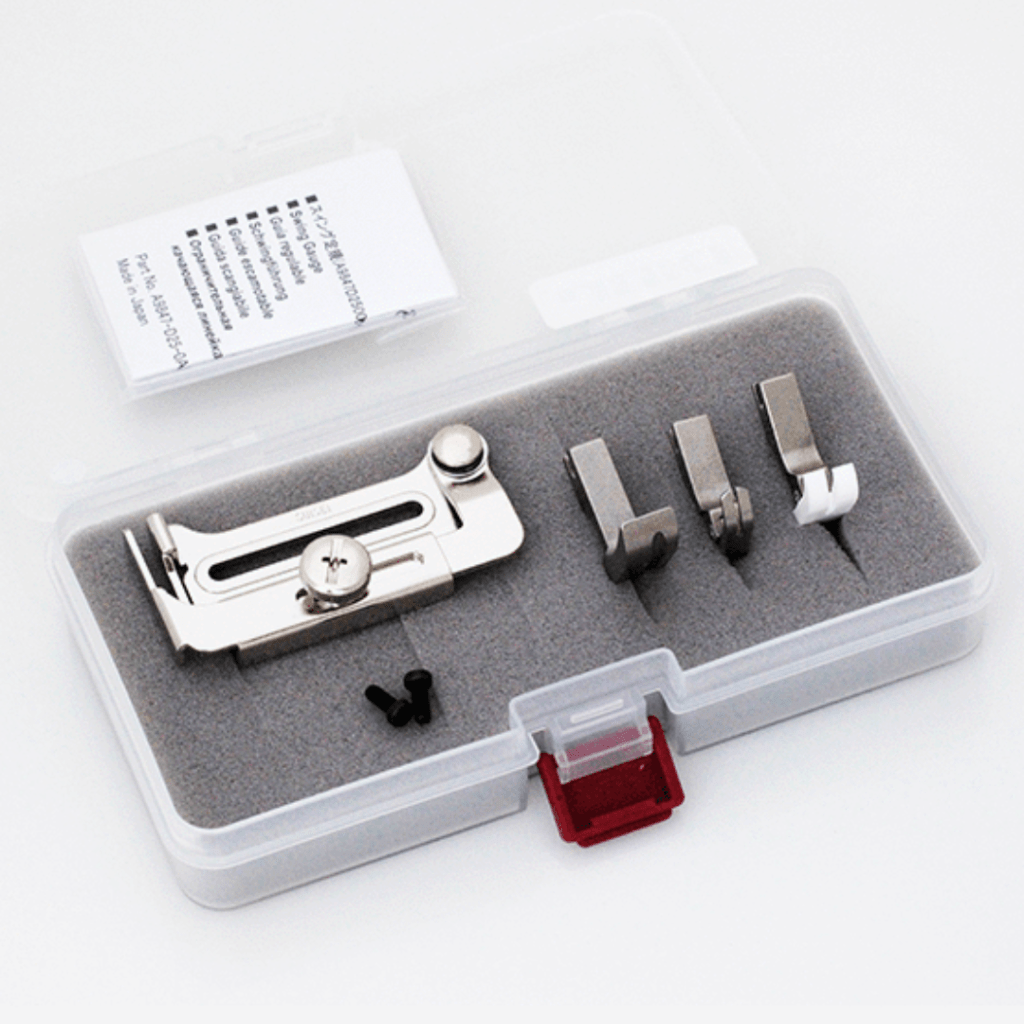
Next, we have the JUKI Professional Set, a collection of presser feet and tools designed for projects like handbags, structured totes, and more!

This set gives you the versatility to handle difficult-to-feed fabrics like leather, zipper installation, edge stitching, and decorative finishes all in one package. Each tool is designed to help you achieve clean, precise results, even on challenging materials like leather or canvas. It’s the perfect accessory kit for makers looking to expand their skills and create professional-quality bags.

Benefits & Tips

  • Provides a variety of feet for topstitching, zippers, and edge finishing
  • Helps tackle layered fabrics, leather, and canvas with ease
  • Ideal for structured accessories and professional-level bag making
  • Match the foot to the task for cleaner, faster results

Project to Try: Quilted Laptop Bag
Create a durable and stylish quilted laptop bag using the Professional Set to guide you through every stage of construction. Start by quilting your fabric layers with the walking foot to ensure smooth, even stitches. Then use the edge guide foot for clean topstitching and the zipper foot to install secure closures or inner compartments. With these tools, you’ll achieve a sturdy, professional-looking bag that keeps your laptop protected while showcasing your creative style. Learn how to create this project here!

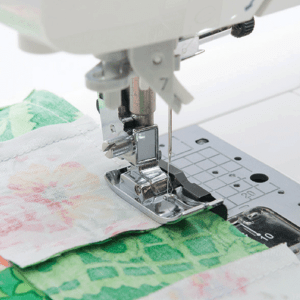
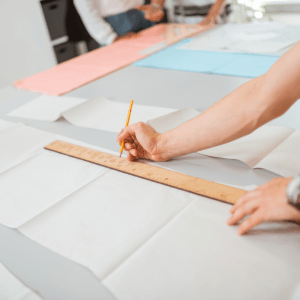
What Is a Needle Plate?

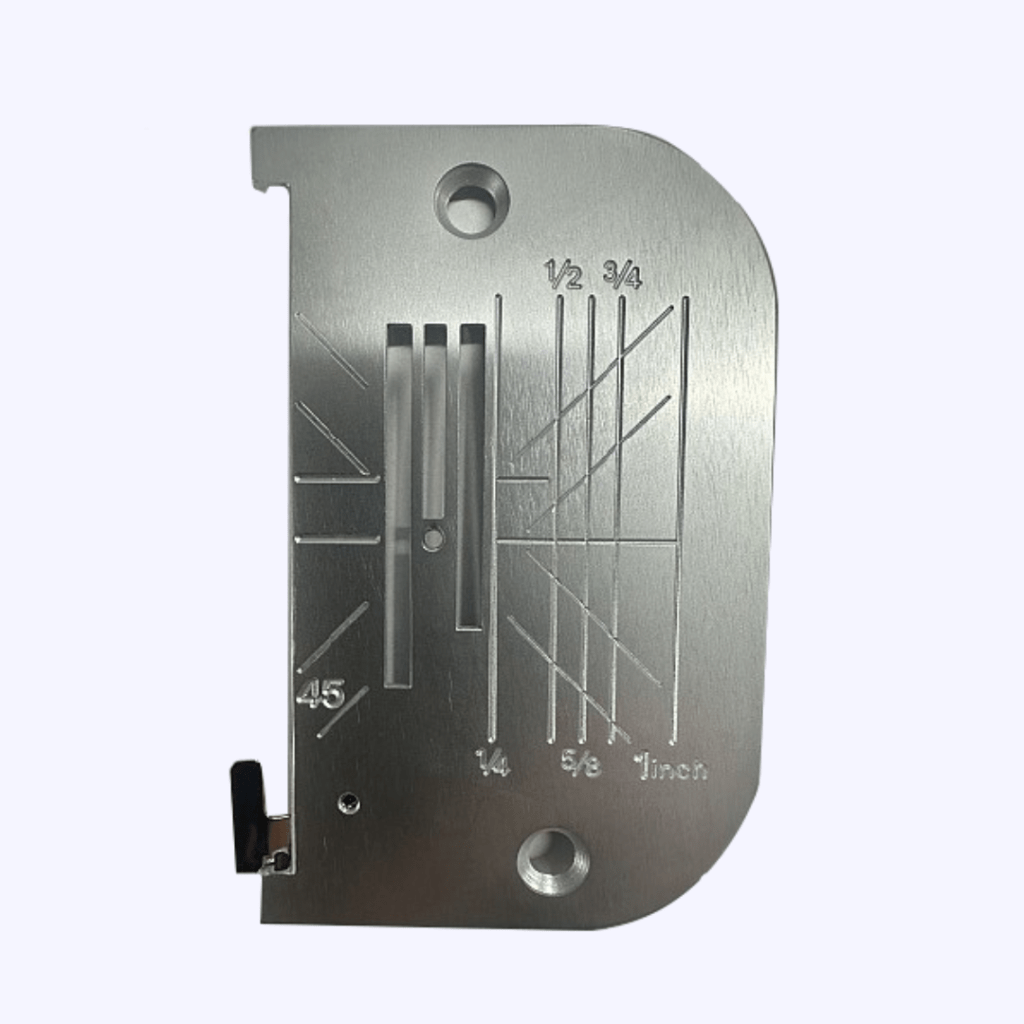
The JUKI Needle Plate is now available in inches! This upgraded plate gives you precise seam markings in inches for easier, more accurate sewing. This is especially helpful for quilters, garment makers, and general sewists who rely on consistent seam allowances. By following the inch markings, you can maintain straight, even stitches without additional guides. It’s a simple upgrade that makes a big difference in accuracy and efficiency.

Benefits & Tips

  • Provides clear inch-based seam guides for precision
  • Helps maintain consistent seam allowances without extra tools
  • Keep fabric aligned with the markings for straighter seams

Project to Try: Quilted Block
Try sewing a traditional 9-patch quilt block using the Needle Plate for perfectly consistent seams. Cut your squares, align your fabric with the ¼” marking, and chain piece your rows together. With precise guides, your finished block will press neatly and assemble smoothly with the rest of your quilt. This small upgrade helps ensure every piece comes together with accuracy!

Upgrade Your Sewing This September!

Adding the right accessories to your sewing kit can completely transform your creative experience. Whether you’re quilting with the Free Motion Table, sewing home décor with the Tractor Foot, creating professional bags with the Professional Set, or improving precision with the Needle Plate in Inches, these tools are made to elevate your projects.

Visit your local JUKI dealer to explore this month’s spotlight accessories and start your next project with confidence!

What is a 1/4″ Guide Inch Foot?

This month we’re kicking the blog off with a JUKI Accessory focus! If you’ve ever tried to make a quilt or piece together a garment, you know how important it is to achieve perfectly even seams. Without the right tools, it’s easy to end up with misaligned pieces or inconsistent stitching. The 1/4-inch guide Foot is an essential accessory that takes the guesswork out of seam allowances, helping you sew with precision and accuracy. But what is a 1/4-inch guide Foot, and why should you use it in your sewing projects? Let’s explore its features, benefits, and tips for using it effectively!

What is it?

A 1/4 Inch Guide Foot is a specialized presser foot designed to help you sew a consistent 1/4 inch seam allowance. This is important for quilting, garment construction, and any project where precision is key. Unlike a standard presser foot, the 1/4-inch guide Foot has a built-in guide or edge marker that helps you maintain a consistent seam allowance throughout your project. This tool ensures that each seam is evenly spaced, giving your work a professional finish!

The 1/4-inch guide Foot was developed to solve a common problem that sewists face—achieving consistent seam allowances. Before the invention of this foot, sewists had to rely on measuring with rulers or marking lines on their fabric, which can be time-consuming and prone to errors. The 1/4-inch guide Foot eliminated this hassle by providing an accurate guide for every seam, making it easier to achieve uniform results without extra effort.

Benefits and Uses of the 1/4 Guide Inch Foot

Now that we understand the purpose of the 1/4-inch guide Foot, let’s dive into its benefits! The primary advantage of using this foot is its ability to help you achieve perfectly even seams every time! Whether you’re working on a quilt, constructing a garment, or piecing fabric for a home décor project, this tool ensures that your seams are always uniform, resulting in better-fitting garments and neatly aligned quilt blocks.

For quilters, the 1/4-inch guide Foot is a must-have! Quilting requires precise seams, and even a tiny discrepancy can throw off the entire quilt. With this foot, you can ensure that each piece of fabric is sewn with an accurate 1/4-inch seam, which is critical for proper alignment. This foot is also perfect for piecing together small blocks or creating intricate patterns with even spacing, making your quilting process faster and more accurate.

In addition, the 1/4-inch guide Foot can help with garment construction, especially when working with fitted designs or intricate pattern pieces. By maintaining a consistent seam allowance, you can ensure that all your pattern pieces fit together perfectly, giving your garments a professional and polished look.

Tips for Using the 1/4 Inch Guide Foot

  • Test Before You Start: Always test your seam on scrap fabric to ensure the foot is set up correctly and the seam is the right width.
  • Use the Edge Guide: The built-in guide is there to help you! Keep the edge of your fabric aligned with it for a consistent seam.
  • Adjust Needle Position: Some 1/4-inch guide Feet allow you to adjust the needle position. This is useful if you need to make tiny adjustments to your seam allowance.
  • Slow and Steady: Take your time when sewing, especially if you’re working with tricky fabric or a detailed project. The slower you sew, the more precise your seams will be.

Project Ideas Using the 1/4 Inch Guide Foot

Now that you’ve got the 1/4-inch guide Foot in your toolkit, what can you make? The possibilities are endless! If you’re a quilter, consider creating a beautiful quilt top with perfect seams and precise pattern matching. This foot will make it easier to sew together blocks, ensuring they line up perfectly for a polished look.

For garment sewists, the 1/4-inch guide Foot is great for creating garments with a perfect fit. Whether you’re making a dress, blouse, or pants, this foot helps maintain consistency in your seam allowances, ensuring a more accurate fit and professional finish.

You can also use the 1/4-inch guide Foot for home décor projects like pillow covers or table runners. With this foot, you can achieve neat, straight seams that will make your home-made décor items look like they came from a high-end store.

With the 1/4 Inch Guide Foot, you’ll be able to confidently tackle your projects, knowing that your seams will be precise and your results flawless. Ready to add the 1/4-inch guide Foot to your collection? Visit JUKIQuilting.com or check out your nearest dealer here to explore this essential accessory for your sewing room!

Quilting Your Memories with JUKI

Today, we’re going to talk about memory quilts and how they’re more than just cozy blankets but tangible pieces of our personal histories! Transforming old T-shirts, jerseys, and other sentimental clothing into quilts creates unique keepsakes that celebrate special moments and memories. In this guide, we’ll discuss the process of crafting a memory quilt, from gathering materials to the final stitches, and how to use the advanced features of JUKI sewing machines to bring your vision to life.

Many JUKI machines can help you create the perfect memory quilt, so here are a few of our favorites! For larger machine space options, the Miyabi J-350QVP offers a spacious work area up to a king quilt and precision stitching capabilities, which are ideal for handling large quilt tops and intricate designs. The Q-Zone Hoop Frame provides the stability and ease needed for quilting. It’s compatible with multiple JUKI machines and ensures your finished quilt will be beautiful and durable.

For smaller workspaces, the TL-18QVP offers the strength of our JUKI Industrial machines, with features like the automatic needle threader and float function for quilting. We also have computerized sewing machines like the F series and DX QVP series that offer various stitch options for decorative stitching and free-motion quilting.

Step 1: The Memories

Let’s start planning your memory quilt by deciding what pieces of clothing items have sentimental value! Think of your T-shirts from memorable events or team shirts from sports teams. Give these items a quick wash and check they’re in good condition, like stains or excessive wear.

If any pieces are damaged but meaningful, consider using the undamaged portions. Pay attention to the fabric type and weight; it will affect how you prepare and stabilize the fabrics. Understanding the differences will help you plan the quilt layout and choose the right material for your project.

Keep in mind the fabrics you select. You can aim to coordinate solids, patterns, or themed prints or make a theme like sports, traveling, or interests. Consider using neutral tones like white or black to frame and balance more vibrant pieces. At this stage, consider the backing fabric, ensuring it complements the front and is durable enough for regular use. Cotton is popular for its softness, but flannel or themed prints can add a personal touch. These additional fabrics will help unify the overall design and enhance the quilt’s aesthetic appeal.

2. Preparing the Clothing

Cutting: Start by laying your clothing items flat on a cutting mat; this will help ensure accuracy and consistency in your cuts. Using a rotary cutter, carefully cut the clothing into uniform squares or rectangles; 12″12″ is a common and manageable size for quilt blocks if you’re unsure where to start.

If your clothing items feature logos, graphics, or designs you want to highlight, center them within your cut pieces. Using a clear acrylic ruler to guide your cuts is also helpful, ensuring straight edges and precise measurements.

Stabilizing: Stretchy fabrics like those found in T-shirts require extra care to ensure they don’t warp or lose shape during quilting. To stabilize, apply fusible interfacing to the back of each piece before cutting it to size.

Fusible interfacing is a lightweight material that, when ironed onto the fabric, provides additional structure and reduces stretch. Once stabilized, these pieces will be easier to work with, allowing for more precise cutting and sewing. This will result in a quilt that lies flat and retains its shape over time.

3. Designing the Quilt Layout

Plan Your Layout: We recommend starting your memory quilt by arranging your pieces on a flat surface, like a large table or the floor, and experimenting with different quilt layouts. This allows you to visualize how the colors, patterns, and clothing designs will work together.

Balance the colors and the placement of significant items, like logos or graphics, to ensure they are well spaced out across the quilt. This step is key to achieving a harmonious and aesthetically pleasing design!

Create a Mock-Up: Once you’ve settled on a layout you like, consider creating a mock-up to finalize your design. You can use design software like Adobe Illustrator or quilt-specific programs to digitally recreate your layout, allowing for easy adjustments and precise planning.

If you prefer a hands-on approach, sketch your layout on paper, noting the position of each piece! This mock-up will be a valuable reference during the assembly process, ensuring that your final quilt matches your envisioned design. It also helps you spot any potential issues with spacing or alignment before you start sewing.

4. Assembling the Quilt Top

Sewing Pieces Together: Begin by sewing your fabric pieces into individual rows. Align the edges carefully as you sew to ensure even rows and minimize fabric shifting. Once your rows are complete, join them, matching the seams where they meet.

Pressing Seams: After sewing each row, pressing the seams is important to create a smooth quilt top. Depending on your preference and the thickness of the fabric, you can either press the seams open or to one side.

Pressing seams open reduces bulk and helps the quilt top lie flatter, especially if multiple seams intersect. Use a hot iron and apply firm pressure to set the seams, ensuring that the fabric lies evenly and without puckering. Properly pressed seams will make the quilting process easier and contribute to the overall polished appearance of your finished quilt.

5. Adding Batting and Backing

Choose Batting: Find a batting material that complements your quilt’s desired thickness, warmth, and overall feel. Batting comes in various materials, such as cotton, polyester, wool, or blends, offering different loft levels and insulation.

When making your choice, consider how you intend to use the quilt—whether it’s for warmth, display, or as a lightweight throw. Cotton batting is popular for its breathability and smooth finish, while polyester offers more loft and is lightweight!

Cut Backing Fabric: Once you’ve chosen your batting, it’s time to prepare the backing fabric. Cut the backing fabric slightly larger than your quilt top, typically adding a few extra inches on all sides. This extra fabric allows for any shifting during the quilting process and ensures full coverage. Lay the backing fabric flat and smooth out any wrinkles before cutting to ensure a precise fit.

6. Quilting with JUKI

Layering: Next, lay out the quilt layers on a flat surface. Position the backing fabric with the wrong side facing up, followed by the batting layer, and finally, the quilt top with the right side facing up. Carefully smooth out any wrinkles or folds in each layer to ensure a smooth surface.

Once aligned, baste the layers together using your preferred methods, such as safety pins, basting spray, or hand stitches. This step secures the layers, preventing them from shifting during quilting.

Quilting: With your quilt layers basted together, you’re ready to begin quilting! Choose a quilting method that complements your design, such as straight-line quilting for a clean, modern look or free-motion quilting for more intricate and personalized patterns.

Take your time to work evenly across the quilt, starting from the center and moving outward to avoid any puckering or uneven tension. Depending on the design, you should stitch in the ditch (along the seams) or create an all-over pattern that adds texture and visual interest.

7. Binding the Quilt

Trim Excess: Once the quilting is complete, trim the excess batting and backing fabric to match the edges of your quilt top. Use a rotary cutter and ruler to achieve straight, clean edges, ensuring the quilt’s perimeter is uniform.

Attach Binding: Attach the binding to the edges to finish your quilt. Binding seals the raw edges and adds a polished frame to your quilt! Start by sewing the binding to the front of the quilt, then fold it over to the back and hand-stitch or machine-stitch it in place. Take care to miter the corners for a clean, professional look.

8. Finishing Touches

Final Press: After attaching the binding, give your quilt a final press to smooth out any wrinkles and set the seams. Be sure to press both the front and back of the quilt, paying extra attention to the binding edges for a neat finish!

Creating a memory quilt is a heartfelt way to preserve and celebrate cherished moments through fabric. You can craft a beautiful quilt that tells a personal story by carefully selecting your materials, preparing your clothing, and following each step from layering to finishing.

For the perfect quilting machine to bring your projects to life, be sure to check out JUKIQuilting.com to find the right fit for your needs. Additionally, explore our JUKIHomeSewing YouTube page for inspiring projects and helpful tutorials. Take advantage of our detailed memory quilt project guide at this link to help you get started on your own special creation! Happy Sewing!

JUKI Tip: Adjusting Your Ruler Foot

Welcome to another tip with JUKI! Presented by our National Account Trainer Alba, we’re going to talk about quilting and our JUKI Ruler Foot for the TL Series.

In this video, we’re working on the JUKI TL-18QVP Semi-Industrial Sewing Machine and using our optional accessory the Ruler Foot. In this tip, we’re going to show you how to adjust that ruler foot for perfect stitching. You may notice that when you put your ruler foot on your machine it’s really high above your fabric and you never want to do that.

You really want the height of a credit card, a hotel key, or a thin plastic sheet and as you watch the video, you’ll see there’s a lot of height to start us off with, but the ruler foot has a screw on the side that you can turn and that will raise and lower your presser foot. Using your hotel card, or thin plastic sheet, will help you get that height you need and you’ll want to be where that credit card barely skims the bottom of that foot.

What this does is, as the needle goes up and down it prevents the fabric from bouncing and gives you those perfect stitches you want on your free motion quilt projects.

What tip do you want to see next? Let us know in the comment below!

JUKI Tip: Air Thread Sergers VS. Traditional Manual Sergers

In this month’s tip, JUKI National Account Trainer, Alba, demonstrates the difference between an air threading serger and a non-air threading serger. The first serger we’ll showcase is the non-air threading serger, the Mo 114D. This is a non-air thread surger so this is a manually threading serger and the main difference is the way that the machine is threaded.

The other thing is that with a traditional serger, you must follow a specific order and usually it is an upper looper gets threaded first then the lower looper and then the needles in order; so there is a specific order that needs to be followed with this serger. When there is a thread breakage within this serger, it is often recommended that you start rethreading the machine from beginning to end.

Now with the air thread serger, here we’re showcasing the MO-2800, we’re going to show you their differences. Now what the air threading capability is all about, is the mechanism on the inside of the machine and its tubes, allow that jet stream of air to go through. Now in order to activate or start the air thread process we need to flip one lever, shown on video, and it really is as simple as that!

I will be turning the hand wheel towards me and what that does is if you watch this action that tube closes and you hear that click where I am now ready to activate and use the air thread. What is really nice about an air thread serger is it does not matter the order that you thread in! So I am going to go in the opposite order of the one right next to me. Now, I get my thread, I hold it with the tweezers, and I am putting between half an inch and an inch of thread in there. I have 8 to 10 in of loose thread in front of me and that lower looper has been threaded. This is typically the one that takes the most amount of time to thread on a serger and you could see just how easily. Now in order to close the door you will have to lower the lever and that’s usually where I get the call where people will say oh my door isn’t closing and that’s exactly why.

Another feature I was so excited about is the needle threader! I left one needle unthreaded and I’m going to open up the door just to make it easier to see on video, and I’m going to lower my foot and I have a lever that goes right and left. I’m threading my left needle, I have it to that position on video, and I am going to lower my needle threader and I am going to place the thread right in.

There’s a little groove on your needle threader that hugs around your needle and the thread goes right in there. You’ll notice I left it really nice and loopy and when I raise that needle threader up it threads the needle quickly.

Those are some of the differences between a regular serger and an air thread serger! I hope you enjoy these updated features, stay tuned and make sure to hit like and give us your comments!

To learn more about our JUKI Serger, visit your nearest dealer by visiting here.