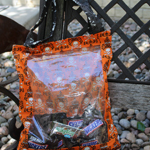
Today, we’re going to talk about memory quilts and how they’re more than just cozy blankets but tangible pieces of our personal histories! Transforming old T-shirts, jerseys, and other sentimental clothing into quilts creates unique keepsakes that celebrate special moments and memories. In this guide, we’ll discuss the process of crafting a memory quilt, from gathering materials to the final stitches, and how to use the advanced features of JUKI sewing machines to bring your vision to life.
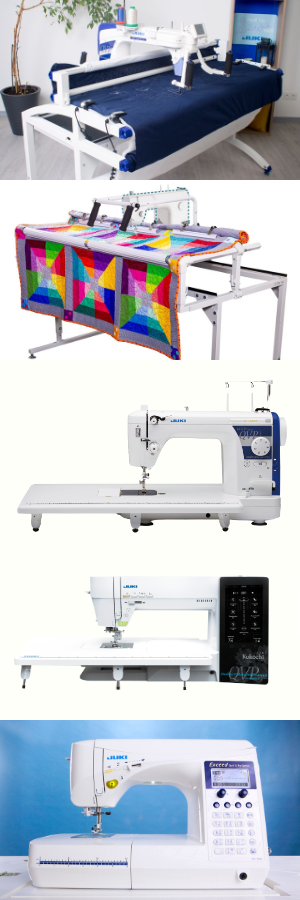
Many JUKI machines can help you create the perfect memory quilt, so here are a few of our favorites! For larger machine space options, the Miyabi J-350QVP offers a spacious work area up to a king quilt and precision stitching capabilities, which are ideal for handling large quilt tops and intricate designs. The Q-Zone Hoop Frame provides the stability and ease needed for quilting. It’s compatible with multiple JUKI machines and ensures your finished quilt will be beautiful and durable.
For smaller workspaces, the TL-18QVP offers the strength of our JUKI Industrial machines, with features like the automatic needle threader and float function for quilting. We also have computerized sewing machines like the F series and DX QVP series that offer various stitch options for decorative stitching and free-motion quilting.
Step 1: The Memories
Let’s start planning your memory quilt by deciding what pieces of clothing items have sentimental value! Think of your T-shirts from memorable events or team shirts from sports teams. Give these items a quick wash and check they’re in good condition, like stains or excessive wear.
If any pieces are damaged but meaningful, consider using the undamaged portions. Pay attention to the fabric type and weight; it will affect how you prepare and stabilize the fabrics. Understanding the differences will help you plan the quilt layout and choose the right material for your project.
Keep in mind the fabrics you select. You can aim to coordinate solids, patterns, or themed prints or make a theme like sports, traveling, or interests. Consider using neutral tones like white or black to frame and balance more vibrant pieces. At this stage, consider the backing fabric, ensuring it complements the front and is durable enough for regular use. Cotton is popular for its softness, but flannel or themed prints can add a personal touch. These additional fabrics will help unify the overall design and enhance the quilt’s aesthetic appeal.
2. Preparing the Clothing

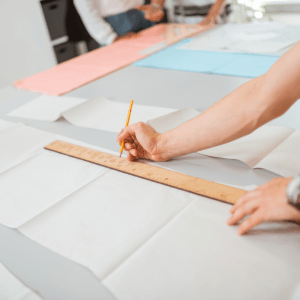
Cutting: Start by laying your clothing items flat on a cutting mat; this will help ensure accuracy and consistency in your cuts. Using a rotary cutter, carefully cut the clothing into uniform squares or rectangles; 12″12″ is a common and manageable size for quilt blocks if you’re unsure where to start.
If your clothing items feature logos, graphics, or designs you want to highlight, center them within your cut pieces. Using a clear acrylic ruler to guide your cuts is also helpful, ensuring straight edges and precise measurements.
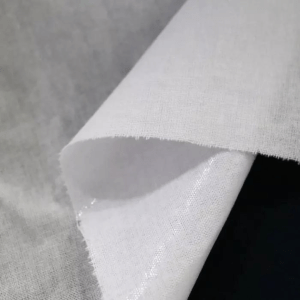
Stabilizing: Stretchy fabrics like those found in T-shirts require extra care to ensure they don’t warp or lose shape during quilting. To stabilize, apply fusible interfacing to the back of each piece before cutting it to size.
Fusible interfacing is a lightweight material that, when ironed onto the fabric, provides additional structure and reduces stretch. Once stabilized, these pieces will be easier to work with, allowing for more precise cutting and sewing. This will result in a quilt that lies flat and retains its shape over time.
3. Designing the Quilt Layout
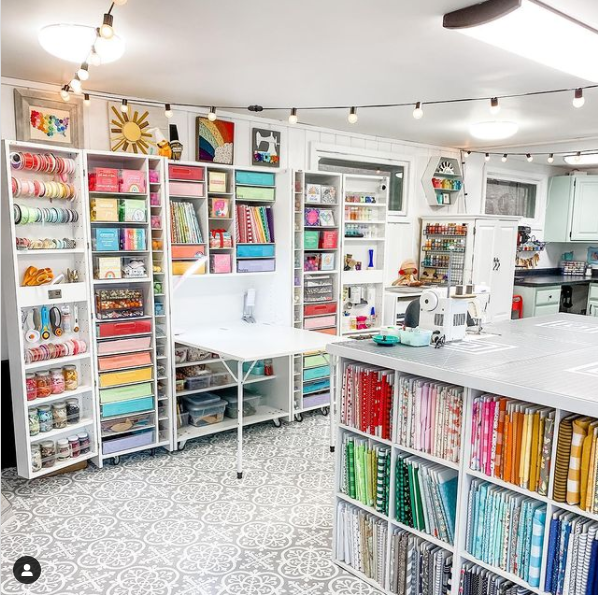
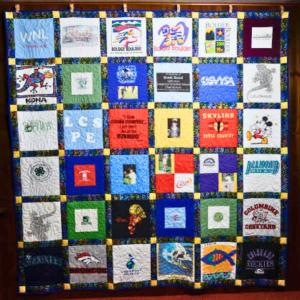
Plan Your Layout: We recommend starting your memory quilt by arranging your pieces on a flat surface, like a large table or the floor, and experimenting with different quilt layouts. This allows you to visualize how the colors, patterns, and clothing designs will work together.
Balance the colors and the placement of significant items, like logos or graphics, to ensure they are well spaced out across the quilt. This step is key to achieving a harmonious and aesthetically pleasing design!
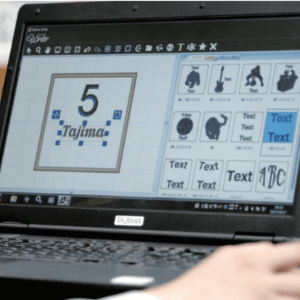
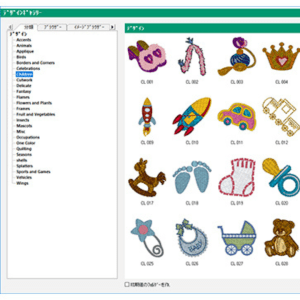
Create a Mock-Up: Once you’ve settled on a layout you like, consider creating a mock-up to finalize your design. You can use design software like Adobe Illustrator or quilt-specific programs to digitally recreate your layout, allowing for easy adjustments and precise planning.
If you prefer a hands-on approach, sketch your layout on paper, noting the position of each piece! This mock-up will be a valuable reference during the assembly process, ensuring that your final quilt matches your envisioned design. It also helps you spot any potential issues with spacing or alignment before you start sewing.
4. Assembling the Quilt Top
Sewing Pieces Together: Begin by sewing your fabric pieces into individual rows. Align the edges carefully as you sew to ensure even rows and minimize fabric shifting. Once your rows are complete, join them, matching the seams where they meet.
Pressing Seams: After sewing each row, pressing the seams is important to create a smooth quilt top. Depending on your preference and the thickness of the fabric, you can either press the seams open or to one side.
Pressing seams open reduces bulk and helps the quilt top lie flatter, especially if multiple seams intersect. Use a hot iron and apply firm pressure to set the seams, ensuring that the fabric lies evenly and without puckering. Properly pressed seams will make the quilting process easier and contribute to the overall polished appearance of your finished quilt.
5. Adding Batting and Backing
Choose Batting: Find a batting material that complements your quilt’s desired thickness, warmth, and overall feel. Batting comes in various materials, such as cotton, polyester, wool, or blends, offering different loft levels and insulation.
When making your choice, consider how you intend to use the quilt—whether it’s for warmth, display, or as a lightweight throw. Cotton batting is popular for its breathability and smooth finish, while polyester offers more loft and is lightweight!
Cut Backing Fabric: Once you’ve chosen your batting, it’s time to prepare the backing fabric. Cut the backing fabric slightly larger than your quilt top, typically adding a few extra inches on all sides. This extra fabric allows for any shifting during the quilting process and ensures full coverage. Lay the backing fabric flat and smooth out any wrinkles before cutting to ensure a precise fit.
6. Quilting with JUKI
Layering: Next, lay out the quilt layers on a flat surface. Position the backing fabric with the wrong side facing up, followed by the batting layer, and finally, the quilt top with the right side facing up. Carefully smooth out any wrinkles or folds in each layer to ensure a smooth surface.
Once aligned, baste the layers together using your preferred methods, such as safety pins, basting spray, or hand stitches. This step secures the layers, preventing them from shifting during quilting.
Quilting: With your quilt layers basted together, you’re ready to begin quilting! Choose a quilting method that complements your design, such as straight-line quilting for a clean, modern look or free-motion quilting for more intricate and personalized patterns.
Take your time to work evenly across the quilt, starting from the center and moving outward to avoid any puckering or uneven tension. Depending on the design, you should stitch in the ditch (along the seams) or create an all-over pattern that adds texture and visual interest.
7. Binding the Quilt
Trim Excess: Once the quilting is complete, trim the excess batting and backing fabric to match the edges of your quilt top. Use a rotary cutter and ruler to achieve straight, clean edges, ensuring the quilt’s perimeter is uniform.
Attach Binding: Attach the binding to the edges to finish your quilt. Binding seals the raw edges and adds a polished frame to your quilt! Start by sewing the binding to the front of the quilt, then fold it over to the back and hand-stitch or machine-stitch it in place. Take care to miter the corners for a clean, professional look.
8. Finishing Touches
Final Press: After attaching the binding, give your quilt a final press to smooth out any wrinkles and set the seams. Be sure to press both the front and back of the quilt, paying extra attention to the binding edges for a neat finish!
Creating a memory quilt is a heartfelt way to preserve and celebrate cherished moments through fabric. You can craft a beautiful quilt that tells a personal story by carefully selecting your materials, preparing your clothing, and following each step from layering to finishing.
For the perfect quilting machine to bring your projects to life, be sure to check out JUKIQuilting.com to find the right fit for your needs. Additionally, explore our JUKIHomeSewing YouTube page for inspiring projects and helpful tutorials. Take advantage of our detailed memory quilt project guide at this link to help you get started on your own special creation! Happy Sewing!