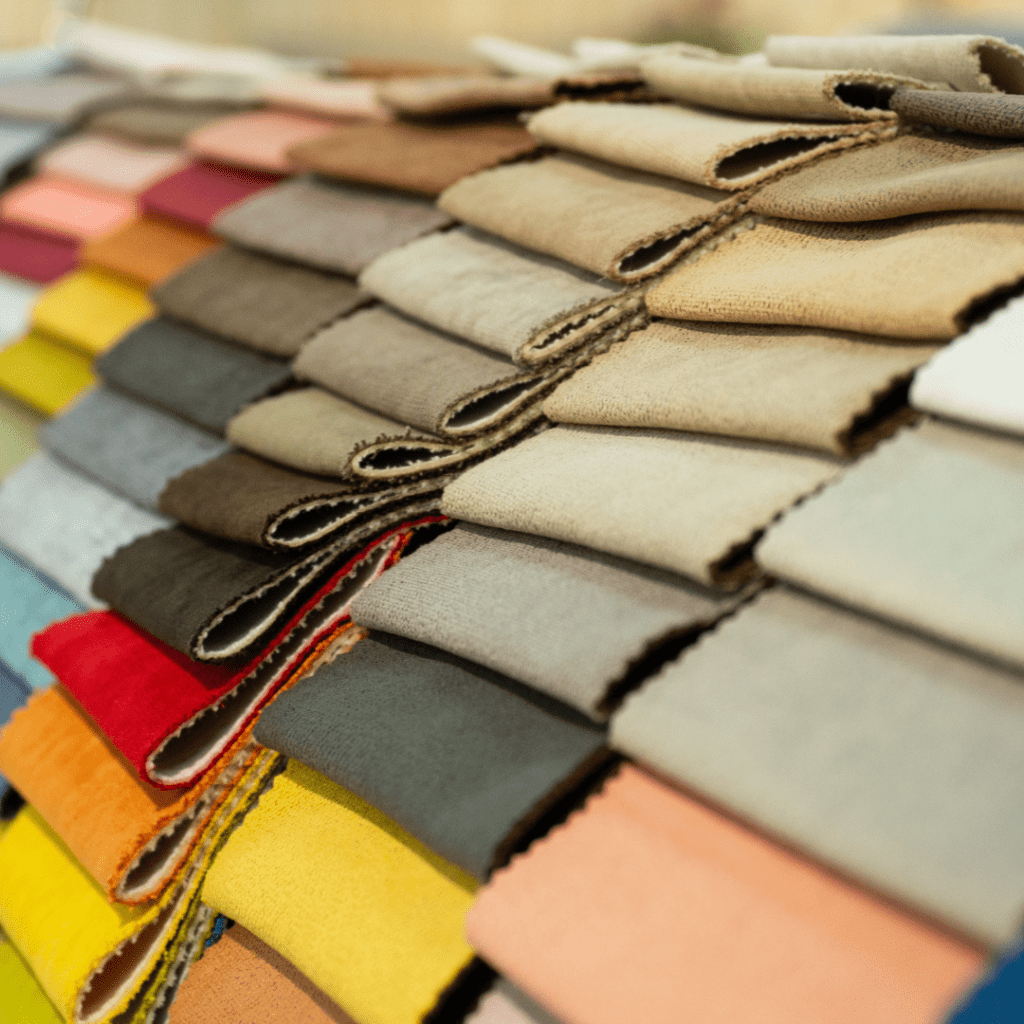
Sewing is a craft that has evolved over centuries, and with it, the tools that make our work easier and more efficient! If you’ve ever worked with challenging materials like vinyl, leather, or suede, you know how tricky it can be to sew these fabrics without causing damage or uneven stitching.
This is where the Roller Foot comes in. This simple yet powerful tool is designed to make sewing these difficult materials smooth and stress-free. Whether you’re a seasoned sewist or just getting started, the Roller Foot is an indispensable accessory that will expand a world of possibilities for your projects!
What is it?
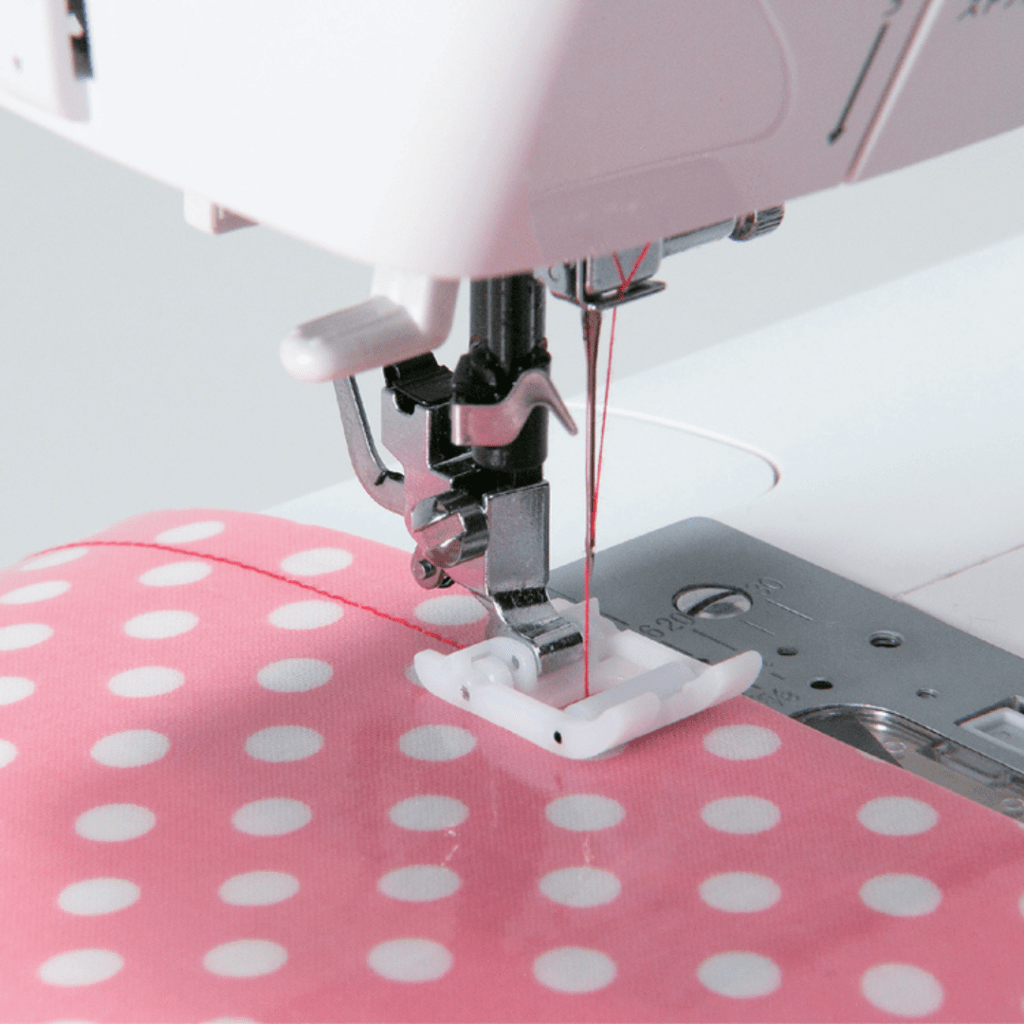
The Roller Foot is a specialized presser foot equipped with small rollers that glide smoothly over difficult fabrics, reducing friction between the fabric and the foot. This design ensures that fabrics such as leather, vinyl, or even delicate silk move smoothly under the needle, helping to achieve even stitches and a clean finish.
Originally developed in response to the frustrations sewists experienced with sticky or heavy materials, the Roller Foot offered a solution where standard flat presser feet fell short. As synthetic and heavier fabrics became more common, it became clear that traditional feet weren’t up to the task, so the Roller Foot was born.
Since its introduction in the 20th century, it has become a go-to tool for hobbyists and professionals alike, offering improved fabric handling and reducing the risk of bunching, snagging, or skipped stitches.
Benefits and Uses
The Roller Foot’s main benefit is its ability to deliver smooth, consistent stitching on fabrics that are typically challenging to sew. Its rolling mechanism glides over surfaces like vinyl, leather, plastic, and laminated fabrics without leaving marks or pulling at the material.
This makes it ideal for:
- Outerwear
- Bags and accessories
- Home décor projects
- Crafts with sticky or coated fabrics
The foot’s design also makes it great for working with slippery or delicate fabrics like silk and satin. By applying even pressure across the surface, it helps prevent puckering and distortion, ensuring your finished product looks clean and polished.
Tips for Using the Roller Foot
- Always test on a scrap piece of fabric before starting your project to ensure the foot is working smoothly.
- For thicker fabrics like leather or vinyl, use a leather or non-stick needle to prevent damage.
- Keep a consistent stitch length (around 3.0–4.0mm) to avoid perforating the material.
- Adjust the tension on your machine as needed, especially when sewing through multiple layers or thick fabrics.
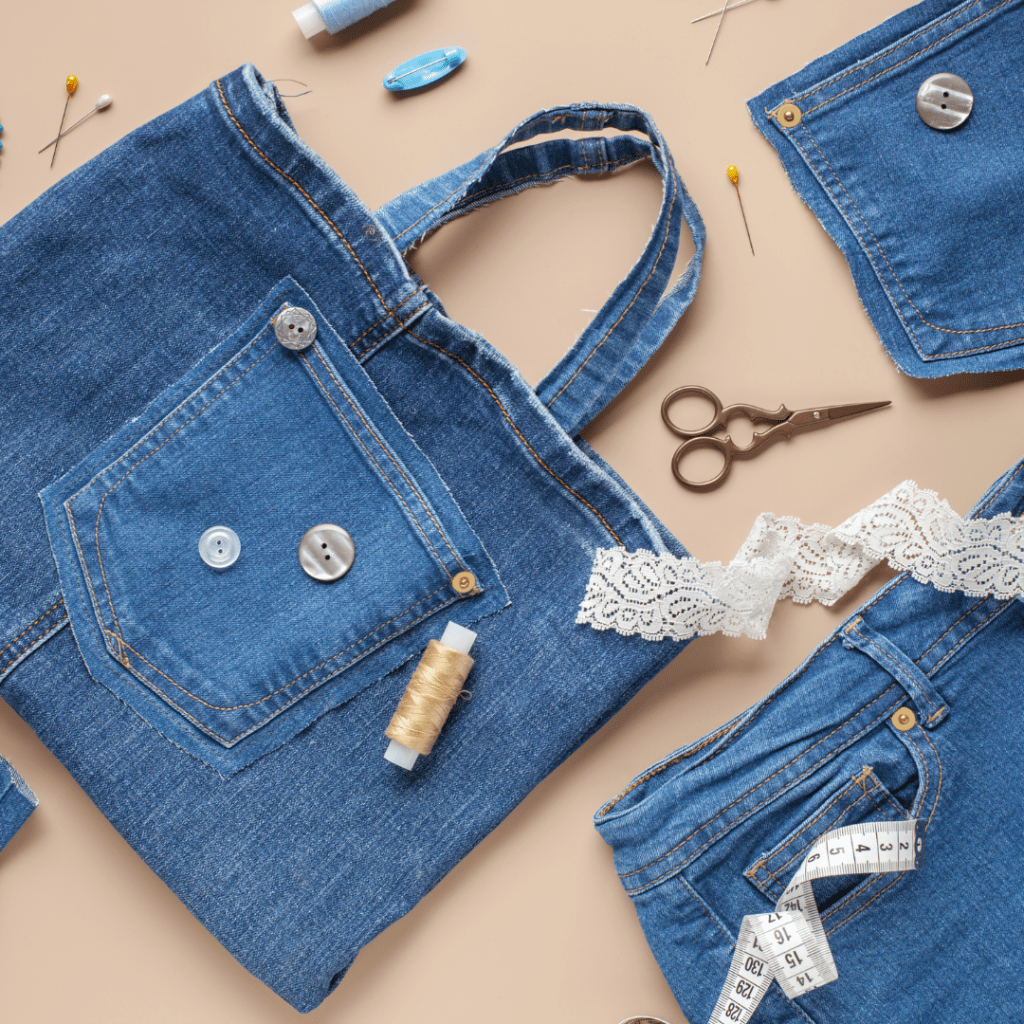
Project Ideas Using the Roller Foot
Once you’ve attached your Roller Foot and tested it out, the possibilities are endless. Here are some fun and practical projects that highlight its benefits:
- Faux leather bag: Glide through sticky material with ease for clean seams and a polished look.
- Vinyl wallet or pouch: Achieve precision without puckering or dragging the fabric.
- Waterproof tablecloth or outdoor cushions: Sew coated fabrics neatly without leaving marks.
- Tech sleeves or phone cases: Work with durable materials without damaging the surface or distorting the shape.
The Roller Foot makes it easy to work on both everyday items and custom pieces that look professionally made.
Whether you’re creating accessories, home décor, or gifts, the roller foot expands your sewing possibilities, opening up a world of creativity! Ready to add the Roller Foot to your collection? Visit JUKIQuilting.com or check out your nearest dealer here to explore our accessories for your sewing machine!