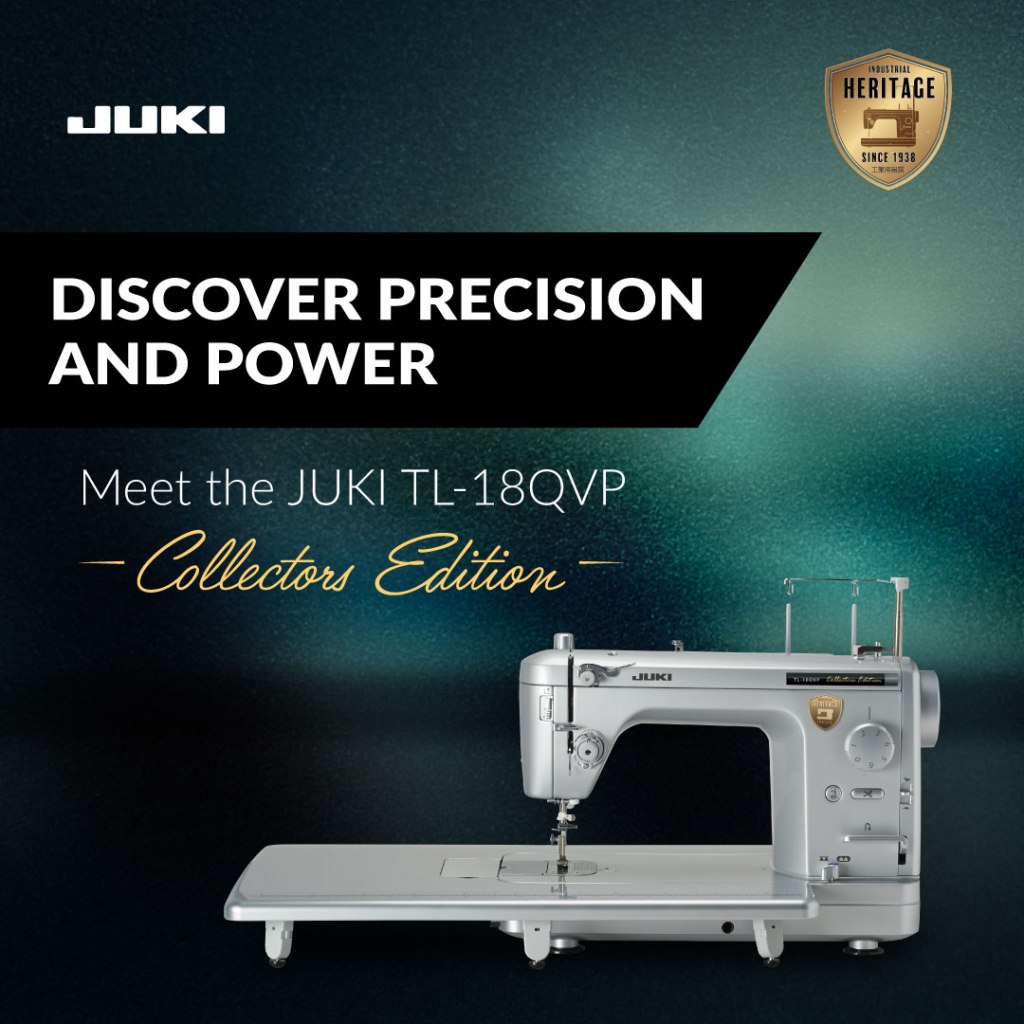
Attention all sewing enthusiasts and quilting lovers! We are thrilled to announce the release of the TL-18QVP Collector’s Edition, now available in a stunning platinum finish. Let’s dive into the remarkable features, accessories, and endless possibilities.
The TL-18QVP Collector’s Edition
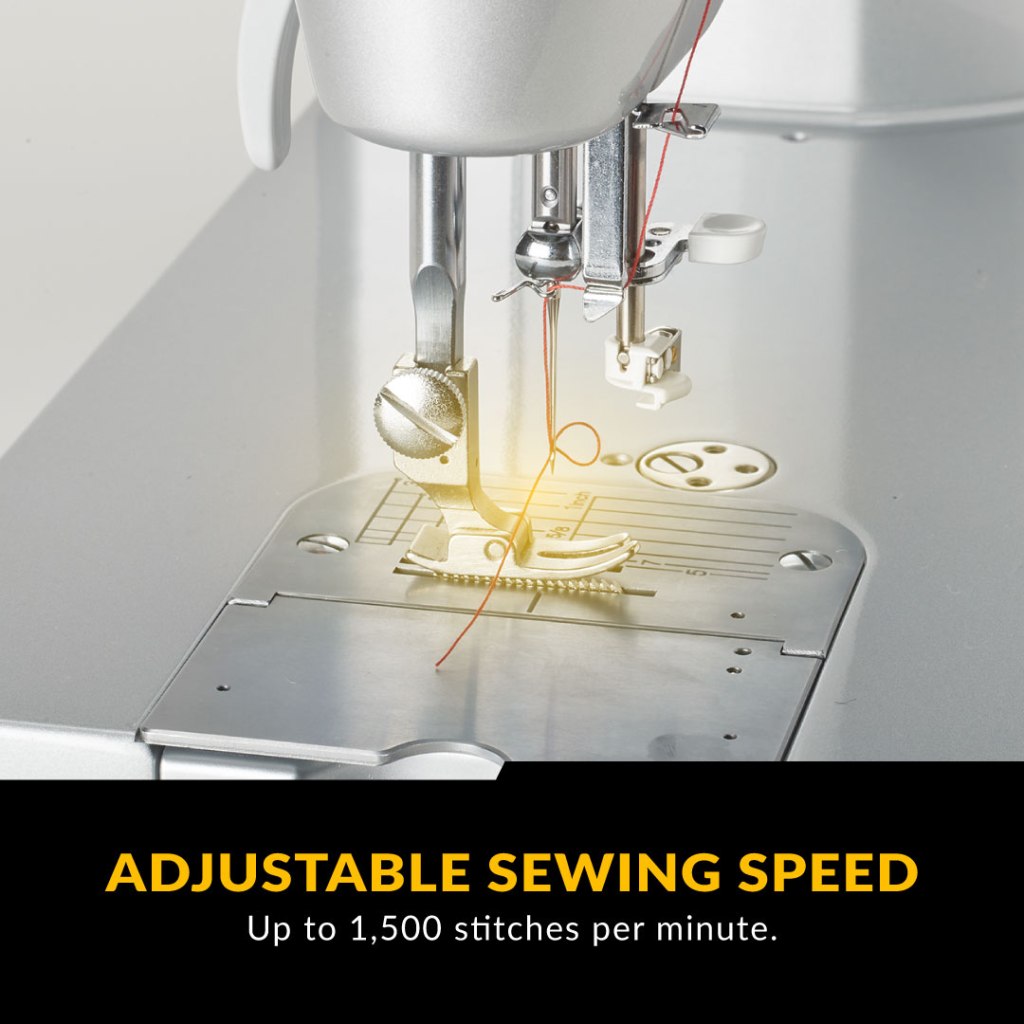
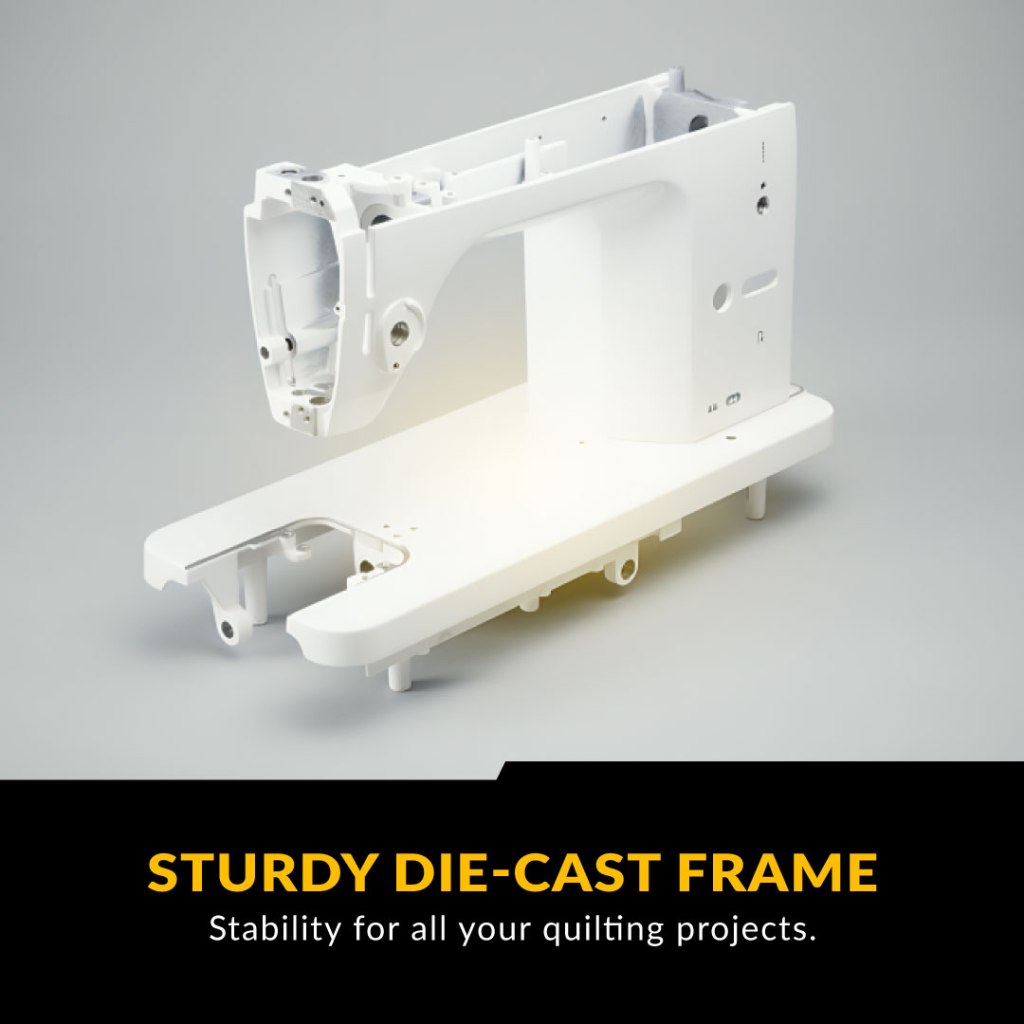
The TL-18QVP Collector’s Edition boasts various features designed to enhance your sewing experience. Its high-speed straight stitch capability allows up to 1,500 stitches per minute, making it perfect for high-volume projects and detailed quilting. The machine is built with industrial-grade components, ensuring durability and precision for all your sewing needs.
One of the standout features is the automatic thread trimmer, which allows you to save time with a simple foot-controlled operation, streamlining your workflow. The knee lift lever is another convenient addition, allowing you to easily lift the presser foot without using your hands, which is particularly useful for intricate sewing tasks that require precision and control.
The TL-18QVP also offers adjustable presser foot pressure, allowing you to customize the pressure to accommodate different fabric types and thicknesses. This ensures that you can work with a wide range of materials, from delicate silks to heavy-duty denim, with ease and accuracy.
Overall, the TL-18QVP Collector’s Edition is a powerful, versatile machine that combines speed, durability, and precision, making it an excellent choice for advanced quilters, fashion designers, and home decor enthusiasts!
Why People Love the TL-18QVP
Our customers rave about the TL-18QVP’s reliability, precision, and advanced features. It has earned a reputation for making complex sewing tasks simpler and more enjoyable. The high-speed capabilities, combined with user-friendly controls, make it a favorite among both professional sewers and hobbyists.
What You Can Create
The creative possibilities are endless with the TL-18QVP! Here are just a few ideas:
Custom Quilts: Design and create unique quilts with intricate patterns and professional finishes.
Fashion Projects: Sew clothing, from everyday wear to couture pieces.
Home Decor: Craft beautiful pillows, curtains, and upholstery that reflect your style.
Gifts: Make personalized gifts, such as tote bags, scarves, and table runners, that your loved ones will cherish.
Don’t Miss Out!
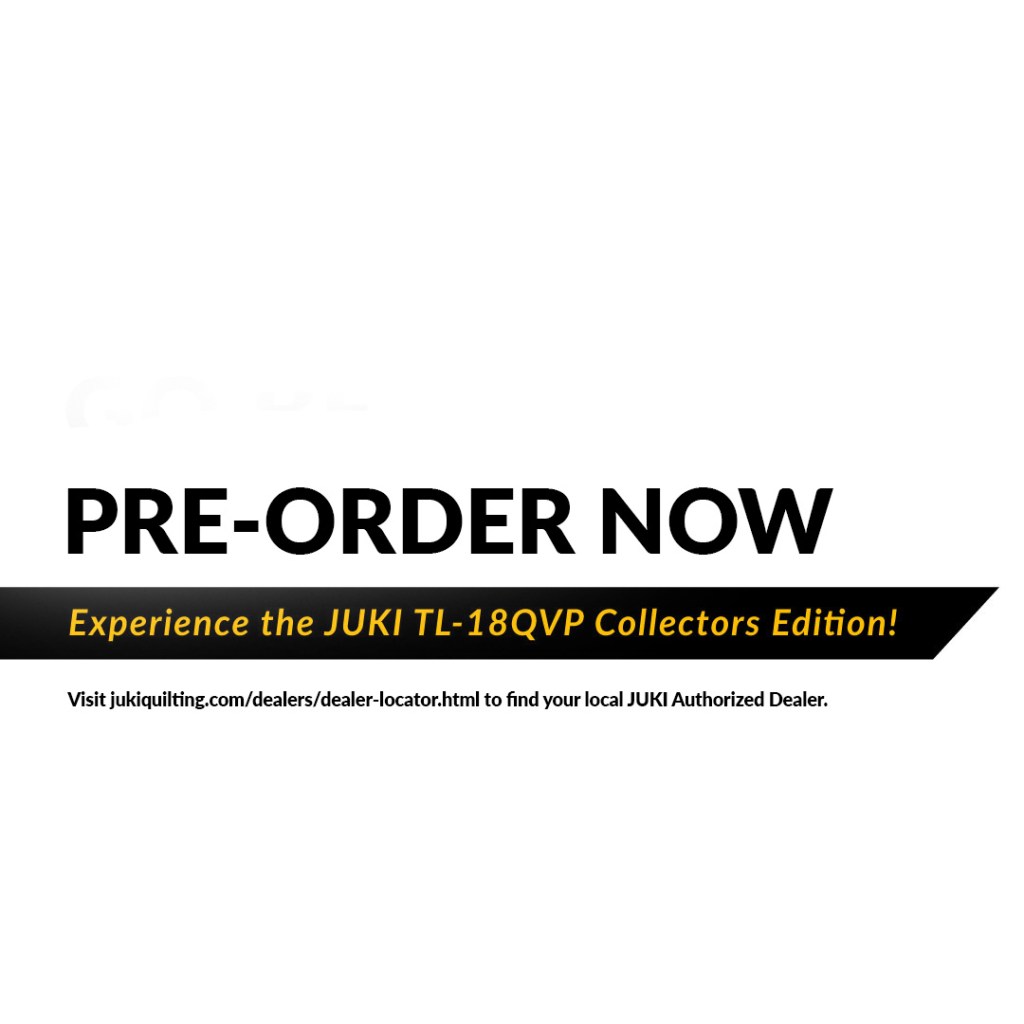
The limited edition of the TL-18QVP Collector’s Edition is available for a short time only. Elevate your sewing experience with these premium machines and exclusive accessories. Visit your local dealer to secure your limited edition today!
Click here to find your local JUKI Authorized Dealer.
As the back-to-school season approaches, there’s excitement in the air for students and parents alike! This time of year often comes with the hunt for the perfect school supplies. But why settle for ordinary when you can make their school items uniquely theirs? Enter the TAJIMA Sai 8-needle embroidery machine from JUKI, a game-changer for personalizing back-to-school gear with intricate and vibrant designs! In this blog, we will cover ways you can bring a personal touch to your child’s school gear with the TAJIMA Sai.
Transform Those School Essentials
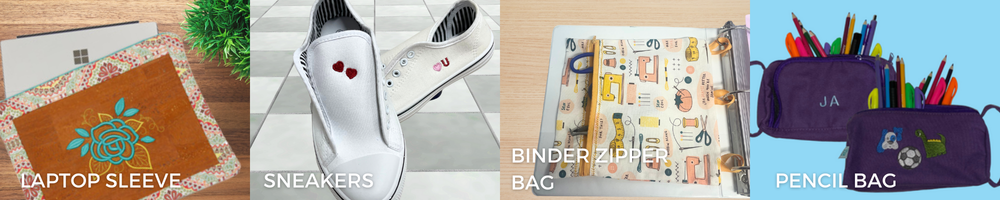
Whether it’s a laptop sleeve, sneakers, binder zipper bag, or pencil bag, the TAJIMA Sai allows you to add a personal touch to all your child’s school items. The versatility and precision of this machine mean that you can create detailed embroidery on various fabrics and surfaces, turning everyday items into something extraordinary.
Laptop Sleeve: Keep your child’s laptop safe and stylish. With the TAJIMA Sai, you can embroider their name, initials, or favorite quote on their laptop sleeve. Choose from a wide range of fonts and colors to match their personal style.
Learn how to create your very own laptop sleeve here! Using the TAJIMA Sai, you can easily elevate this project with your touch of personalization.
Sneakers: Stand out in the school hallway with customized sneakers. Add patterns, icons, or your child’s favorite sports team’s logo. The possibilities are endless, and with the TAJIMA Sai’s 8-needle system, you can mix and match colors seamlessly!
Binder Zipper Bag: Organize your child’s school supplies in a personalized binder zipper bag. Embroider their name, class schedule, or motivational words to inspire them throughout the day. It’s a perfect blend of function and flair.
Create your own binder zipper bag by visiting us here and learning more about the Writer Plus program below to add that touch of personalization!
Pencil Bag: Always keep your child’s pencil bag intact. With custom embroidery, you can add their name, favorite hobby icons, or even cute designs that reflect their personality.
Learn how to personalize your pencil bag with the TAJIMA Sai by visiting here!
TAJIMA Writer Plus Program
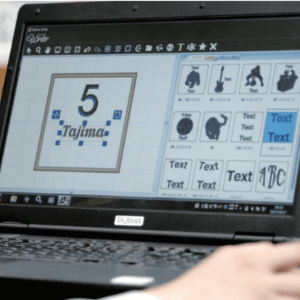
The TAJIMA Writer Plus program is your gateway to endless creativity. This software comes pre-installed with various design options that you can easily apply to your projects. Here’s a closer look at what it offers:
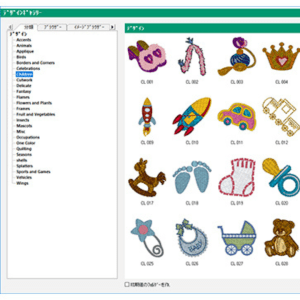
Pre-Installed Designs: The program includes a rich library of pre-installed designs, such as floral patterns, geometric shapes, animal motifs, and more. These designs are perfect for quick projects and adding a touch of fun to your child’s school items.
Custom Design Creation: Feeling creative? The TAJIMA Writer Plus program allows you to create your designs from scratch! You can draw inspiration from your child’s interests, hobbies, or favorite themes. Whether a complex pattern or a simple monogram, the software gives you the tools to bring your vision to life.
Easy-to-Use Interface: Even if you’re new to embroidery, the TAJIMA Writer Plus program is user-friendly. The intuitive interface makes selecting, customizing, and embroidering your designs easy. Plus, the program supports various file formats, so you can import and work with external designs effortlessly.
Design Ideas for Your Embroidery Projects
Names and Initials: Adding your child’s name or initials is a classic way to personalize their school items. Choose from different fonts and thread colors to make it truly theirs.
Favorite Sports Teams: Show off their school spirit or support their favorite professional sports team by embroidering their logo or mascot. It’s an excellent way for your child to connect with fellow fans and display their loyalty!
Hobbies and Interests: Whether they love music, art, science, or sports, you can reflect their passions on their gear. Embroider icons like musical notes, paintbrushes, basketballs, or telescopes showcase what they love.
Inspirational Quotes: Keep your child motivated with inspirational quotes or affirmations. A few words of encouragement on their pencil bag or laptop sleeve can go a long way in keeping their spirits high!
Fun Patterns and Icons: From cute animals and whimsical patterns to edgy graphics and abstract designs, the TAJIMA Sai allows you to experiment with various styles. Mix and match designs to create something uniquely theirs.
Back-to-school season is the perfect opportunity to express your child’s individuality through their school supplies. With the TAJIMA Sai 8-needle embroidery machine and the TAJIMA Writer Plus program, you can quickly transform everyday items into personalized masterpieces. Whether adding their name, showcasing their interests, or simply having fun with different patterns, embroidery brings a touch of uniqueness to everything you create. So, head back to school in style and make this year your child’s most personalized one!
Achieving the perfect stitch on your sewing machine often boils down to one crucial factor: tension. Whether you own a machine from the TL series or the DX series, understanding how to set and adjust tension can make a difference in your sewing projects. In this blog post, we’ll explore how to balance tension on your sewing machine, offer tips for working with different fabrics, and address common tension issues. Plus, we’ll guide you to our YouTube page, where you can find detailed video tutorials to help you along the way.
Understanding Sewing Machine Tension
Tension refers to the amount of pull on the thread as it passes through the machine. Proper tension ensures that your stitches are even and secure on both sides of the fabric. Both the TL and DX series come with easy-to-adjust tension settings, but knowing when and how to tweak these settings is key.
The TL series typically includes a manual tension dial on the front panel. This dial allows for precise adjustments of the upper thread tension. It’s ideal for sewers who prefer tactile feedback and incremental changes, which are crucial for delicate fabrics and intricate stitches.
On the other hand, the DX series features digital tension settings through an intuitive interface. This system provides preset tension levels for various fabrics and stitches and allows manual overrides to achieve exact tension requirements. This digital precision is beneficial for consistent stitch quality across different sewing projects.
Proper tension on these machines ensures even and secure stitches on both sides of the fabric, reducing issues like puckering or loose stitches. When adjusting your sewing machine’s tension, remember that it’s built to reduce tension fluctuations while sewing, resulting in smoother and more professional-looking finishes. When you need to adjust the tension, consider these points.
Tips for Adjusting Tension on the TL Series
Test on Scrap Fabric: Always test your tension settings on scrap fabric that are similar to your project material. This helps you make adjustments without affecting your actual project.
Adjust in Small Increments: Turn the tension dial in small increments and test after each adjustment. A small change can make a big difference.
Check the Bobbin Case: For the TL series, the bobbin case tension might also need adjusting. Ensure the bobbin thread pulls out smoothly with slight resistance.
Tips for Adjusting Tension on the DX Series
Digital Adjustments: The DX series often features digital tension settings, making precise adjustments easier. Use the machine’s manual to navigate the digital interface.
Preset Tension Settings: Utilize preset tension settings for different types of stitches and fabrics. These presets are optimized for common sewing tasks.
Manual Overrides: For specialized projects, manually override the presets to fine-tune the tension.
Tension for Different Fabrics
Different fabrics require different tension settings:
Lightweight Fabrics (silk, chiffon): Lightweight fabrics are delicate and prone to puckering if the tension is too tight. To prevent this, reduce the tension on your sewing machine. Lowering the tension allows the thread to flow smoothly through the fabric without pulling too tightly, resulting in even stitches and a smooth finish.
Medium Fabrics (cotton, linen): Cotton and linen are versatile and commonly used for various sewing projects. A medium-tension setting usually works well for these fabrics. Medium tension balances the thread pull, ensuring stitches penetrate the fabric evenly without causing puckering or loose stitches.
Heavy Fabrics (denim, canvas): Heavy fabrics require more tension to properly secure stitches. Increasing the tension on your sewing machine helps to ensure that the stitches are strong and durable, capable of withstanding the thicker layers of denim or canvas. Adequate tension prevents skipped stitches and ensures the thread forms tight, secure stitches.
It’s essential to adjust the tension settings when transitioning between different fabric types. For example, suppose you’re sewing a project involving lightweight silk and medium-weight cotton. In that case, you must adjust the tension dial when switching fabrics to maintain consistent stitch quality.
How Needles Affect Tension
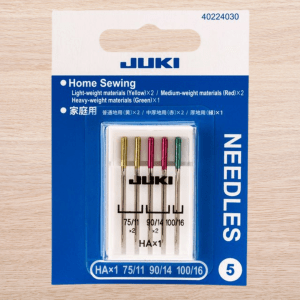
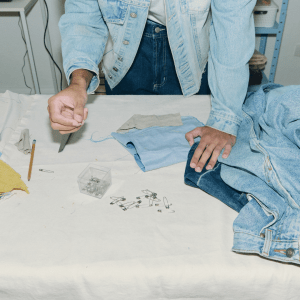
The needle plays a significant role in the sewing process, influencing how the thread interacts with the fabric and affecting tension in several ways. The needle size is crucial: for lightweight fabrics such as silk or chiffon, using a smaller needle size (e.g., size 9 or 10) is recommended. Smaller needles create smaller puncture holes in delicate fabrics, reducing the risk of puckering and allowing the thread to glide smoothly. Conversely, heavy fabrics like denim or canvas require larger needle sizes (e.g., size 16 or 18) to accommodate the thicker threads and layers. Larger needles penetrate heavy fabrics more effectively, ensuring secure stitches without strain on the machine or fabric.
Different fabrics may benefit from specialized needle types that optimize tension and reduce fabric damage. Ballpoint needles are ideal for knit fabrics as their rounded tip slips between the fabric’s fibers without causing snags or runs. This reduces tension on stretchy fabrics like jersey or spandex, maintaining elasticity and preventing skipped stitches. Sharp needles, or universal needles, have pointed tips designed for woven fabrics like cotton or linen. They penetrate the fabric cleanly, ensuring precise stitches and minimal tension adjustments.
Proper needle selection and maintenance contribute to consistent tension control. A worn or damaged needle can cause uneven tension, poor stitch quality, and potential fabric damage. Therefore, replacing needles regularly is crucial for maintaining optimal sewing performance! Always match the needle size and type to the fabric and thread you use to ensure smooth stitching and prevent unnecessary tension adjustments. Before starting a project, testing the needle and tension settings on scrap fabric is wise to ensure they produce the desired results. This practice allows you to fine-tune settings without affecting your main project.
Common Tension Issues and Fixes
Looping Stitches: If you see loops on the bottom of the fabric, the upper thread tension is likely too loose. Tighten the upper tension dial slightly.
Tight Stitches: If the fabric puckers and the stitches are too tight, the upper tension is too high. Loosen the upper tension dial.
Uneven Stitches: Check that the machine is threaded correctly. Incorrect threading can often cause tension issues.
Visit Our YouTube Page
For more detailed guidance, visit our YouTube page here, where you can find step-by-step video tutorials on setting and adjusting tension on both the TL and DX series machines. Our videos cover everything from basic tension adjustments to troubleshooting common issues, providing a visual and practical aid to mastering your machine!
Balancing tension on your sewing machine might seem daunting initially, but with practice and the right resources, you can achieve professional-quality stitches on any fabric. Happy sewing!
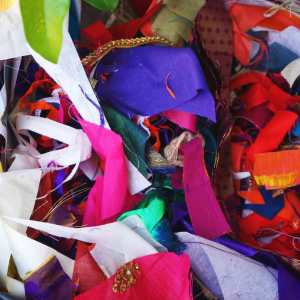
In a world where environmental consciousness is becoming increasingly important, we must adopt eco-friendly habits in every aspect of our lives, including our beloved hobbies! Whether you’re a seasoned sewist or a quilting novice, embracing sustainable techniques can make a significant difference. Let’s explore how to make your sewing and quilting practices more eco-friendly.
Eco-Friendly and Sustainable Sewing Techniques
Adopting sustainable sewing techniques is about more than just choosing the suitable fabrics. It involves a holistic approach to your sewing process, from your equipment to how you plan and execute your projects. By integrating these eco-friendly practices, you can significantly reduce your environmental footprint!
Mindful Material Selection:
Choose natural fibers like organic cotton, linen, and wool, which are biodegradable and have a lower environmental impact than synthetic fabrics.
Look for certifications like GOTS (Global Organic Textile Standard) to ensure the fabric is produced sustainably and adheres to strict environmental and social criteria.
Low-Impact Dyes:
Opt for fabrics dyed with low-impact or natural dyes. These dyes use less water, produce less waste, and contain fewer harmful chemicals, making them better for the environment and your health.
Support companies that use environmentally friendly dyeing processes and are transparent about their production methods.
Reusable Patterns:
Invest in reusable, high-quality patterns, or create your own to reduce waste and save money over time! Digital patterns can also be a sustainable choice as they eliminate the need for physical packaging and shipping.
Join online communities to share and swap patterns with fellow sewists.
Minimalist Sewing:
Embrace minimalist sewing by focusing on quality over quantity. Create timeless, durable, versatile pieces, reducing the need for constant replacements.
Plan your projects carefully to ensure you only purchase the necessary materials, avoiding excess consumption.
Sourcing Sustainable Materials
Finding sustainable materials is crucial for reducing the environmental impact of your sewing projects. By sourcing responsibly, you can support ethical practices and contribute to a more sustainable textile industry!
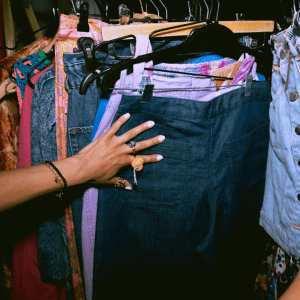
Thrift and Vintage Stores:
Explore thrift stores, vintage shops, and estate sales to find unique and affordable fabrics. Repurposing old clothing and linens into new projects saves money and reduces waste.
Get creative with your finds, turning them into one-of-a-kind pieces with a story to tell!
Eco-Friendly Fabric Stores:
Support fabric stores that specialize in sustainable and organic materials! Many online retailers offer a wide selection of eco-friendly fabrics, from organic cotton to recycled polyester.
Look for stores that provide transparency about their sourcing and production processes.
Local Artisans and Producers:
Purchase materials from local artisans and producers to reduce carbon footprints associated with shipping and support local economies.
Attend local craft fairs and markets to discover unique, handcrafted materials that add a personal touch to your projects.
Natural and Recycled Fibers:
Look for fabrics made from recycled fibers or those blended with natural materials. Brands like Econyl and Repreve offer fabrics made from recycled plastics, reducing waste and promoting circular economy practices.
Consider alternative fibers like hemp, bamboo, and Tencel, known for their sustainability and durability.
Reducing Sewing Waste
Reducing waste is a crucial aspect of sustainable sewing! By being mindful of how we use and dispose of materials, we can minimize our environmental impact and maximize our resources.
Use Your Scraps:
Save fabric scraps for smaller projects, patchwork, or quilting. Scraps can also be used for stuffing pillows, creating unique fabric art, or even making small accessories like scrunchies and keychains.
Organize your scraps by size and color to make them easier to use in future projects.
Zero-Waste Patterns:
Explore zero-waste patterns designed to use every bit of fabric with minimal leftover waste. These patterns often feature innovative cutting techniques and clever designs that maximize fabric usage.
Experiment with creating your own zero-waste patterns, challenging yourself to think creatively about fabric layout!
Efficient Cutting Techniques:
Plan your projects carefully to maximize fabric usage. Use efficient cutting techniques to reduce waste, such as nesting smaller pattern pieces within larger ones and cutting on the fold.
Invest in a good-quality rotary cutter and mat to achieve precise cuts and minimize errors.
Promoting Responsible Consumption and Recycling
Promoting responsible consumption and recycling in sewing and quilting helps create a more sustainable community of crafters! By being conscious of how we use and dispose of materials, we can reduce waste and encourage others to do the same.
Upcycling Projects:
Give old garments a new life by upcycling them into new creations. Transform outdated clothes into stylish new pieces, helpful household items, or gifts for friends and family.
Get inspired by online tutorials and communities that share creative upcycling ideas and techniques.
Clothing Swaps and Donations:
Participate in clothing swaps to exchange unwanted items with others. Swaps are a fun and sustainable way to refresh your wardrobe without buying new items!
Donate unused fabrics and garments to charities or community groups, ensuring they find new homes and purposes.
Repair and Mend:
Repair and mending clothing and quilts can extend their life. Learning basic mending techniques like patching holes and replacing zippers can save your favorite pieces from ending up in the landfill.
Invest in a small sewing kit to keep on hand for quick repairs and adjustments.
By adopting these sustainable sewing and quilting practices, you contribute to a healthier planet and create unique, high-quality pieces that tell a story. Every small step towards sustainability makes a significant impact!
Do you like using gauges for your seam guides? In this tip, Kelly showcases how to set up and use our wonderful Swing Gauge by JUKI! You can set up this swing gauge for two different seam allowances. For example, if you’re using a half inch and a quarter inch you can use this fabulous tool because what it does is you can set the first gauge up for a half inch and then the second gauge up for a 1/4 inch and then swing it away when you want to use the inch seam allowance.
First, in the video, we will attach it to the machine. The swing gauge comes with two screws for the mounting plate and we’re just going to set those but not tighten them because we’re going to adjust the gauge to the seam allowances we want.
The other thing you’ll want to use is a measuring device so you’re sure it is exactly where you want it to be when you sew the seam. In this video, we’re going to swing the first part back and set the first gauge to half an inch and we’re going to use a ruler down here. We’re lining the half-inch right up with the needle and then I’m going to tighten these screws. Make sure to check it again because this is going to move around! so
Tighten with your t- screwdriver.
If you’re following along the video you’ll see it looks great! Once that is all set you can swing the second one up and adjust it to a 1/4 inch. Remember to check the accuracy of the 1/4 inch. That looks great! So now we’re going to tighten the larger screw with our t- screwdriver.
As you watch you’ll see us try the half-inch seam allowance first and it’s beautiful! We love the accuracy. Next, we’ll swing our second guide forward for the 1/4-inch seam allowance.
If you like an accurate seam gauge and change seam allowances often the swing gauge is an excellent option from JUKI! Locate your JUKI dealer for this fabulous accessory by clicking here. thank you for joining us and be sure to follow! We look forward to seeing you next time on a project or tip!