Do you like using gauges for your seam guides? In this tip, Kelly showcases how to set up and use our wonderful Swing Gauge by JUKI! You can set up this swing gauge for two different seam allowances. For example, if you’re using a half inch and a quarter inch you can use this fabulous tool because what it does is you can set the first gauge up for a half inch and then the second gauge up for a 1/4 inch and then swing it away when you want to use the inch seam allowance.
First, in the video, we will attach it to the machine. The swing gauge comes with two screws for the mounting plate and we’re just going to set those but not tighten them because we’re going to adjust the gauge to the seam allowances we want.
The other thing you’ll want to use is a measuring device so you’re sure it is exactly where you want it to be when you sew the seam. In this video, we’re going to swing the first part back and set the first gauge to half an inch and we’re going to use a ruler down here. We’re lining the half-inch right up with the needle and then I’m going to tighten these screws. Make sure to check it again because this is going to move around! so
Tighten with your t- screwdriver.
If you’re following along the video you’ll see it looks great! Once that is all set you can swing the second one up and adjust it to a 1/4 inch. Remember to check the accuracy of the 1/4 inch. That looks great! So now we’re going to tighten the larger screw with our t- screwdriver.
As you watch you’ll see us try the half-inch seam allowance first and it’s beautiful! We love the accuracy. Next, we’ll swing our second guide forward for the 1/4-inch seam allowance.
If you like an accurate seam gauge and change seam allowances often the swing gauge is an excellent option from JUKI! Locate your JUKI dealer for this fabulous accessory by clicking here. thank you for joining us and be sure to follow! We look forward to seeing you next time on a project or tip!
Immersing ourselves in a new hobby may lead us to questions we never thought of asking! For example, at the heart of our beloved sewing and quilting projects lies fabric, the canvas upon which sewists and quilters weave their magic. But have you ever wondered about your fabric’s journey before it reaches your fingertips?
Here, we’ll cover the fascinating fabric creation process, where raw fibers transform into the vibrant materials that inspire our projects! Whether you’re a seasoned sewist or just starting, understanding this journey adds a new layer of fascination to your crafting experience.
Let’s Talk Fibers
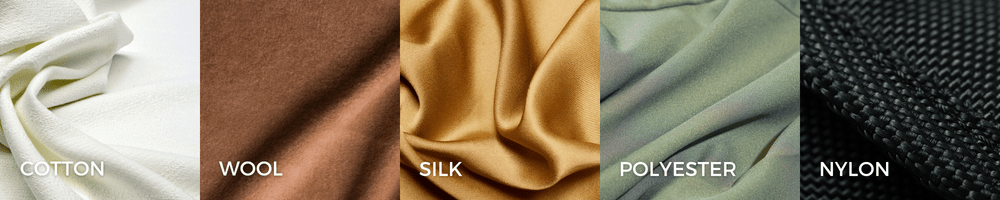
Natural fibers, such as cotton, wool, and silk, are sourced from plants or animals. Cotton cultivation occurs primarily in warm climates where mature cotton bolls are picked from the plants and then subjected to ginning. This process separates the fibers from the seeds and other impurities.
Wool is obtained through shearing sheep. It’s followed by cleaning the wool to remove dirt and grease, carding to align the fibers, and optional dyeing for coloration. Silk production involves rearing silkworms, harvesting their cocoons, boiling cocoons to soften the sericin coating, and then reeling the silk filaments to produce yarn.
Then, we have synthetic fibers like polyester and nylon, made from oil-based chemicals. Polyester is created by combining small molecules from petroleum, a process called polymerization. These combined molecules are then melted and pushed through tiny holes called spinnerets to form long strands of fibers.
Nylon goes through a similar process where specific chemicals derived from petroleum are mixed to form polymers, which are then pushed through spinnerets and cooled down to create nylon fibers. Essentially, polyester and nylon are made by melting oil-based ingredients and shaping them into fibers.
These processes highlight the contrasting methods of obtaining raw materials for natural and synthetic fibers, each contributing to the diverse range of products available in the textile industry!
Spinning
After the fibers are harvested from natural sources or synthesized from petrochemicals, the next step in the textile production process is spinning them into yarn! The spinning process involves aligning the fibers and twisting them together, forming a continuous thread. This process is crucial as it imparts strength and coherence to the yarn!
Several methods of spinning are employed in the industry. One method is ring spinning, a traditional technique for producing fine, strong yarn. The fibers are drawn out, twisted, and wound onto a bobbin in a ring spinning.
Another method is open-end spinning, a faster alternative that results in bulkier yarn. In open-end spinning, the fibers are fed into a rotor that rotates rapidly, pulling and twisting them together to form yarn. Each spinning method offers distinct advantages and is chosen based on the final yarn’s desired characteristics and the production efficiency required.
Dyeing
Dyeing is the next process in textile manufacturing, where color and patterns are infused into yarn or fabric. This step is versatile and can be carried out at different stages of production!
Fiber dyeing, also known as stock dyeing, is a method in which the fibers are dyed before being spun into yarn. This approach ensures uniform coloration throughout the yarn and fabric.
Yarn dyeing, in contrast, involves dyeing the yarn after it has been spun. It is commonly employed for creating patterned fabrics using different colored yarns.
Lastly, piece dyeing occurs after the fabric is woven or knit. In this method, the entire fabric piece is submerged in a dye bath, allowing for the uniform application of color.
Each dyeing method offers distinct advantages in color control, efficiency, and flexibility, catering to various requirements in the textile industry!
Weaving and Knitting
Following the dye production stage for yarn, the process advances to transforming yarn into fabric, achieved through either weaving or knitting techniques.
Weaving is a method that entails interlacing yarns at right angles to form a fabric. Basic weave patterns such as plain, twill, and satin are commonly utilized. Each imparts distinct characteristics to the resulting fabric, including texture, durability, and appearance. The chosen weave directly influences the fabric’s properties, like its drape, strength, and surface finish.
Knitting involves interloping yarns to create fabric. Knitted fabrics, like jerseys and rib knits, are known for their elasticity and stretchability, which distinguishes them from woven fabrics. The knitting process offers versatility in fabric design and texture and variations in stitch patterns, allowing for the creation of diverse fabric structures and surface effects.
Each technique—weaving and knitting—contributes to the spectrum of fabrics available in the textile industry, catering to various applications and consumer preferences.
Finishing
After the fabrication process through weaving or knitting, the next stage is the finishing process, which enhances the fabric’s appearance, texture, and longevity.
Mechanical finishes use techniques like brushing, which raises the fabric’s surface fibers for a softer feel and enhanced texture. Calendaring involves the application of heat and pressure to smooth the fabric’s surface, creating a fantastic sheen and improving the feel when you pass your hand on the fabric. Embossing creates decorative patterns or textures on the fabric’s surface, adding an excellent aesthetic appeal.
We also have chemical finishes, including treatments to boost the fabric’s functionality. These treatments include applications for water repellency, ensuring the fabric repels water and remains dry in wet conditions. They also have wrinkle-resistance treatments that minimize creasing and maintain the fabric’s smooth appearance. Chemical finishes may also include flame inhibitor treatments to enhance the fabric’s resistance to ignition and combustion, making it safer for wear.
Together, these finishing processes are crucial in refining the fabric’s characteristics, making it more visually appealing, comfortable, and functional for its intended use!
Cutting and Sewing
Once the fabric is finished, it is prepared for the final production stage: pattern making and assembly into textile products. This phase begins with pattern making, creating templates for the desired item. These patterns serve as guides for accurately cutting the fabric into individual pieces. The fabric is then carefully selected to meet the project’s specific requirements. This involves considering factors such as fabric type, weight, color, and pattern.
Once the fabric is chosen, it is distributed to local quilt and sewing shops, where it becomes available for purchase by creators like you! These shops are hubs for enthusiasts and professionals, providing various fabrics, notions, and tools for sewing and quilting projects.
Understanding the fabric creation process allows you to choose the best materials for your sewing and quilting projects. Each step, from harvesting raw materials to sending the final product to your favorite dealers, plays a crucial role in the quality and characteristics of the final fabric. The next time you start a project, take a moment to appreciate the journey your fabric has taken to reach your hands. Check out your nearest JUKI dealer and see the fabrics available here! Happy sewing and quilting!
Welcome to another tip with JUKI! Presented by our National Account Trainer Alba, we’re going to talk about quilting and our JUKI Ruler Foot for the TL Series.
In this video, we’re working on the JUKI TL-18QVP Semi-Industrial Sewing Machine and using our optional accessory the Ruler Foot. In this tip, we’re going to show you how to adjust that ruler foot for perfect stitching. You may notice that when you put your ruler foot on your machine it’s really high above your fabric and you never want to do that.
You really want the height of a credit card, a hotel key, or a thin plastic sheet and as you watch the video, you’ll see there’s a lot of height to start us off with, but the ruler foot has a screw on the side that you can turn and that will raise and lower your presser foot. Using your hotel card, or thin plastic sheet, will help you get that height you need and you’ll want to be where that credit card barely skims the bottom of that foot.
What this does is, as the needle goes up and down it prevents the fabric from bouncing and gives you those perfect stitches you want on your free motion quilt projects.
What tip do you want to see next? Let us know in the comment below!
For passionate sewists and crafters, sewing machines, fabrics, and accessories are prized possessions. Whether you sew occasionally or every day, proper storage is essential to protect your investments and ensure they remain in optimal condition. In this guide, we’ll explore the best practices for storing your sewing machines, fabrics, and accessories to keep them safe and well-maintained.
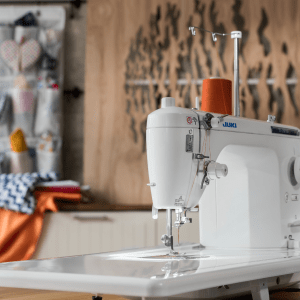
Sewing Machine Storage:
Your sewing machine is the heart of your craft, so safeguarding it is crucial. Here are some detailed tips for storing your sewing machine effectively:
a. Clean Before Storage: Before stowing away your machine, thoroughly clean it. Start by removing any visible lint, dust, and debris from the bobbin case, feed dogs, needle plate, and other parts using a soft brush or lint roller. You can check out our blog on machine maintenance here.
b. Cover It Up: Use your JUKI machine cover, invest in a dedicated sewing machine cover, or use a soft, breathable fabric to shield your machine from dust and sunlight. Ensure the cover fits snugly but is not too tight, allowing for adequate airflow. Avoid plastic covers, which can trap moisture and create a breeding ground for mold and mildew.
c. Store in a Cool, Dry Place: Choose a storage location away from direct sunlight, heat sources, and areas prone to humidity for your sewing machine. Extreme temperatures or moisture exposure can damage delicate components such as electronics, motors, and metal parts. Consider storing your machine in a climate-controlled room or closet to maintain stable environmental conditions.
d. Proper Positioning: When storing your sewing machine, ensure it is placed in a flat, stable position to prevent it from tipping over or being knocked around. If your machine comes with an original case or storage container, utilize it for added protection during storage. Alternatively, opt for a sturdy storage box or cabinet that provides ample cushioning and support for your machine.
By following these guidelines, you can ensure that your sewing machine remains in optimal condition between uses, ready to bring your creative visions to life whenever inspiration strikes.
Fabric Storage:
Fabrics come in various textures, weights, and fibers, making proper storage essential for preserving their quality and longevity. Here’s an in-depth look at how to store your fabrics effectively:
a. Fold, Don’t Hang: Resist the temptation to hang your fabrics, as this can cause them to stretch out of shape over time. Instead, opt for folding to maintain their integrity. Neatly fold fabrics and store them vertically on shelves, bins, or drawers. This method not only saves space but also prevents creases and wrinkles.
b. Protect from Light: Sunlight can be detrimental to fabrics, causing colors to fade and fibers to weaken over time. Store your fabrics in a dark or dimly lit area to shield them from harmful UV rays. Consider using opaque storage containers or covering windows with curtains or blinds to minimize exposure to sunlight.
c. Use Acid-Free Storage Containers: Acidic materials can accelerate the deterioration of fabrics, leading to discoloration and weakening of fibers. To safeguard your fabrics, opt for acid-free cardboard boxes or plastic bins for storage. These containers are specifically designed to maintain a neutral pH level, ensuring that your fabrics remain pristine for years to come.
d. Maintain Air Circulation: Adequate airflow prevents musty odors and mildew growth in stored fabrics. Avoid tightly packing fabrics together, which can restrict ventilation and create a breeding ground for moisture. Instead, allow some space between fabric stacks to promote air circulation. Consider using breathable storage bags or containers with ventilation holes to enhance airflow further.
With these tips, you can ensure that your fabric collection remains impeccable and ready to inspire your next sewing project with its vibrant colors and luxurious textures!
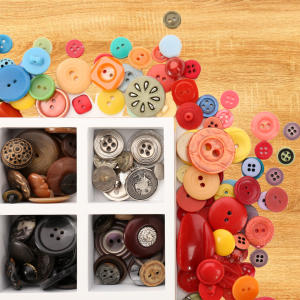
Accessory Storage:
Sewing accessories such as needles, threads, scissors, and rulers are indispensable tools for any sewing enthusiast. To ensure they remain organized and safe, we recommend these guidelines for storage:
a. Organize by Category: Start by categorizing your sewing accessories into needles, threads, zippers, buttons, and other miscellaneous items. Use clear bins, drawer dividers, or labeled containers to keep each category separate and easily identifiable. This organization system not only saves time but also prevents clutter and frustration when searching for specific items.
b. Keep Sharp Objects Secure: Sharp tools like scissors, rotary cutters, and pins pose a safety hazard if unprotected. Store these items in dedicated storage containers or pouches with secure closures to prevent accidental injuries. Consider using magnetic strips or pin cushions to keep needles and pins within easy reach while minimizing the risk of pricks.
c. Moisture Control: Moisture can wreak havoc on sewing accessories, leading to rust and deterioration, especially for metal tools. Protect your accessories by storing them in a dry environment away from sources of moisture. Add silica gel packets to storage containers to absorb excess humidity and maintain optimal conditions. Additionally, periodically inspect your storage area for signs of moisture buildup and address any issues promptly.
d. Regular Maintenance: Like your sewing machine, sewing accessories require regular maintenance to ensure optimal performance and longevity. Periodically inspect your accessories for signs of wear, damage, or corrosion. Replace worn-out needles, sharpen dull scissors, and discard any damaged items to prevent accidents during use. Additionally, clean your accessories regularly to remove lint, dust, and debris buildup, ensuring they remain in top condition for your next sewing project.
By implementing these comprehensive storage and maintenance practices, you can keep your sewing accessories organized, safe, and ready for use whenever inspiration strikes. Happy sewing!
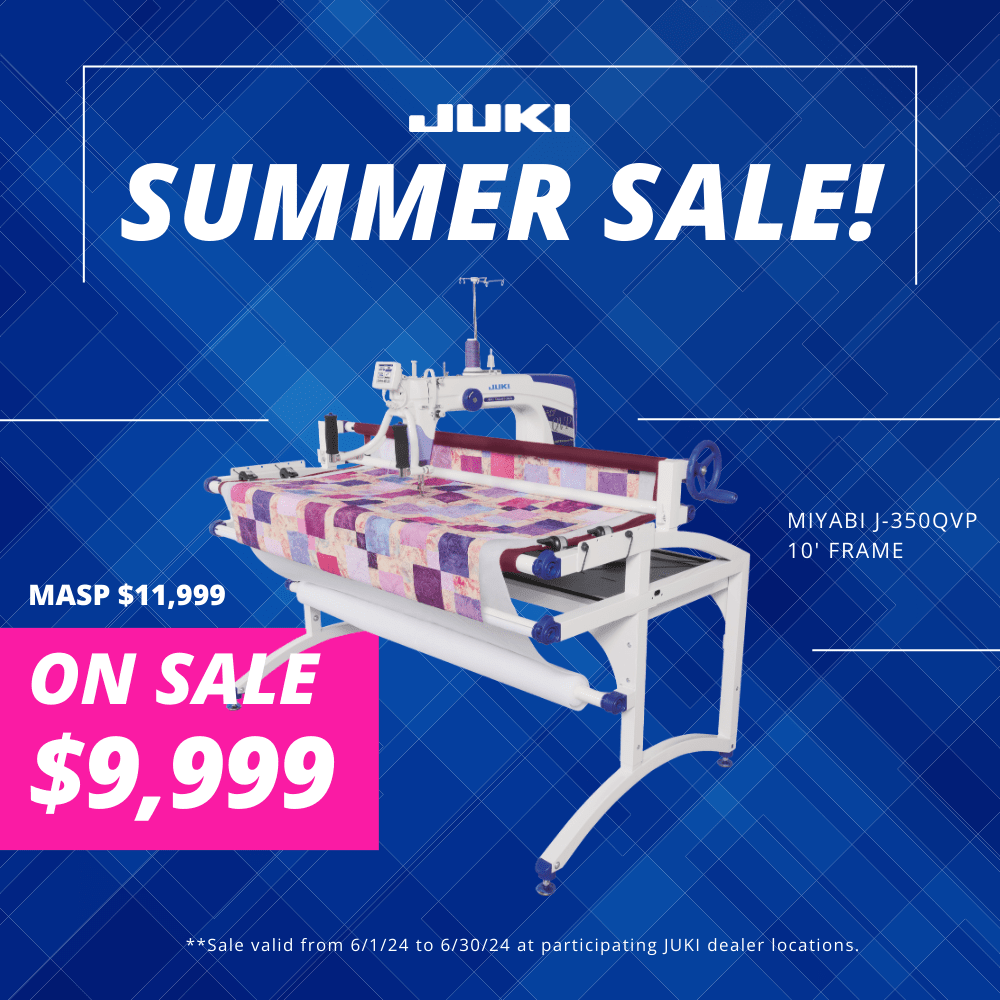
Summer is here, and so is JUKI’s most anticipated event of the year! For the entire month of June, sewing enthusiasts can revel in incredible deals as JUKI dealers nationwide roll out an array of top-tier machines at unbeatable prices. Whether you’re a seasoned quilter, a passionate home sewer, or just starting your crafting journey, this is the perfect opportunity to upgrade your equipment and bring your creative visions to life.
Stay tuned as we guide you through the highlights of JUKI’s Big Summer Sale, featuring exclusive discounts on a wide range of sewing, quilting, and embroidery machines. Don’t miss out on the chance to elevate your sewing experience with the quality and innovation JUKI is renowned for, all at a fraction of the cost. Ready to stitch your way into summer savings? Let’s dive in!
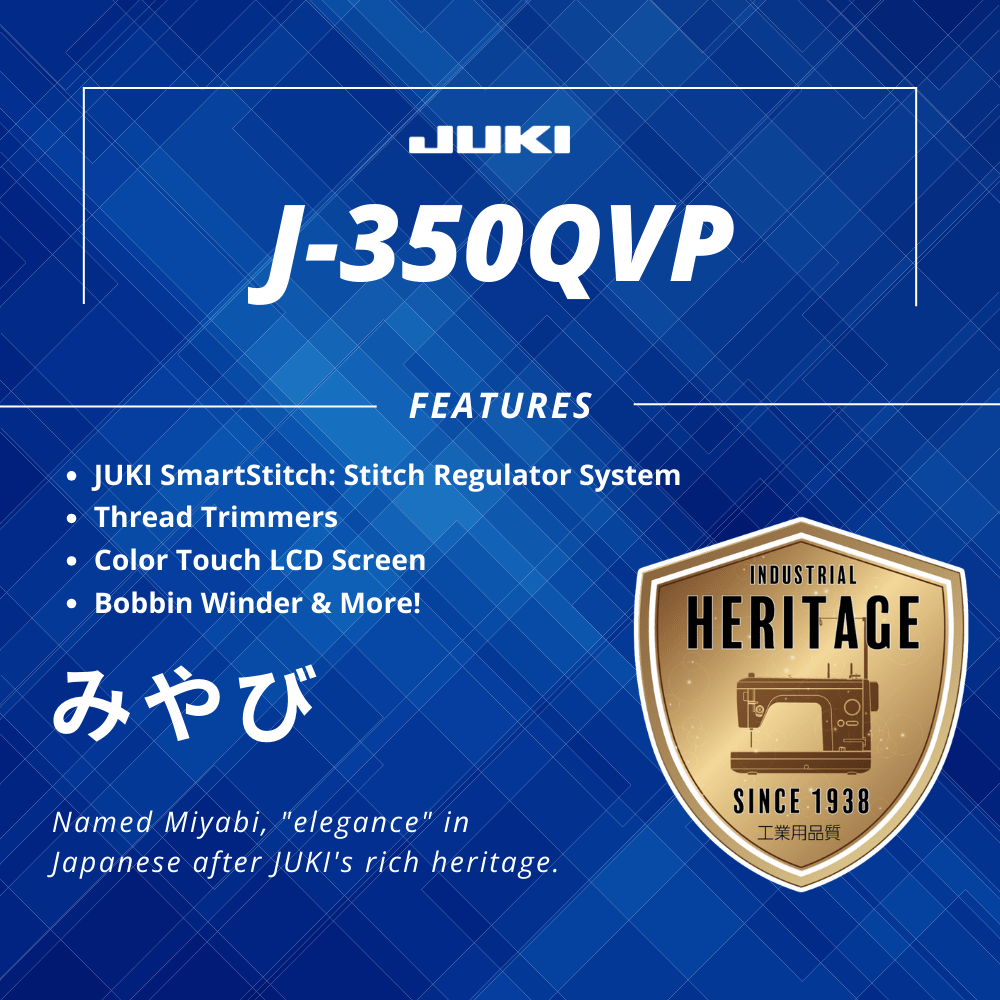
Investing in the Miyabi J-350QVP means embracing a world of creative possibilities and enjoying a quilting experience like no other. For avid quilters, the J-350QVP offers unmatched precision and ease of use, making it perfect for bringing intricate designs to life. The JUKI Smart Stitch Stitch Regulator system alone is a game-changer, providing peace of mind with every stitch, allowing quilters to focus more on their artistry rather than machine adjustments. This feature is particularly beneficial for those who love free-motion quilting, as it ensures consistent stitch quality regardless of speed or direction changes.
You can also enjoy the convenience of automatic thread trimmers and its user-friendly color touch LCD screen which adds significant joy to the quilting process! The ease of navigating through different settings and stitch options means less time spent troubleshooting and more time creating. Quilters will appreciate the expansive workspace, which seamlessly accommodates larger projects, making it ideal for creating bed-sized or detailed art quilts. With the Miyabi J-350QVP, every quilting session becomes an enjoyable, efficient, and highly rewarding experience, encouraging creativity and innovation in every stitch!
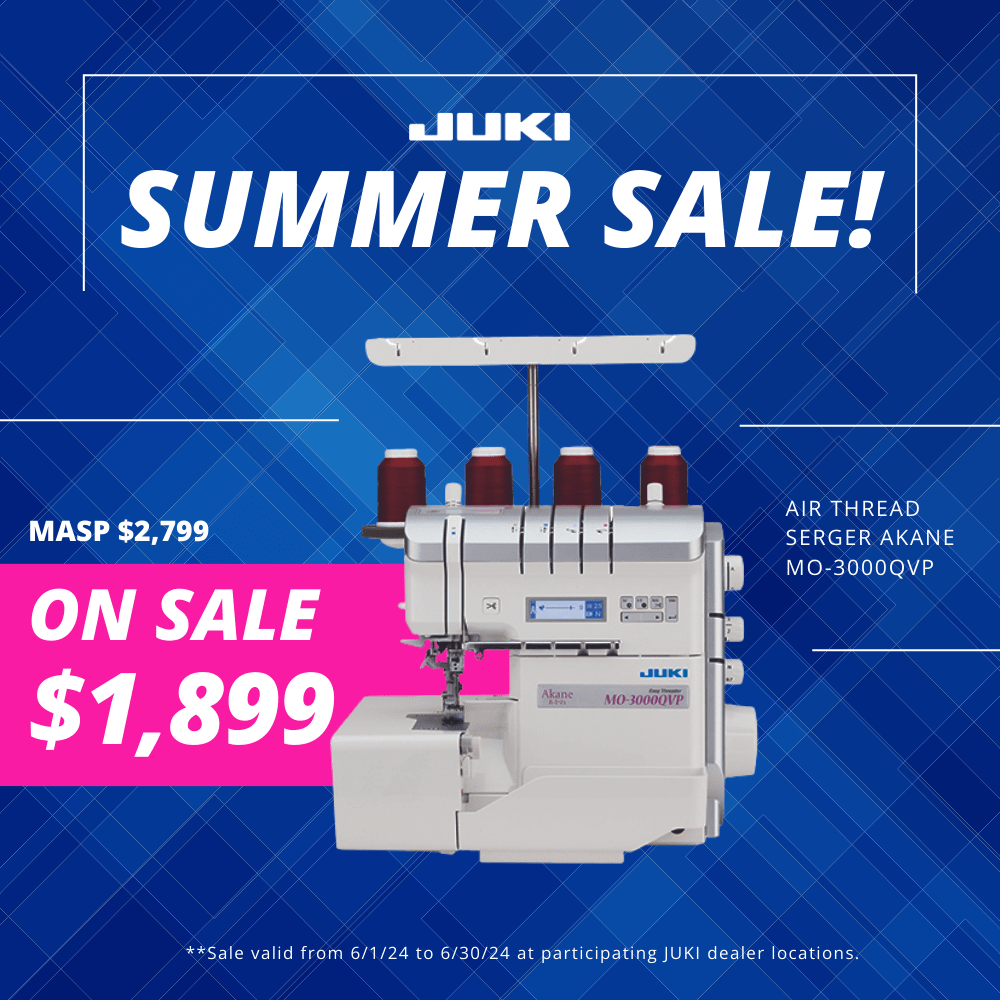
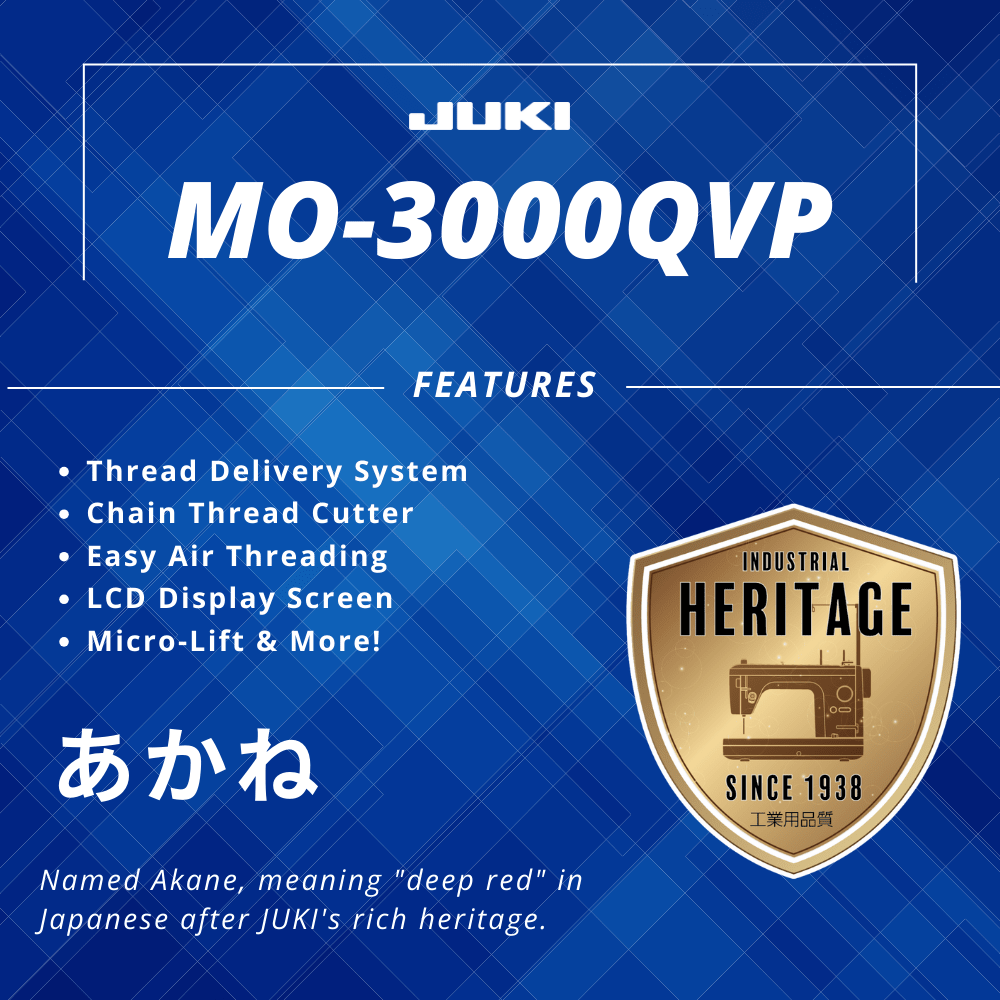
Choosing the MO-3000QVP means embracing a new level of efficiency and enjoyment in your sewing projects. For those who often work with a variety of fabrics, the easy air threading system is a game-changer, eliminating the frustration of manually threading the loopers and allowing you to switch between projects quickly and effortlessly! This feature alone can save you significant time and hassle, making your sewing sessions more productive and enjoyable.
The MO-3000QVP’s also comes with a chain thread cutter and micro-lift function, offering precise control and clean, professional finishes on every project. You can craft garments with intricate seams, work on home décor items that require durable edges, or create delicate rolled hems; this serger provides the versatility and reliability to handle it all. The machine’s advanced features simplify complex tasks, making it ideal for both beginners looking to expand their skills and experienced sewers seeking to streamline their workflow. With the MO-3000QVP, you’ll find more joy in the creative process, knowing you have a high-quality, user-friendly tool to bring your sewing visions to life!
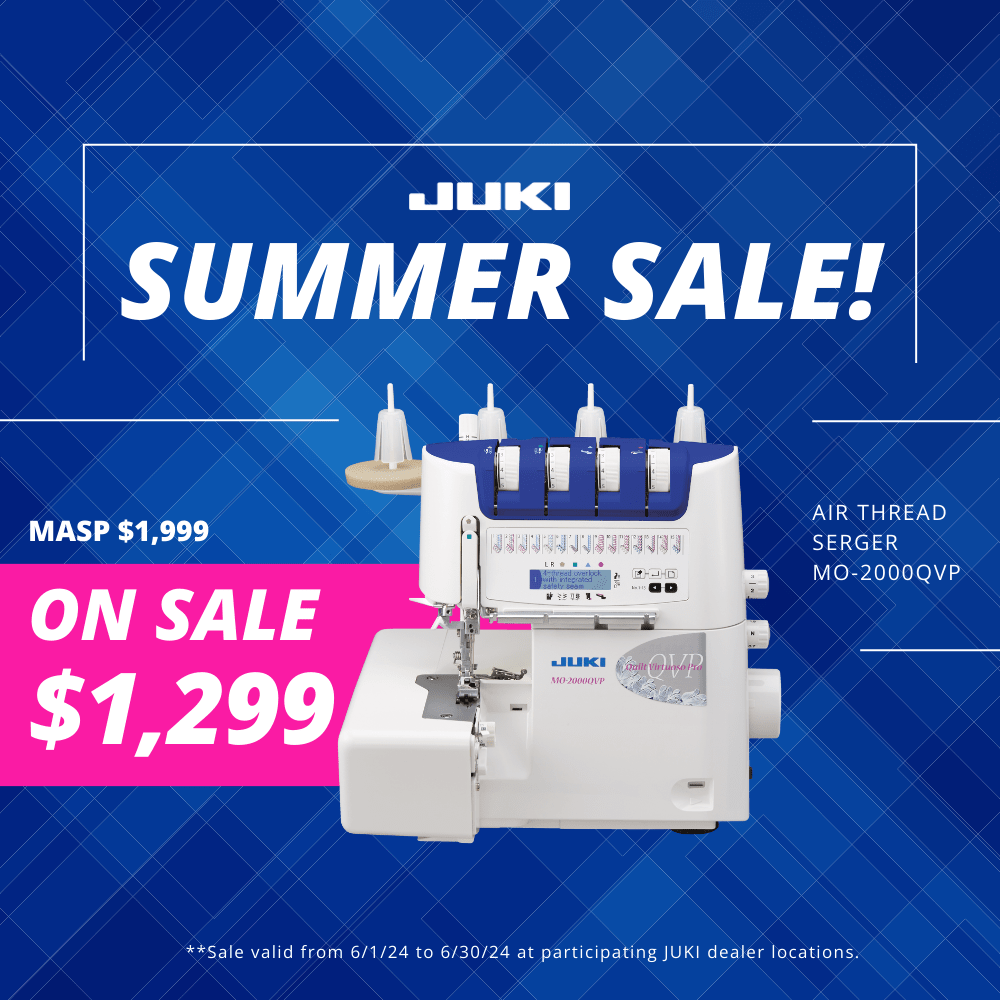
The MO-2000QVP is another stellar addition to JUKI’s line of serger machines, designed to simplify and elevate your sewing projects. One of its standout features is the easy air threading system, which utilizes a powerful jet-air mechanism to thread the loopers effortlessly. With just the push of a button, you can say goodbye to the frustration of manual threading, making setup fast and hassle-free. Additionally, the MO-2000QVP offers a variety of features aimed at enhancing your sewing experience. Its user-friendly design includes a large, brightly lit workspace, making it easier to see your work and ensure precision.
The machine also provides a range of stitch options and adjustable settings, allowing you to tackle different fabrics and techniques with ease. Whether you’re creating clothing, home décor, or craft projects, the MO-2000QVP delivers consistent, professional results, making it an invaluable tool for both novice and experienced sewers.
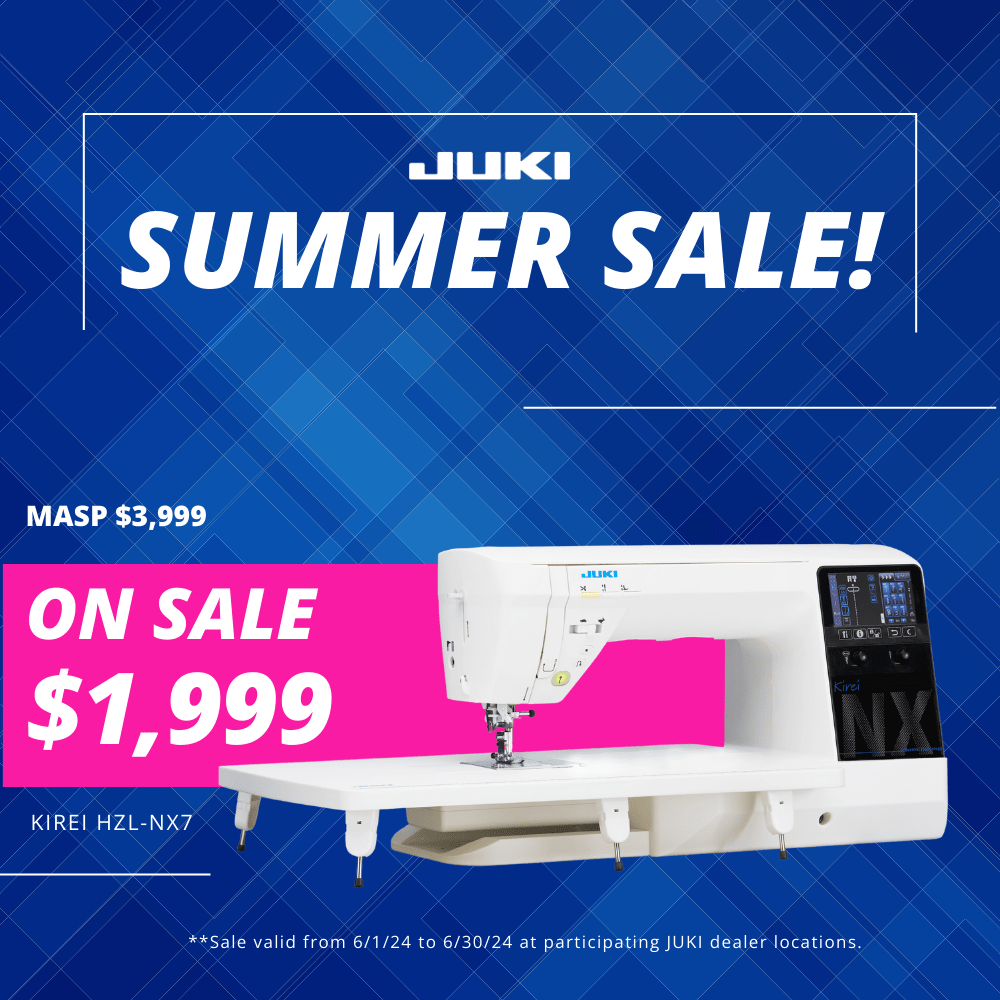
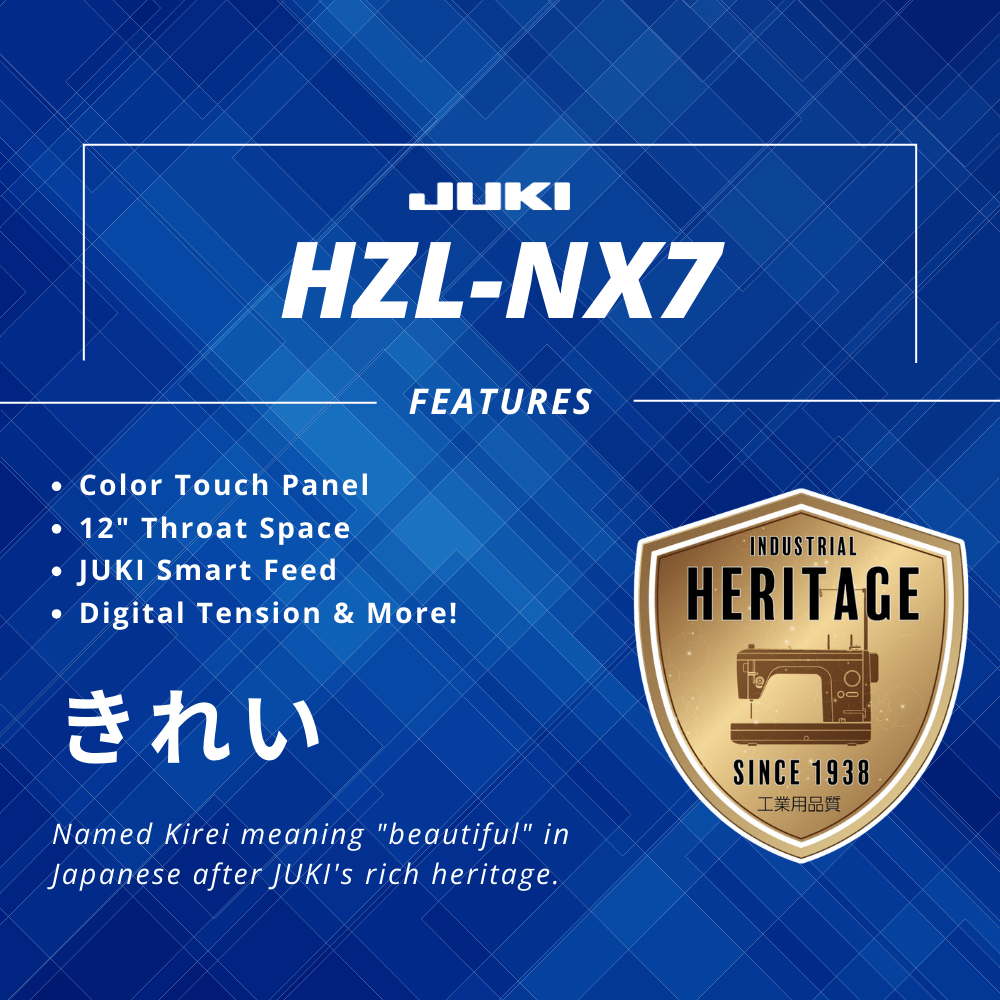
The HZL-NX7 is the ultimate tool for enhancing your sewing, quilting, or crafting endeavors. Its intuitive color touch panel simplifies selecting and adjusting stitch patterns, streamlining your workflow for both beginners and seasoned sewers alike. With a generous 12″ throat space, quilters can effortlessly handle large projects without constant repositioning, while the JUKI Smart Feed system ensures smooth and even fabric feeding, even with multiple layers, preventing common issues like shifting or puckering.
Moreover, the HZL-NX7’s digital tension control guarantees impeccable stitches, eliminating guesswork and manual adjustments for professional-quality results every time. With the HZL-NX7, sewing becomes not just a task, but a joyous expression of creativity, allowing you to focus more on your projects and less on technical challenges.
The DX-4000QVP redefines sewing excellence with its 7″ color touch panel and expansive 12″ throat space, offering unmatched versatility and convenience for projects of all sizes. Seamlessly integrating the JUKI Smart Feed system and Bobbin Sensor, this machine ensures precise stitching and uninterrupted workflow, catering to quilters, fashion enthusiasts, and home décor lovers alike. During our summer sale, acquiring the DX-4000QVP secures exceptional value and unlocks a world of creative possibilities at an unbeatable price!
From intricate quilts to tailored garments, the DX-4000QVP empowers creativity with unparalleled precision and ease. Don’t miss this chance to elevate your sewing experience and explore new horizons this summer with the DX-4000QVP!
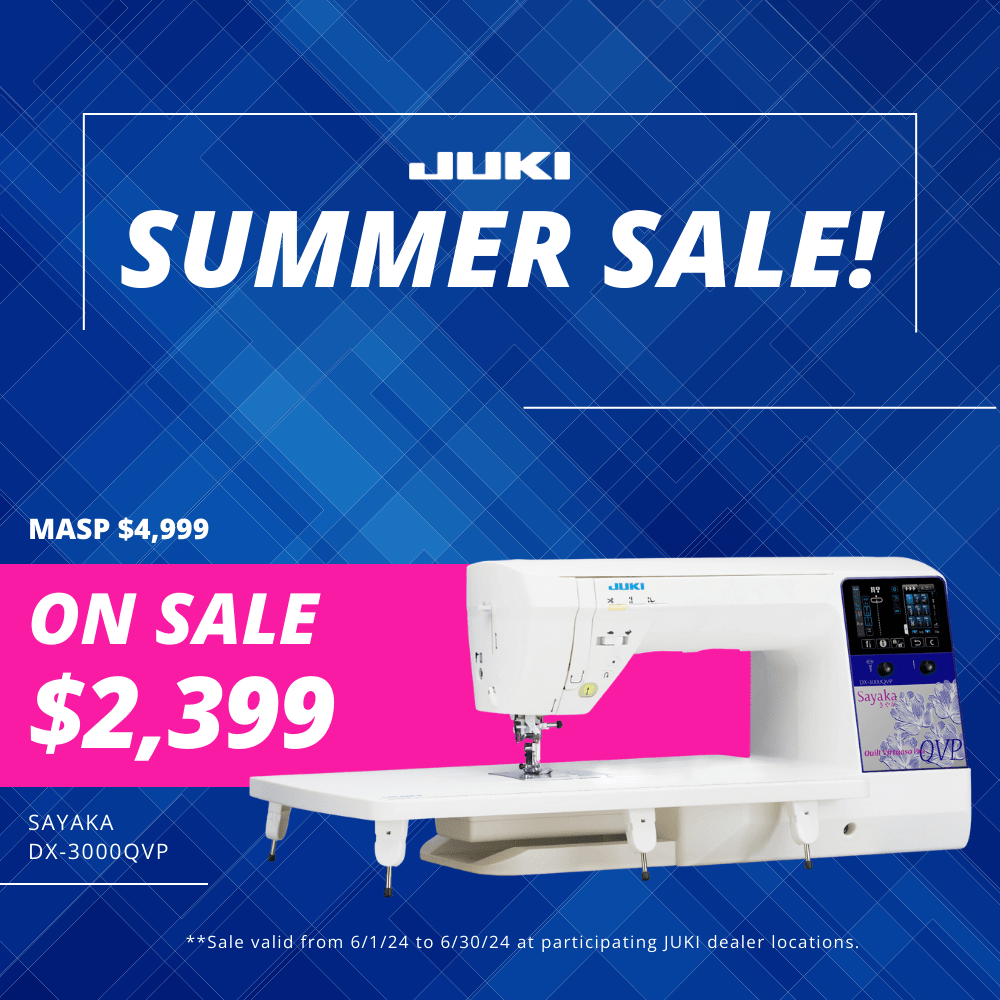
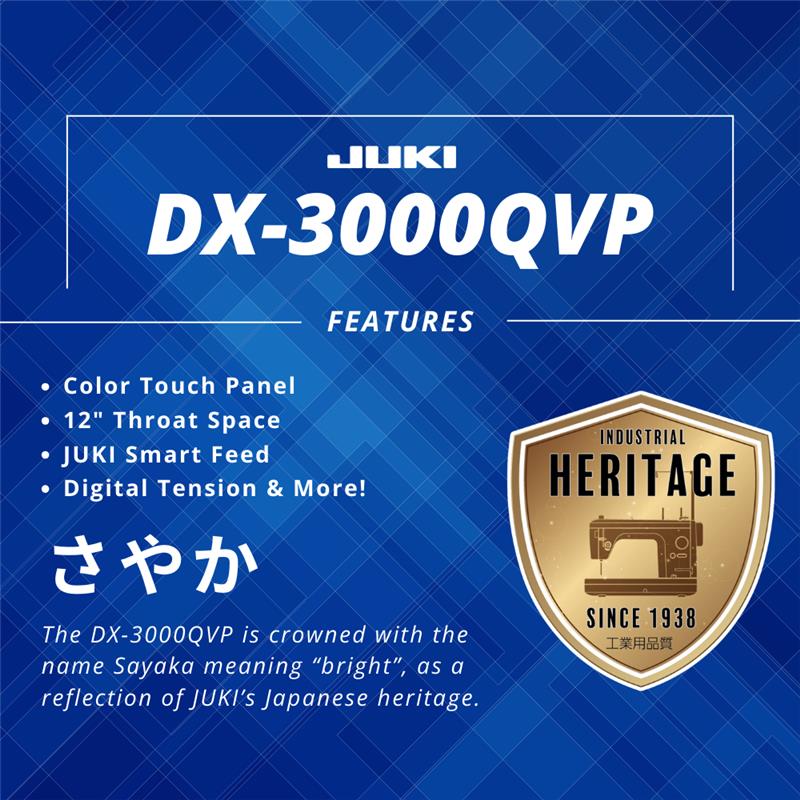
The DX-3000QVP is a remarkable machine, now available at an incredible price during the JUKI Summer Sale! Designed for both sewing and quilting enthusiasts, this machine features a spacious 12″ throat space, providing ample room for large quilts and bulky fabrics. Equipped with JUKI Smart Feed technology, it ensures consistent and precise fabric feeding, while the digital tension control allows for flawless results with adjustable precision. With a wide range of stitch options and settings, the DX-3000QVP is versatile enough to handle everything from delicate garments to heavy-duty home décor projects.
Quilters and sewers alike will love the DX-3000QVP for its ability to manage complex designs and large projects effortlessly. The combination of advanced features and reliable performance makes this machine a joy to use, inspiring creativity and confidence in every stitch. Don’t miss this limited-time opportunity to elevate your sewing experience with the DX-3000QVP during the JUKI Summer Sale.
The DX-1500QVP is the final featured machine in our JUKI June Summer Sale, and it’s an offer you won’t want to miss! Created for both sewing and quilting enthusiasts, this versatile machine boasts 157 stitch patterns and 3 fonts, providing endless creative possibilities for any project. Its programmable needle position and auto thread trimming features ensure precise and efficient sewing, saving time and enhancing accuracy.
Additionally, the DX-1500QVP is equipped with an industrial box feed system, offering superior fabric handling and ensuring even, high-quality stitches on various fabric types. Whether you’re creating intricate quilts or detailed garments, this machine’s advanced features make it a joy to use.
Take advantage of this limited-time offer and elevate your sewing and quilting projects with JUKI’s Sewing and Quilting machines by your side!