JUKI Tip: Using the T-Gauge on Your JUKI

This month’s tip is all about using our T-Guage with Kelly, our JUKI National Trainer! If you like a consistent seam gauge for your seam allowances and use maybe one, or maybe even two seam allowances the T- Gauge is for you. What we’re going to do in our video below is set this up so we can follow a perfect quarter-inch seam or half-inch seam.

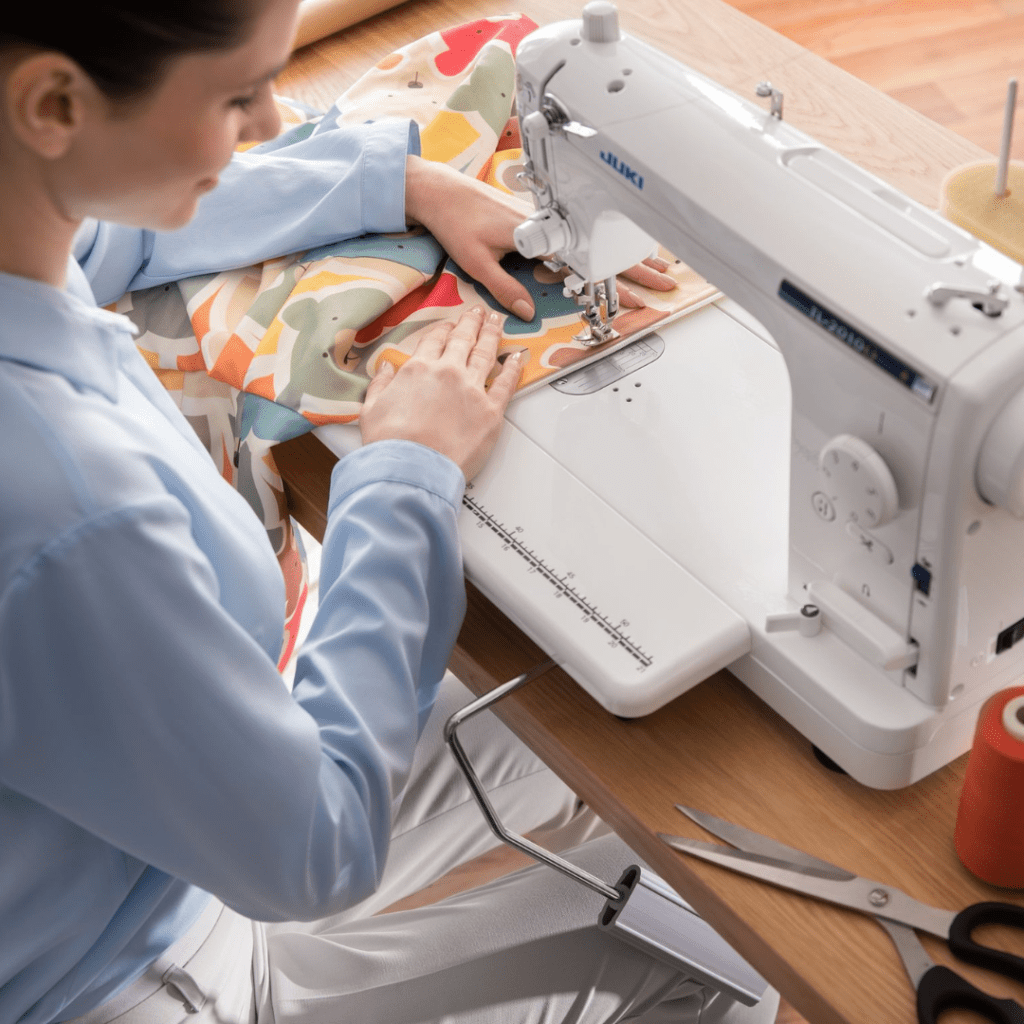
You’ll see this accessory can help with different seams and is easy to attach. We have a mounting plate right here on our TL-18QVP that we’re going to be working on.

To start we’re going to put the two screws in that come with our T-Guage. We’re going to put these in lightly so that we can tighten them after I put my gauge on the quarter-inch seam.

We love the accuracy of the gauge because we can use our fast speed on the TL-18QVP to sew and maintain a consistent seam every time. After you’re set-up, use your seam gauge to double-check the measurement from the needle.

In our video we’re working on the perfect quarter-inch seam! After you decide on spacing, you’re going to tighten those screws and check the accuracy again because it tends to move when you tighten that screw. Ours looks great! Now we will have a consistent 1/4 inch seam all set.

In our video you can watch as we guide our fabric right next to the seam and use the full speed setting on the TL-18QVP.

We hope you’ve enjoyed this tip on how to set up your T-Guage and when to sue it. The Haruka TL-18QVP with our T-Gauge gives you wonderful accuracy for seam allowances! thank you for joining us today and we look forward to seeing you next time on a tip or project with JUKI.

Happy holidays!

The Art of Tailoring with JUKI

Tailoring is an art form that transforms your outfits to reflect your style and achieve a perfect fit! Whether modifying a store-bought piece or creating a custom design from scratch, the right tools can be essential for professional results and help you handle various fabrics and techniques. This blog will discuss how JUKI sewing machines and accessories can elevate your tailoring process and help you achieve those professional results!

Tailoring provides an opportunity to express your individuality through unique design elements. It can extend the lifespan of your clothing by revitalizing and adjusting pieces to keep them in excellent condition. Let’s talk about the first step to tailoring on your machine.

JUKI Machines for Tailoring          

Choosing the right sewing machine can be crucial for achieving desired results. JUKI machines are celebrated for their precision and versatility, making them ideal for tailoring projects. This section will highlight how the JUKI TL-2010Q and HZL F Series can enhance your tailoring experience and deliver professional-quality outcomes.

  1. JUKI TL-2010Q: this is a robust and precise sewing machine designed for high-performance tailoring! It features a spacious sewing area accommodating large fabric pieces and detailed work. The automatic needle threader streamlines setup, while the adjustable presser foot pressure ensures optimal fabric handling across different materials and weights. This machine’s accuracy and durability make it ideal for achieving professional results in custom sewing projects.
  2. JUKI HZL F Series (300, 400, 600): This line offers a range of versatile and feature-rich machines suitable for various tailoring needs! The HZL F300 provides essential features and a variety of built-in stitches for basic alterations. The HZL F400 builds on this with additional stitch options and a larger sewing area, making it well-suited for more complex projects. For those seeking advanced functionality, the HZL F600 delivers enhanced features, including a sophisticated feed system and a large LCD screen, providing even greater precision and convenience for intricate tailoring tasks.

Essential Accessories for Tailoring

To achieve the best results in tailoring, having the right accessories can be precisely what you need! These tools not only enhance the functionality of your sewing machine but also help ensure precision and ease in your alterations. From feet that handle multiple fabric layers to guides that maintain consistent seam allowances, each accessory can play a role in perfecting your tailoring projects.

  • JUKI Walking Foot: A walking foot is invaluable for sewing multiple layers of fabric or handling tricky materials like velvet or leather. It evenly feeds the fabric, preventing slipping and shifting.
  • JUKI Even Feed Foot: Similar to the walking foot but with additional precision, the Even Feed Foot is great for aligning and sewing fabrics with different weights.
  • JUKI Blind Stitch Foot: This foot is perfect for creating professional-looking blind hems. It helps you sew nearly invisible blind hems.
  • JUKI Pintuck Foot: This foot helps create evenly spaced, beautiful tucks when adding decorative elements like pintucks to garments.
  • JUKI Swing Guage: A swing gauge ensures consistent seam allowances, which helps tailor and alter garments accurately.

Tips for Perfecting Your Tailoring Technique

Perfecting your tailoring projects requires attention to detail and a few essential techniques to ensure the best results. Below are a few tips you can use to enhance your sewing skills and achieve a flawless finish for every project! From precise measurements to selecting the right thread, each step contributes to the overall quality of your revamp projects. Use these strategies to elevate your sewing and make your tailoring efforts efficient and rewarding!

  1. Measure Accurately: Start with precise measurements to ensure a perfect fit. Use a flexible measuring tape to measure your body or the garment you’re altering.
  2. Use Tailoring Techniques: Learn and apply various tailoring techniques such as dart manipulation, adjusting side seams, and adding or removing ease.
  3. Test Fabrics: Always test stitches and settings on scrap fabric before working on your main project. This ensures you get the right tension and stitch length.
  4. Invest in Quality Thread: High-quality thread helps prevent snags and ensures a professional finish.
  5. Practice Patience: Tailoring requires attention to detail and patience. Take your time with each step to achieve the best results!

Mastering the art of tailoring with JUKI machines opens up a world of possibilities for creating personalized garments! Whether you’re making alterations to an existing piece or starting from scratch, the precision and functionality of these JUKI machines will elevate your sewing projects. Embrace the art of tailoring and enjoy the satisfaction of wearing clothes made just for you!

Tag us on social media at JUKIHomeSewing on your next revamp project for a chance to be featured in our story!

JUKI Tip: Adjusting Your Ruler Foot

Welcome to another tip with JUKI! Presented by our National Account Trainer Alba, we’re going to talk about quilting and our JUKI Ruler Foot for the TL Series.

In this video, we’re working on the JUKI TL-18QVP Semi-Industrial Sewing Machine and using our optional accessory the Ruler Foot. In this tip, we’re going to show you how to adjust that ruler foot for perfect stitching. You may notice that when you put your ruler foot on your machine it’s really high above your fabric and you never want to do that.

You really want the height of a credit card, a hotel key, or a thin plastic sheet and as you watch the video, you’ll see there’s a lot of height to start us off with, but the ruler foot has a screw on the side that you can turn and that will raise and lower your presser foot. Using your hotel card, or thin plastic sheet, will help you get that height you need and you’ll want to be where that credit card barely skims the bottom of that foot.

What this does is, as the needle goes up and down it prevents the fabric from bouncing and gives you those perfect stitches you want on your free motion quilt projects.

What tip do you want to see next? Let us know in the comment below!

JUKI Tip: Creating a 1/4″ Seam Allowance on DX-2000QVP

In this tip we’re going to talk about how to get the perfect quarter-inch seam on the DX-2000QVP!

Starting off with the Regular Presser Foot, and stitch number three on your machine, this is the perfect quarter-inch seam from the edge of the presser foot. The reason why Kelly likes this combination is because it’s used using the full set of feed dogs and JUKI is a box feeding system so it’s not pushing or pulling your fabric through, it’s guiding it by a box feed which is a superior feeding system!

However, if you don’t want to go that route there is also the patchwork foot that comes with the DX-2000QVP and that will give you a perfect quick seam on the edge of the presser foot. You’ll see in the video, it is a snap-on presser foot and it can be used with stitch number one. That’ll put it in the center of the presser foot so you can get that perfect quarter inch!

Now, some Quilters like a guide so we also have the quarter-inch foot with the guide with the DX-2000QVP. We recommend using the straight stitch in the center needle position. Now when I snap that foot on you have a guide!

Thank you for joining us today to learn about getting that perfect quarter-inch seam on the DX-2000QVP! Subscribe to our channel to learn more quilting tips tricks and projects from JUKI.

JUKI Tip: Air Thread Sergers VS. Traditional Manual Sergers

In this month’s tip, JUKI National Account Trainer, Alba, demonstrates the difference between an air threading serger and a non-air threading serger. The first serger we’ll showcase is the non-air threading serger, the Mo 114D. This is a non-air thread surger so this is a manually threading serger and the main difference is the way that the machine is threaded.

The other thing is that with a traditional serger, you must follow a specific order and usually it is an upper looper gets threaded first then the lower looper and then the needles in order; so there is a specific order that needs to be followed with this serger. When there is a thread breakage within this serger, it is often recommended that you start rethreading the machine from beginning to end.

Now with the air thread serger, here we’re showcasing the MO-2800, we’re going to show you their differences. Now what the air threading capability is all about, is the mechanism on the inside of the machine and its tubes, allow that jet stream of air to go through. Now in order to activate or start the air thread process we need to flip one lever, shown on video, and it really is as simple as that!

I will be turning the hand wheel towards me and what that does is if you watch this action that tube closes and you hear that click where I am now ready to activate and use the air thread. What is really nice about an air thread serger is it does not matter the order that you thread in! So I am going to go in the opposite order of the one right next to me. Now, I get my thread, I hold it with the tweezers, and I am putting between half an inch and an inch of thread in there. I have 8 to 10 in of loose thread in front of me and that lower looper has been threaded. This is typically the one that takes the most amount of time to thread on a serger and you could see just how easily. Now in order to close the door you will have to lower the lever and that’s usually where I get the call where people will say oh my door isn’t closing and that’s exactly why.

Another feature I was so excited about is the needle threader! I left one needle unthreaded and I’m going to open up the door just to make it easier to see on video, and I’m going to lower my foot and I have a lever that goes right and left. I’m threading my left needle, I have it to that position on video, and I am going to lower my needle threader and I am going to place the thread right in.

There’s a little groove on your needle threader that hugs around your needle and the thread goes right in there. You’ll notice I left it really nice and loopy and when I raise that needle threader up it threads the needle quickly.

Those are some of the differences between a regular serger and an air thread serger! I hope you enjoy these updated features, stay tuned and make sure to hit like and give us your comments!

To learn more about our JUKI Serger, visit your nearest dealer by visiting here.