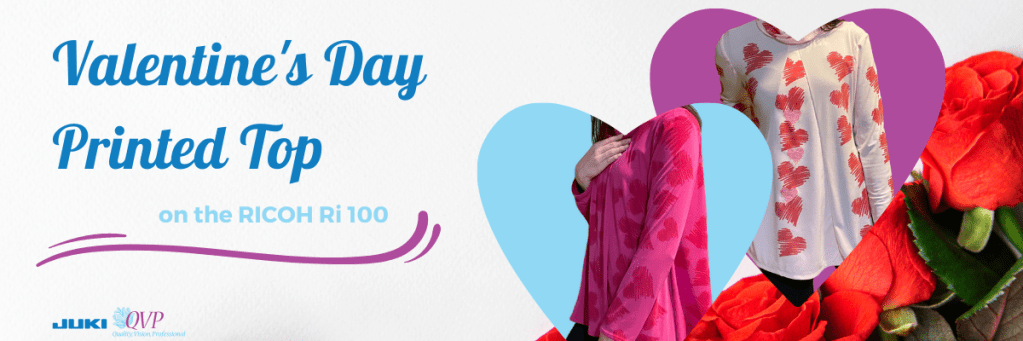
Join us for this month’s project as we create a printed fabric valentines top using the RICOH Ri 100, with a touch of texture thanks to the TAJIMA Sai 8-needle embroidery machine! For this project, our JUKI National Account Kelly will show us how she used the RICOH Ri 100 to personalize her top and make a love-filled gift!
With the direct-to-garment printer (RICOH Ri 100), you can complete a multitude of projects! From designing your own fabric, like you’ll see done in this project video, to placing images on already constructed bags and home décor, a machine like this will help you personalize your next dream project.
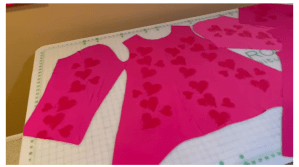
The first step when using a RICOH Ri 100 to print on your fabric is to cut out the blouse pattern from the fabric of your choosing. The reason we want to cut the pattern out first before printing on our fabric is so we can precisely place our designs, save ink, and save fabric!
Now that your pieces are all cut out let’s move on to the RICOH Ri 100 designer app that can be installed onto your laptops and computers. Depending on your material and project choice, you’ll set up the RICOH to understand the dimensions and print type you need before moving on to designing. In our project today, we’ll be choosing t-shirts and thin material since we’re working on a Knit jersey material. Keep in mind what tray you’ll be using because the program will ask!
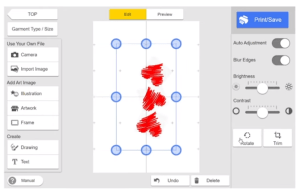
Next is placing and choosing your designs. The best thing about printing is the ability to place almost any design on your material. In today’s project, we’ll be installing our own graphics, but keep in mind the selection of designs offered on the RICOH Ri program when first starting out. Place the designs as you’d like to see them printed. What you see on the screen is what you’ll see printed!
Once you’ve finished your design, you’ll pre-iron your fabric and then place it into the direct-to-garment printer. The time process depends on your designs; the more intricate and colorful, the more time for printing! Once your designs have been printed onto the fabric, go ahead and place your tray in the heater for finishing.
Having our completed fabric, we can now begin constructing our project and creating the blouse! Sewn on our MO-2000QVP and DX-4000QVP, Kelly puts together her pattern pieces to complete a beautiful Valentine’s blouse!
Lastly, if you’d like to add a special touch of personalization, we follow Kelly as she moves over to the JUKI TAJIMA Sai! This is our 8-needle embroidery machine which allows you to embroider a multitude of projects, including shoes, sweaters, hats, and so much more. To start off using the TAJIMA Sai, we’ll use the Writer Plus software that includes designs to choose from, as well as the ability to upload your own, like the RICOH Ri 100.
Like the RICOH Ri 100 software, you’ll choose your project type, material type, and segments that focus on how your stitching will look. If you choose to add embroidery, make sure to do this before constructing your project on the sewing machines.
Once you’ve completed your steps, you’re ready for a night out with your loved one in this cute blouse! We hope you enjoyed learning more about the RICOH Ri 100, and we hope this inspires you to begin making your own fabric and going the extra mile with personalization!