When most people think of a serger, they think of one thing: clean edges. And while sergers are genuinely exceptional at finishing seams, that single use case barely scratches the surface of what these machines are capable of. A serger is not just a finishing tool; it can be a construction powerhouse, a creative instrument, and for many creators, the machine that completely transforms the way they work.
In this blog, we’re inviting sewists of all levels to take a closer look at what your serger can really do. Whether you’re brand new to overlocking or you’ve had a serger sitting in the corner of your studio for years; follow along as we break down how a serger works, why it belongs alongside your sewing machine, and how it can open up a whole new world of creative possibilities.
How a Serger Actually Works
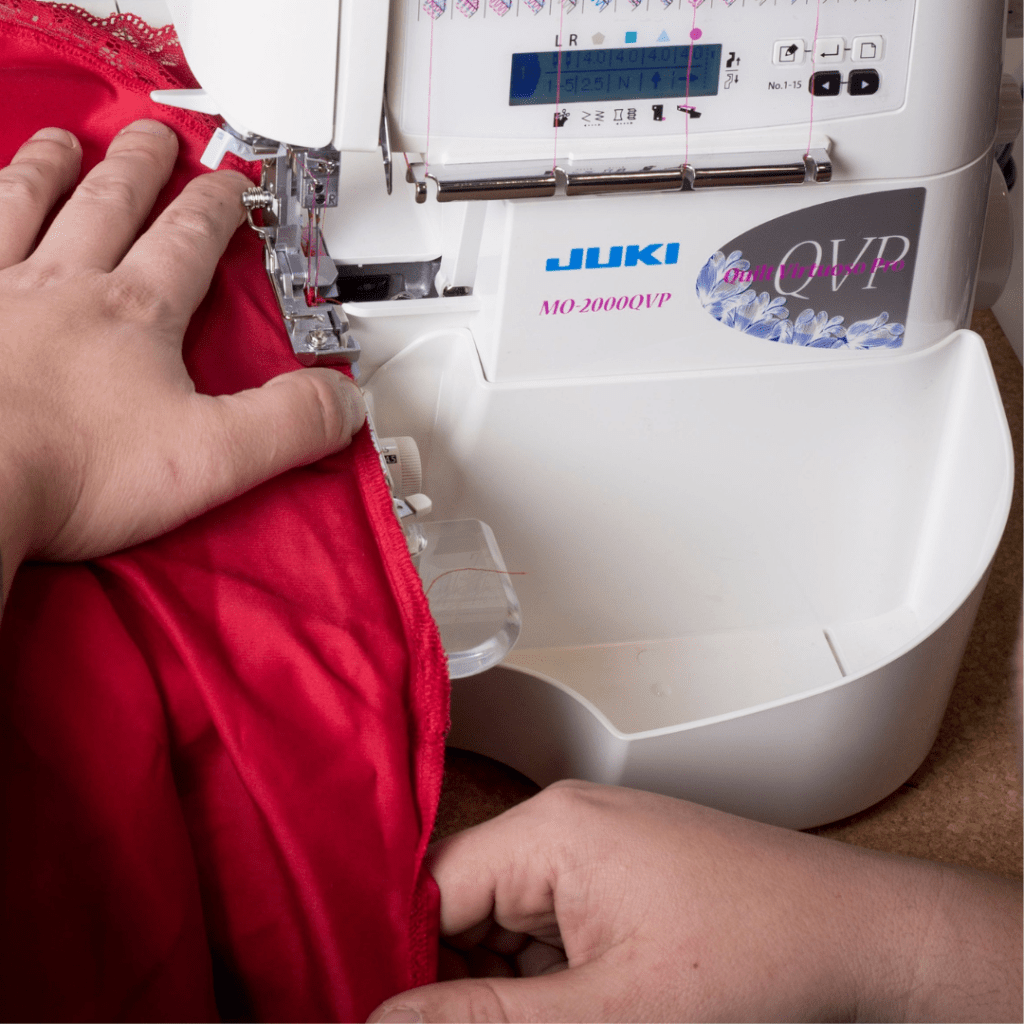
A serger (also called an overlock machine) is a specialized sewing machine that trims, encloses, and stitches a seam all in one go. Unlike a conventional sewing machine that uses one or two threads, a serger uses multiple threads, typically 3, 4, or 5, fed from large thread cones. These threads loop together through a system of loopers and needles to create a stretchy, durable stitch that wraps around the fabric edge.
The result? A stitch that’s stronger under tension, neater on the inside, and faster to produce than anything your standard sewing machine can achieve alone. That’s why professional garments and activewear almost always rely on serger construction.
Why Keep Both Machines
Here’s a question we hear often: “Do I need both a sewing machine and a serger?” And, the short answer is yes. Once you have this pair, you’ll notice they complement each other beautifully.
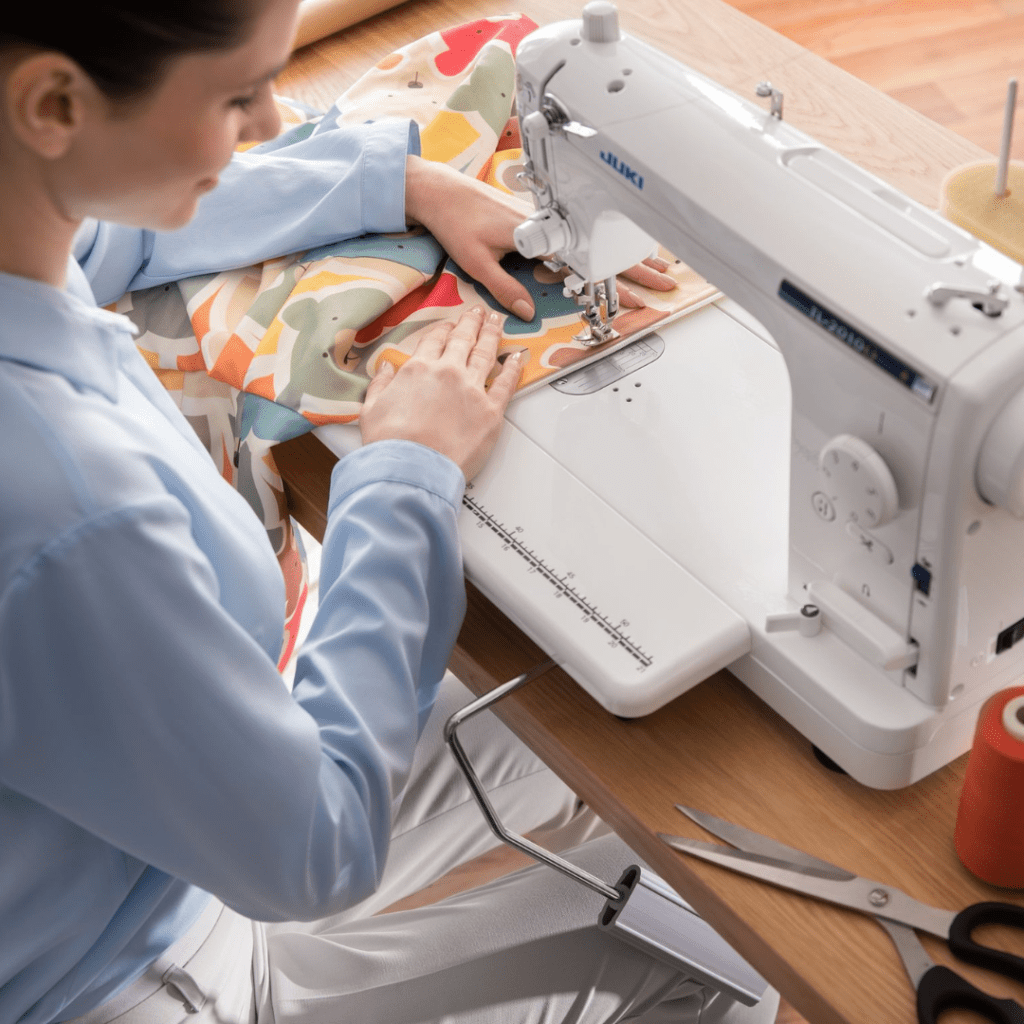
When you’re a creator, a sewing machine becomes your go-to for topstitching, zippers, buttonholes, structured seams, and even detailed decorative work. But a serger handles those parts of the project that create the professional finish look. Create beautiful construction seams, design with stretch fabrics, and experience garment finishing with speed you haven’t used before. Together, this duo can cover every stage of a sewing project, from first cut to final press.
JUKI’s lineup makes it easy to have both. Whether you’re working with the MO-114DN or stepping up to the MO-3000QVP, there’s a serger ready to become your studio’s hardest-working machine.
When to Serge Instead of Sew
Not sure when to reach for the serger instead of the sewing machine? Here’s a quick guide:
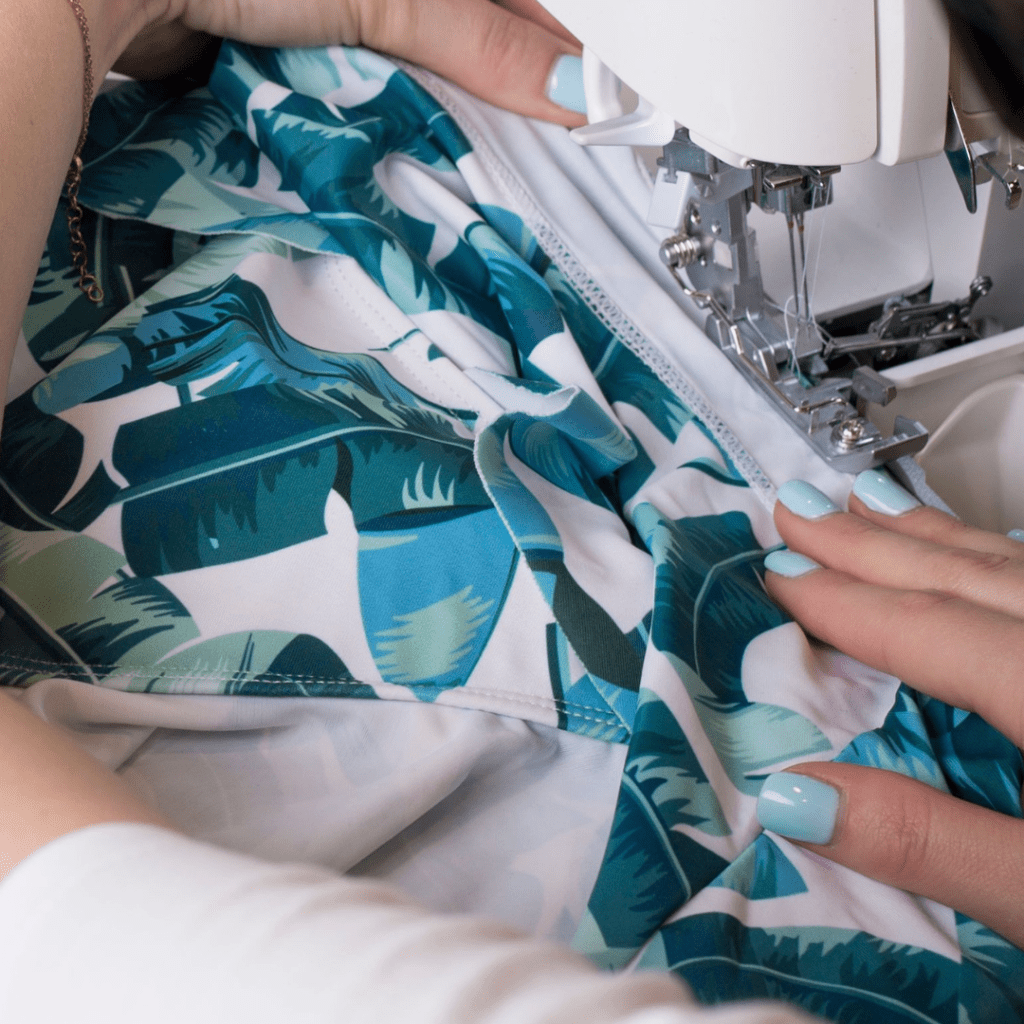
- Use your serger for stretch fabrics like jersey, knit, or spandex: the overlock stitch moves with the fabric.
- Serge when you need speed: sergers sew and finish in one pass, making them much faster for long seams.
- Use your sewing machine for structured seams, topstitching, and anything requiring a precise, visible stitch.
- Serge when working with raw edges on knits or wovens to prevent fraying before assembling.
Decorative Techniques on Your Serger
Here’s where things get really fun. Most sewists are surprised to discover that their serger is just as much a creative tool as it is a practical one. The same machine that finishes your seams in seconds can also produce stunning decorative effects that would be difficult to replicate on a standard sewing machine.
From delicate edges to bold textural details, serger techniques have a way of elevating a project from handmade to truly polished. Here are three beginner-friendly decorative techniques worth trying this spring:
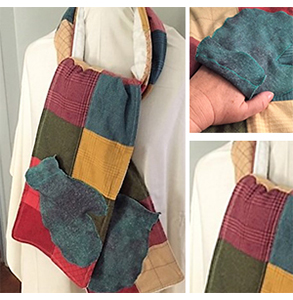
Rolled Hem: A rolled hem creates a delicate, narrow finish perfect for scarves, ruffles, napkins, and lightweight fabrics. Most JUKI sergers can switch to a rolled hem with a simple stitch plate adjustment; no extra foot required.
Flatlock Stitch: Flatlock stitching lies completely flat against the fabric, making it ideal for activewear seams and visible decorative seams on garments. Flip it to the “ladder” side for an open, graphic look or use the looper side for a smooth, athletic finish.
Lettuce Edge: The lettuce edge is one of the most satisfying serger effects to create. By stretching the fabric as you serge along the edge, the stitch creates a ruffled, wavy finish that’s trendy, playful, and perfect for hems on stretch fabrics. It’s a great first decorative technique for beginners.
A serger is one of those tools that sewists often say they wish they had started using sooner. Once you understand how it works and what it’s capable of, it stops feeling like an intimidating extra machine and starts feeling like an essential part of every project. From clean professional seams to creative decorative edges, the serger earns its place in your studio every single time you sit down to sew. And the beauty of it is that you don’t need to master everything at once; even learning one new technique at a time is enough to completely change the way you approach a project.
Ready to explore what your serger can really do? Find your nearest JUKI dealer and take a test drive or head to our YouTube channel to see these techniques in action.