Enhance your sewing skills with JUKI’s expert tips, clever tricks, and in-depth training resources. From mastering your machine to tackling challenging projects, this section is designed to support sewists of all levels. Explore tutorials, guides, and helpful advice to make the most of your JUKI experience.
Have you learned all the different ways you can use your foot controller on your computerized sewing machine? Check out our tips today to learn all 7 ways you can enjoy sewing with just the tap of your foot!
Follow along below for a rundown of what Alba covers on today’s JUKI Tip!
Today we’re going over the foot pedal and the foot switch function on the foot pedal for your machine. It has two sections to step on, the blue section for sewing, and the heel section or the white section, which on many of our machines can be programmed to do different functions.
The DX-2000 offers options to change the settings on your foot control functions for example as you’ll see demonstrated in this video. This function is normally found on our full-size machines!
To best follow along with today’s video, please refer to the section of the manual where all of this is laid out and that is on page 93! Now, the heel function of the foot pedal has six different parts we’re going to show you, and we’re going to cover what those functions are and how to get them going.
First, tap on the icon that looks like a wrench and a screwdriver; this is where we go into settings to change features on our machine. When you press that your screen comes up with different functions and we are going to tap the arrow until you reach the heel function icon. Next, press OK, and let’s start choosing our functions.
The first function is a feature already placed as a button on your machine, it is the same icon on the machine for reverse; if you select this, it will do reverse stitch. Now, when you press forward on this foot it will always sew as normal, as you tap and press on the back of the foot pedal, you’ll see your reverse stitch begin.
The second function option is a lock stitch. A lock stitch is completed when that needle goes up and down in place locking your stitch so that it doesn’t unravel. This is useful for locking in your projects and securing a quality finish.
The third function is a half stitch. The icon for this function shows as a needle with arrows up and down, and what this will do is it will take a half stitch as you come to the end of your thread. This feature is useful to secure your seam but not lock it if you do not want any build-up of threads you’re going to sew.
The fourth function will have the presser foot lifting and lowering. As you start sewing and touch that heel portion of your foot control it will leave you with the foot up and the needle down and this is really helpful if you were going to do continuous sewing or chain piecing!
The fifth function is the cutting function. The cutting function can be very helpful! When your stitch is done this function will trim your top thread and bottom thread at the same time, saving you the trouble of finding your thread scissors.
The last function is the ability to turn off all extra functions when tapping the back of your foot controller. You can turn them on and off as needed helping you create your projects with ease. Remember, the details of this are on page 93 of the instruction book for the DX series, and offer images you can follow to learn more!
Thank you for joining today’s tip, we hope this helps you create easier the next time you’re working on your machine!
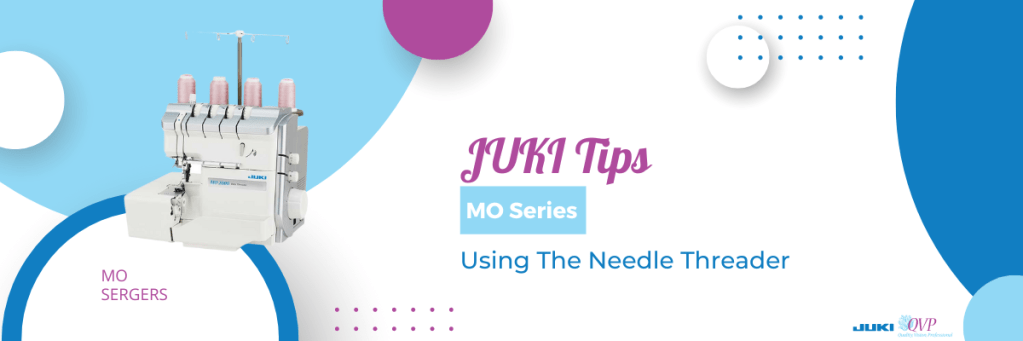
For this month’s JUKI tip, we go over how to use the automatic needle threader that can be found on select serger machines in our MO Series! Creating an easier sewing experience for you, this feature is perfect for getting your machine ready to create, without the hassle.
Follow along below as our National Account Trainer Alba showcases how to thread your automatic needle threader.
The needle threader on the Serger from JUKI is a mechanism that has a lever that goes right and left, whether you’re choosing to thread the right or left needle, before being pushed down to cover the needle in front of the eye.
As you watch the video, you’ll notice how our JUKI National Account Trinaer Alba moves the mechanism to the right-hand position, turning the hand wheel towards herself until the needles reach the highest possible position.
Ensuring the lever is set for the right-hand needle, we’re going to lower the self-threading lever, until it comes right around the needle. Here is where you’ll notice how the mechanism just hugs that needle, giving you the perfect spot to place your thread. Now, remember, for the best experience ensure your thread is not taut, and instead loose. This way the machine is able to thread your needle, without tugging.
Now, as you raise up the needle threader, as shown in the video, you’ll notice how it forms a loop that you can carefully pull through the eye of the needle, completing the threading of your needle. Pull the thread behind, and you’re all set on the right-hand needle!
For the left needle, we’ll position our needle threader for the left-hand position, before lowering the mechanism where it will hug your needle. Next, we recommend using two hands to place that thread in the groove of the needle threader; this will be right at the eye of the needle.
As you raise your needle threader mechanism, you’ll notice the loop form once again, before pulling the thread completely through and towards the back of the machine.
We hope this helps you the next time you want to use the automatic needle threader on your serger machine! What tip do you want to see next from JUKI? Let us know in the comments below!
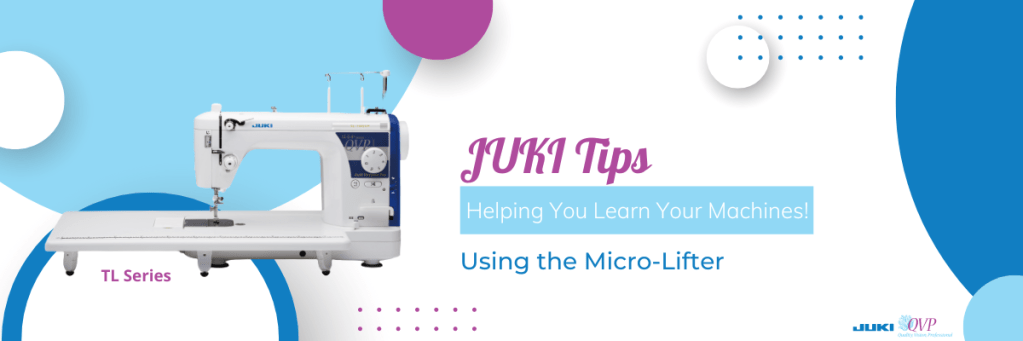
For this month’s JUKI Tip, we’re focusing on the micro-lifter feature that can be found on your TL series machines! Now, a common question we get is, “what is different about the Micro-lift feature from the presser foot pressure?” To show the difference, we’re going to use the TL-18QVP because it has two different locations for each feature.
Now the presser foot pressure, as it sounds, is the amount of pressure the foot puts on the fabric you’re sewing. For example, if you’re moving your project, the presser foot pressure is what will help you keep that nice straight seam. With the Micro-lift feature, your presser foot pressure will stay the same, but the height of the foot will change. Raised above the feed dogs, your foot will now have space to create using multiple layers of fabric, thick fabrics, complete binding easier, work on handbags, and so much more.
Our favorite part is not needing to adjust the presser foot pressure as often when using the Micro-lift feature, helping your project process become more simple.
As you watch the video, you’ll be able to follow along as our National Account Trainer Alba demonstrates how the Micro-lift feature looks when in use, and how easily the fabric you’re working on will go through. From 8 layers of denim to 15 layers of denim, you’re able to see how the fabric smoothly glides through; the needle easily sewing through the material.
We hope this video encourages you to try your hand at the Micro-lift feature on your machine and that it helps you create beautiful projects with quality style! What JUKI Tip are you hoping to see next? Let us know in the comments below!
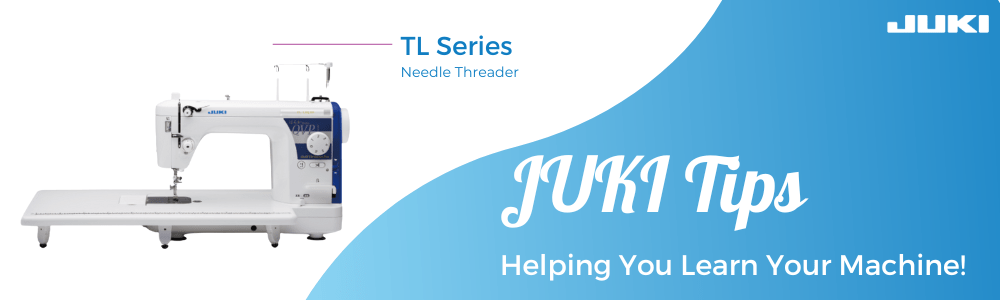
At JUKI we know how important it is to know your machine’s features and how to use them, so starting this year at JUKI we’ll be sharing monthly tips for creating on, and using, your beloved JUKI sewing and quilting machines! This month we’ll be focusing on the TL Series and its Automatic Needle Threader. Showcasing each step, and how the feature works, follow along below to view our Tip Video and breakdown.
Needle Up/Down Feature
The first step is knowing where your Needle Up/Down button is, and when to use it. Now the most important step to using your needle threader is, making sure the foot is in the down position (engaging the tension) and using your Needle Up/Down button to lower and raise the needle.
You’re going to start with having the needle in the highest position, before using your needle threader, so your machine can thread your needle.
Check out time stamp 1:42 to learn where you can find your Needle Up/Down button.
Threading Your Needle
Stopping right before the eye of the needle, we’ll be using our Needle Threader today to get our machine ready to create.
To start, your thread should be at the point right before needle-eye entry.
Next, we’re going to pull our thread off to the side and lower our mechanism all the way down. Now grab your thread and go behind that metal groove on the needle threader, and into the two grooves on the white piece of the mechanism, while holding your thread off to the side. Check out the time stamp 4:00 in our video about for an example of this section.
Now, when we raise the mechanism, you’ll see a loop formed with your thread on your needle. Once you see the loop, pull the thread carefully through the needle and to the right, completing your needle threading!
To learn more about the TL series visit our JUKI Home Sewing YouTube page here, or visit your local JUKI Dealer here.
Have questions about your JUKI machine? Let us know down below! We look forward to creating more JUKI Tips to help you bring your projects to life.
With so many channels on YouTube, it can be difficult for new sewists and quilters to find your page! That’s why in today’s blog post, we’ll go over some tips you can put in place for your channel that will encourage viewers to stay and engage with your page.
Follow along as we go over pieces you can start editing today!
Cleaning Up Your Channel
Have you been posting videos for a while? We bet your skills in filming and editing have upgraded, so let’s review those old videos! Cleaning out videos that are low quality, outdated, or have a low amount of views can help your channel seem cleaner and build credibility.
Sometimes, those low-quality videos can turn a viewer off your page and prevent a new subscriber from joining, so it’s best to keep up to date with your content!
What’s Your Brand?
Having a brand goes beyond color scheme and font, but what viewers see in the background of your video and what you may even be wearing! Think of the space you’re creating and what viewers can see when you film. Remove pieces that may bring attention away from your projects, and add items that promote your brand or shop!
Here, you can focus on placing past projects, items that speak to your personality that allows viewers to feel like they know you, and wearing pieces you may have created or matched your personality. It’s these details that build a larger picture for your audience. When viewers like your personality, they’ll come back and watch just for you, even if the project isn’t something they’re interested in!
Lean into your brand; for example, if your page focuses on garment creation, try wearing past pieces you’ve created that encourage viewers to watch your old projects videos!
Creating a promotional video for your page is a great way to share your goal and brand with new visitors. This video will automatically play for visitors that find your channel and pinned at the top of your page. We recommend creating a short trailer that covers about a 2-3 minute length!
Some items in your video are past video footage stitched together, a “pitch section” where you share what your channel is and what viewers can expect to see, and a section where you can request new viewers to join your page and subscribe. Focus on your tone and the script, and let your personality shine through!
Thumbnail Designs
Help your channel look coherent and professional with consistent thumbnails! Following a design theme, you can create thumbnails that attract viewers looking for projects.
While YouTube comes with preset options, creating your own on free software like Canva can help your channel feel clean, showcase your personality, and help viewers get an idea of what your video will be about.
Collaborating with Those in Your Community
Are you looking for exposure to a new audience? Then, reach out to your fellow sewist and quilter YouTubers!
Suggest an idea to another creator where you can cross-promote your channels while creating a fun project or pattern that viewers will love and engage with! Of course, the best way to do this is to appear on each other’s channels. We recommend introducing your new friend to your audience and where they can be found before diving into your video so viewers can see why you’re endorsing one another.
Using Binge Watching
Binge-watching is an excellent tool for encouraging new viewers to watch and follow your page. By creating playlists that viewers can follow along too, they can get a better idea of your credibility and have more time to decide if they’d like to join your channel. In addition, viewing multiple videos of yours will give viewers a better sense of why they should follow you.
Creating a playlist for your channel will also upgrade your SEO, depending on what keywords you use to title them. Your content can be organized by project type, level type, sewing or quilting, etc. Curating your playlist will depend on what videos you post and how you want viewers to watch and enjoy them.
Two ways binge-watching can encourage subscribers is by creating a playlist where you control the next video viewers are watching, stopping them from transferring over to a new channel or two; you can focus on a video series that is posted over a period of time, encouraging viewers to subscribe and get notified when the next video posts.
YouTube Video Cards
Easy to add to any video, YouTube cards are the perfect way to promote another video from your channel and a subscription from the viewer. While YouTube offers the option that automatically chooses the best video from your channel, you can also pick a specific video yourself that correlates with your project.
For example, if your video is on a new project for quilting, you can place a past video with another similar project or a different video you want to promote.
Be Consistent
Whether you’re posting once a day, a week, or a month, having a consistent schedule is needed! The key to success is consistency.
Beyond the theme and content of your channel, consistency will help viewers figure out your style and what you’re about. Viewers subscribe not just because they loved your video but because they hope to see more like it!
Find what your focus is and how you’re going to communicate this to viewers. Find the best schedule, and focus on your analytics to see what’s working.
For example, depending on your viewership, you might have better luck with views posted in the morning on the weekend than on weekdays in the afternoon. Your schedule should work for you and your viewers.
Sharing and Promoting Your Videos
While we can make beautiful videos, they can go nowhere without proper promotion! This is why posting your content in the right places is essential when looking for your audience.
The first location you can focus on is your go-to social media page. Facebook, Twitter, Instagram, and Pinterest. These are popular platforms that creators rely heavily on when looking for project inspiration and new ideas.
Another format can be diving into niche community pages. Think of fellow Facebook pages, Reddit pages, or specific quilting and sewing communities you’re a part of that would love to see your creation! Remember when posting in niche communities to share who you are (the creator) and what you do (your page); this way, members of those groups accept your posts and join your channel!
Implementing These Tips
While some of these tips can be implemented immediately, like creating a playlist for your seasonal projects or how-to’s, building your channel takes time! Focus on what you want viewers to learn and feel when they watch your channel, and create a brand you are proud of. Don’t worry about the number of viewers when you start off and prepare to be consistent and keep creating!
Looking for inspiration? Check out our JUKI Youtube page here today! Follow along as we showcase how we implement these tips on our page!