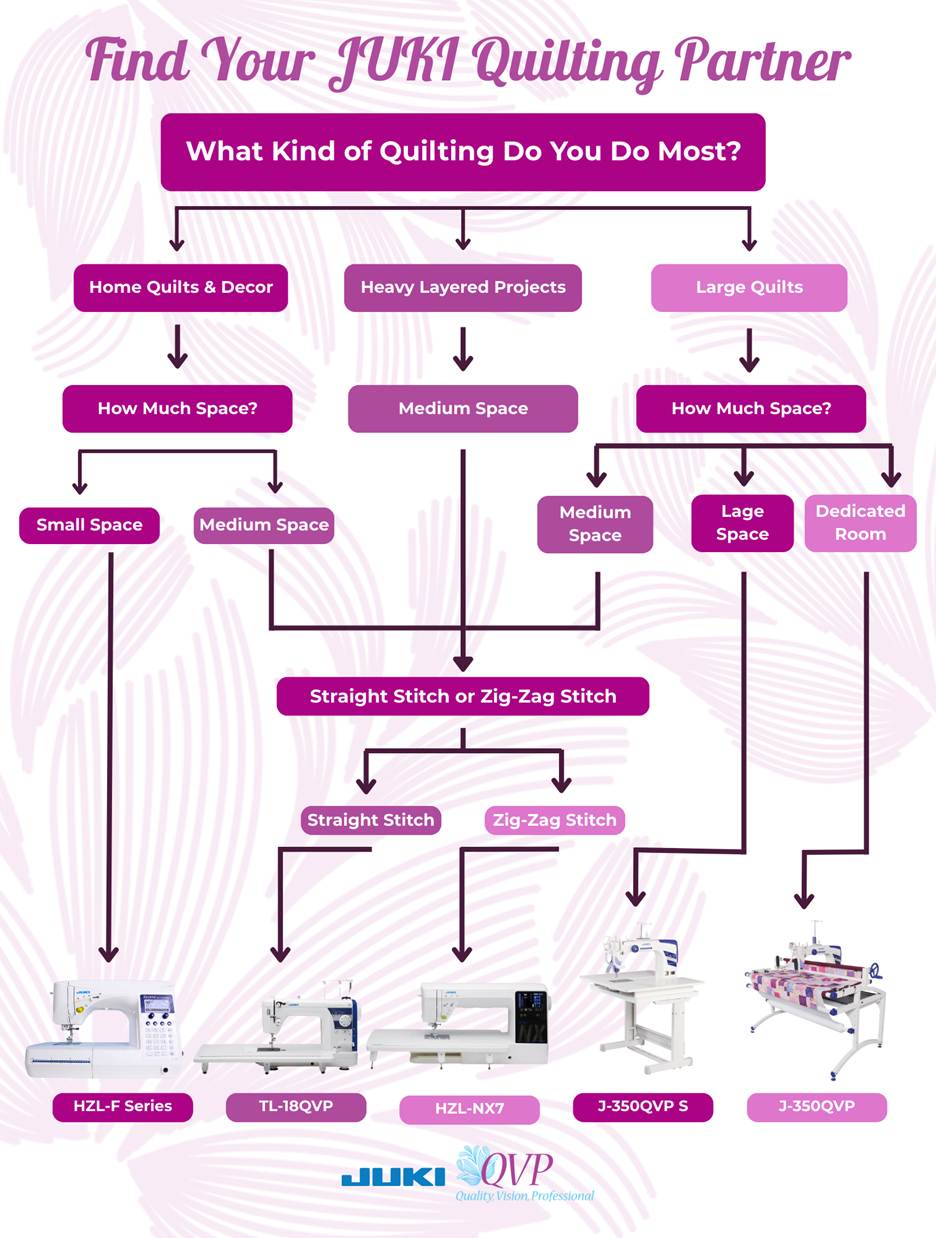
This month, we’re celebrating the art of quilting, and what better way to do that than to introduce you to a tool all quilters should know about. We at JUKI know quilting is an art, but it can also be a lot of work! Large quilts, intricate designs, and repeating patterns require patience, precision, and sometimes a little help. That’s where Quilter’s Creative Touch (QCT) comes in. This computer-guided quilting system is like a smart assistant for your longarm, helping you stitch designs with accuracy and consistency while letting you focus on the parts of quilting you love most: choosing fabrics, mixing colors, and creating patterns that are uniquely yours.
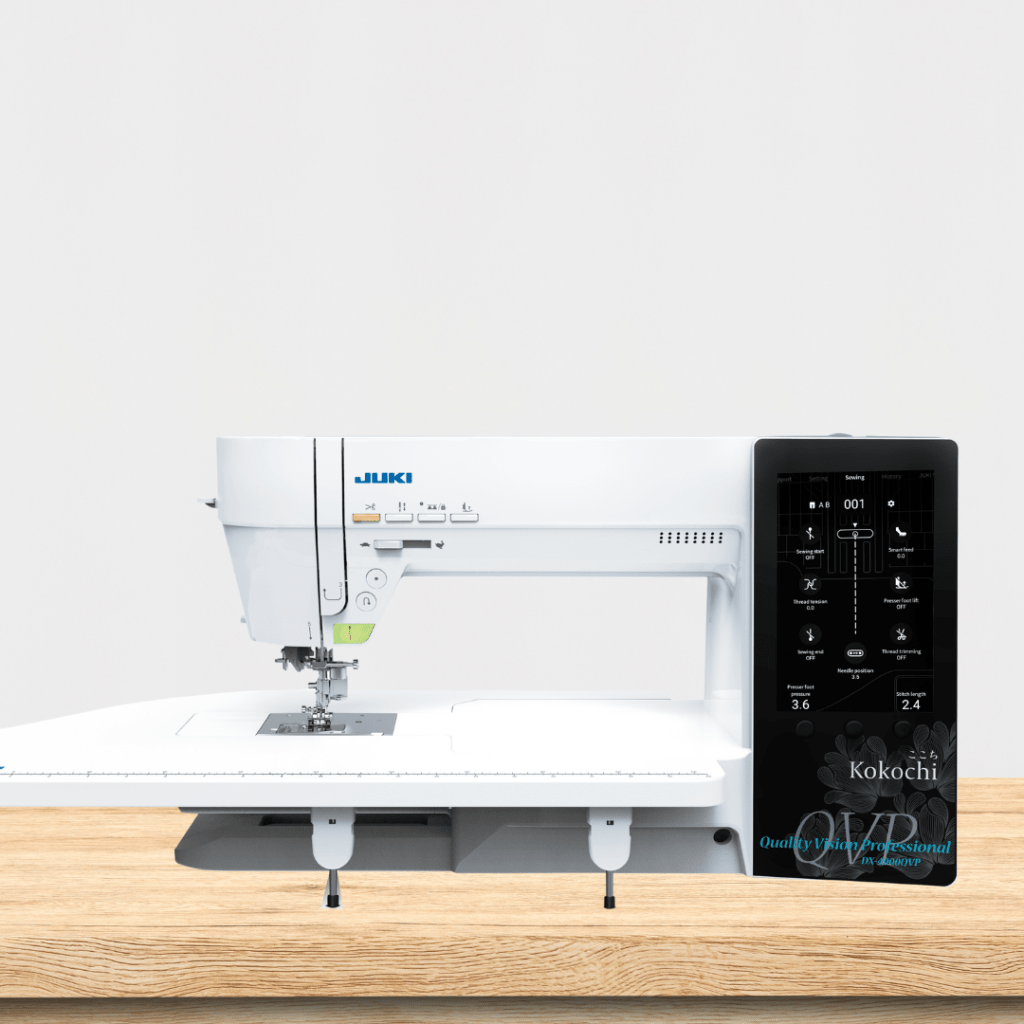
Whether you’re a beginner experimenting with your first quilt or an experienced quilter tackling new, complex designs, QCT can make the process smoother and less stressful. It doesn’t replace your creativity; it gives you confidence and control to bring your ideas to life with precision. The QCT is fully compatible with the JUKI Miyabi J-350QVP quilting machine, and we want to give you a rundown on how it works.
What is Quilter’s Creative Touch?
At its core, QCT is a computer-guided quilting system that automatically guides your machine. Instead of free motion quilting, the QCT moves the machine for you according to the pattern you select.
This means that even challenging designs, such as intricate motifs or repeating edge-to-edge patterns, can be executed cleanly and consistently. It’s like having a steady hand, a precise memory, and a thoughtful assistant all in one. The system combines three key things: quilting, design control, and accuracy. You get the freedom to be creative, while the technology ensures your finished quilt looks polished and professional.
Why QCT is Helpful
QCT isn’t about replacing your creativity; it’s about making quilting easier and more enjoyable. It shines in situations where precision, consistency, and efficiency are important:
- Quilting edge-to-edge on large quilts without the strain of moving heavy fabric.
- Ensuring repeating patterns match perfectly across your quilt.
- Tackling intricate designs that would be difficult or time-consuming to free-motion.
- Saving time on bigger projects, so you can finish quilts faster without stress.
For owners of the Miyabi J-350QVP, you’ll notice the Miyabi’s stable frame and precision mechanics pair perfectly with QCT automation, making even larger king quilts manageable while keeping each stitch clean and consistent.
Watch below as we demonstrate a great way QCT is helpful! You can see how a quilter can advance their quilt on the Miyabi J-350QVP Machine using the QCT program.
Using Your Tablet with QCT
One of the great features of QCT is that it doesn’t include a dedicated tablet — you can use your own. Any tablet running a full version of Windows 7, 8, 10, or later works, giving you flexibility to design wherever you like. (Note: Windows RT tablets are not compatible.)
With QCT installed on your tablet, you can:
- Design patterns and plan layouts away from your machine.
- Save, print, or export your designs for future projects.
- Bring your tablet back to your Miyabi J-350QVP and quilt exactly what you’ve designed.
This means your quilting workflow is flexible. You can experiment, plan, and test designs in a comfortable space before stitching, making the whole process feel less intimidating and more enjoyable.
Bringing It All Together
QCT is designed to make quilting approachable, fun, and stress-free. Whether you stick with the base system, explore Plus for added planning tools, or go all-in with Pro for complete creative freedom, QCT gives you the confidence to tackle projects of any size or complexity, no matter your expertise level.
By combining guidance, precision, and flexibility, QCT makes quilting smarter, easier, and more enjoyable; a true companion for any quilter looking to bring their visions to life!